Sign In
Upload
Download
Table of Contents
Contents
Add to my manuals
Delete from my manuals
Share
URL of this page:
HTML Link:
Bookmark this page
Add
Manual will be automatically added to "My Manuals"
Print this page
×
Bookmark added
×
Added to my manuals
Manuals
Brands
ACTi Manuals
Security Camera
A811
Hardware manual
ACTi A811 Hardware Manual
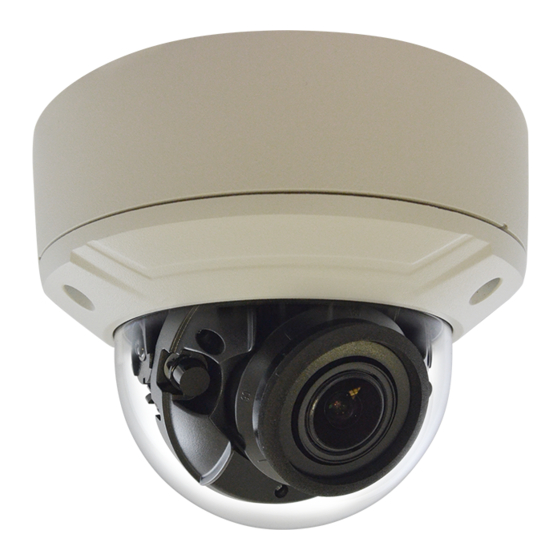
Outdoor zoom dome
Hide thumbs
1
Table Of Contents
2
3
4
5
6
7
8
9
10
11
12
13
14
15
16
17
18
19
20
21
22
23
24
page
of
24
Go
/
24
Contents
Table of Contents
Bookmarks
Table of Contents
Table of Contents
Precautions
Safety Instructions
Introduction
List of Models
Package Contents
Physical Description
Mounting Options
Installation Procedures
Step 1: Prepare for Installation
Step 2: Route the Cables
Step 3: Mount the Camera
Step 4: Connect to Network
Step 5: Access the Camera Live View
Step 6: Adjust the Viewing Angle and Orientation
Step 7: Clean & Close the Dome Cover
Accessing the Camera
Configure the IP Addresses
Using DHCP Server to Assign IP Addresses
Using the Default Camera IP Address
Access the Camera
Advertisement
Quick Links
1
Step 4: Connect to Network
Download this manual
Outdoor Zoom Dome
Hardware Manual
A811, A818
Ver. 2020/05/04
Table of
Contents
Previous
Page
Next
Page
1
2
3
4
5
Advertisement
Table of Contents
Need help?
Do you have a question about the A811 and is the answer not in the manual?
Ask a question
Questions and answers
Related Manuals for ACTi A811
Security Camera ACTi A81 Hardware Manual
Outdoor dome series (41 pages)
Security Camera ACTi A82 Hardware Manual
Outdoor dome series (41 pages)
Security Camera ACTi A83 Hardware Manual
Outdoor dome series (41 pages)
Security Camera ACTi A818 Hardware Manual
Outdoor zoom dome (24 pages)
Security Camera ACTi A88 Hardware Manual
Outdoor mini dome (32 pages)
Security Camera ACTi A826 Quick Installation Manual
(2 pages)
Security Camera ACTi ACM-3511 User Manual
Megapixel ip ir d/n poe fixed dome with vari-focal lens (22 pages)
Security Camera Acti ACM-3401 Series Hardware User Manual
Acm-3401 series megapixel ip poe dome dc 12v/poe (24 pages)
Security Camera ACTi ACM-3401 Series Hardware User Manual
Acm-3401 series megapixel ip poe dome camera (22 pages)
Security Camera ACTi ACM-3401 Series Hardware User Manual
Megapixel ip poe (22 pages)
Security Camera ACTi ACM-7411 Series Hardware User Manual
Megapixel ip outdoor rugged dome (with dc 12v / poe) (20 pages)
Security Camera ACTi ACM-3701 Quick Installation Manual
Acm-370x series (9 pages)
Security Camera ACTi A92 Hardware Manual
Outdoor mini dome (25 pages)
Security Camera ACTi A313 Hardware Manual
Mini bullet camera (23 pages)
Security Camera ACTi ACM-3601 Quick Installation Manual
Ip mini dome (9 pages)
Security Camera ACTi A29 Hardware Manual
(31 pages)
This manual is also suitable for:
A818
Table of Contents
Print
Rename the bookmark
Delete bookmark?
Delete from my manuals?
Login
Sign In
OR
Sign in with Facebook
Sign in with Google
Upload manual
Upload from disk
Upload from URL


Need help?
Do you have a question about the A811 and is the answer not in the manual?
Questions and answers