
Subscribe to Our Youtube Channel
Related Manuals for Pulsar AXION XM30S


Summary of Contents for Pulsar AXION XM30S
- Page 1 AXION XM30S Thermal Imaging Monoculars Operating Instructions English / Français / Deutsch / Español / Italiano / Русский...
- Page 2 1 - 10 Thermal Imaging Monoculars AXION English Operating Instructions...
-
Page 3: Specifications
* For animal object, such as a deer. Battery Pack Improvements may be made to the design and software of this product to enhance its user features. Quick-change APS3 Li-ion battery pack џ The detailed user manual is available at www.pulsar-vision.com USB charging option џ... -
Page 4: Using The Rechargeable Battery
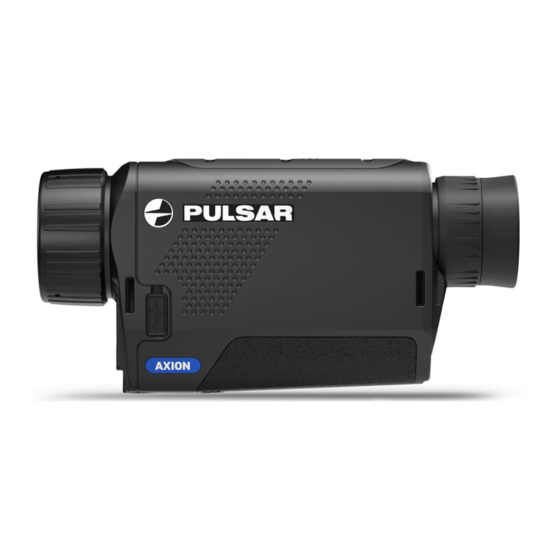
COMPONENTS AND CONTROLS USING THE RECHARGEABLE BATTERY 1. Eyepiece dioptre adjustment ring AXION thermal imagers are supplied with a 2. Down/Rec button rechargeable APS3 Lithium-ion Battery Pack. The 3. Menu button battery should be charged before first use. 4. - Page 5 Battery charge status (see table). EXTERNAL POWER SUPPLY LED Indicator * Battery charge status External power is supplied from an external source, such as a 5V Power Bank. Battery charge from 0% to 10%. Charger not connected to the mains power supply. Attach the external power source to the device's USB connector (8).
-
Page 6: Main Menu Functions
Brightness – by pressing the UP (4) / DOWN (2) buttons and changing the display brightness value from 0 to 20. Composition and description of the menu Contrast – by pressing the UP (4) / DOWN (2) buttons and changing the display contrast value from 0 to 20. Mode Selection of observation mode. - Page 7 Microphone Default Turning on/off the microphone Restore Factory Settings Settings This item allows you to enable (or disable) the microphone for recording sound during video Enter the 'Default Settings' submenu with a short press of the Menu button (3). џ...
-
Page 8: Status Bar
Open the submenu by pressing the Menu button (3). An icon is displayed in the upper left corner with the remaining recording time (in hh:mm format), for џ џ example, 5:12. Select the icon with a short press of the Menu button (3). џ... -
Page 9: Maintenance
џ - if your Pulsar device is not connected to your phone but it’s already in the “My Devices” section, you may use Wi- Go to the relevant item on the menu to select a unit of measurement (metres or yards). -
Page 10: Troubleshooting
(detail) is poorer. This is a feature of conditions. thermal imaging devices. Repair of the device is possible within 5 years. By following the link below you can find answers to the most frequently asked questions about thermal imaging https://www.pulsar-nv.com/glo/support/faq/79... - Page 11 @PulsarNightVision @pulsar.vision Pulsar Night Vision...
Need help?
Do you have a question about the AXION XM30S and is the answer not in the manual?
Questions and answers