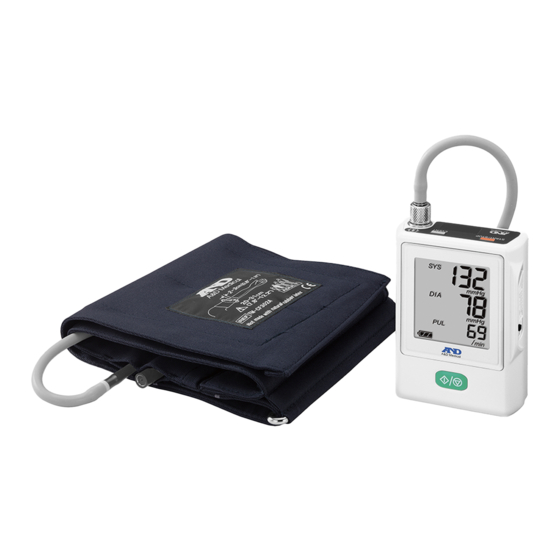
A&D TM-2440 Quick Start Manual
Hide thumbs
Also See for TM-2440:
- Instruction manual (124 pages) ,
- Quick start manual (9 pages) ,
- Instruction manual (92 pages)
Advertisement
ENG
A
INSTALLATION
1. Visit https://www.aandd-ps.com/inquiry/abpm_software
to register your device
and download the latest
software version. After
the download, please
unzip the folder. Or insert
the disc to install the
software and follow the
installation instructions.
B
CONNECTING THE MONITOR
1. Connect the micro USB cable between the monitor and
computer.
2. The buzzer will sound and the following symbol appears
on the OLED display.
3. The monitor enters its standby mode.
4. If using the TM-2441, ensure the
switch on the side is "On" and lock it.
TM-2440
TM-2441
TM-2440/41
Quick Start Guide
OFF
-- -0
Standby mode
Advertisement
Table of Contents

Related Manuals for A&D TM-2440


Summary of Contents for A&D TM-2440
- Page 1 TM-2440/41 Quick Start Guide INSTALLATION 1. Visit https://www.aandd-ps.com/inquiry/abpm_software to register your device and download the latest software version. After the download, please unzip the folder. Or insert the disc to install the software and follow the installation instructions. CONNECTING THE MONITOR 1.
- Page 2 PROGRAMMING THE MONITOR 1. Open the A&D software 2. Click on “Recorder”. 3. Select Protocol, Referring Physician, etc. and click OK. The device is now programmed. 4. Disconnect the PC interface cable from the device. Note: We recommend connecting your monitor to your PC before opening the A&D software.
- Page 3 SETTING UP THE PATIENT 1. Wrap the cuff around the patients’ upper arm (choose the correct cuff size) 0.5” (1-2cm) Have room to insert two fingers 2. Position tube around neck and attach monitor to the belt loop. Air hose Tape Air plug Clip...
- Page 4 DOWNLOADING THE DATA 1. Open the micro USB terminal on the monitor and connect the USB cable. TM-2440 TM-2441 2. Open the A&D Ambulatory Analysis Software from your computer. Note: The device needs to be plugged in before opening the software.
- Page 5 6. Click on the “Layout” icon. 7. Choose your report settings, then apply and save. 8. Click on the “Print” icon to print results. Note: To create a PDF of report, choose “Adobe PDF” as printer. CUFF GUIDE Cuff Size Small Cuff 5.9-8.7”...
Need help?
Do you have a question about the TM-2440 and is the answer not in the manual?
Questions and answers