
Subscribe to Our Youtube Channel
Related Manuals for Hunter Trimaran


Summary of Contents for Hunter Trimaran
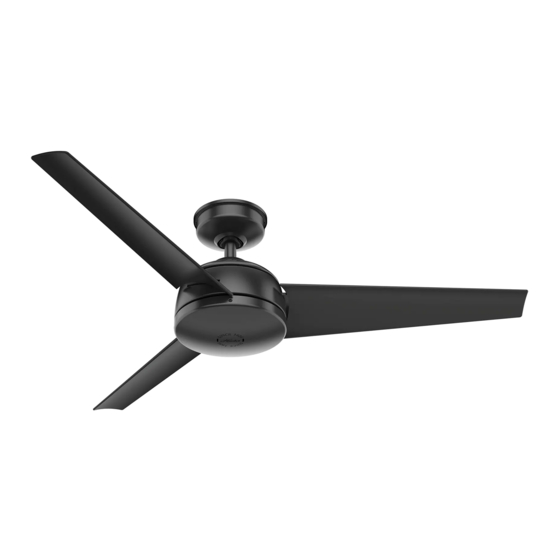
- Page 1 Trimaran Installation Manual Model: 59608 Matte Silver 59609 Matte Black 59610 Fresh White Fan weight ±2 lbs: 18.7 lbs (8.5 kg) ©2019 Hunter Fan Co. PG3791 r100719...
- Page 2 - All wiring must be in accordance with national and local electrical codes ANSI/NFPA 70. If you are unfamiliar with wiring, use a qualified electrician. c.2 - Use only Hunter replacement parts. This product conforms to UL Standard 507.
- Page 3 Here is what comes in your box: 1886 Hunter Pro Tip: We recommend that you pull everything out of the box and lay it out. We have grouped the drawn components below with the hardware you’ll need for those Do not discard the hardware bags or mix parts from different bags.
-
Page 4: Choosing The Right Installation Location
A little more information on Angled Mounting: For optimum performance and appearance, a longer downrod should be used with your Hunter ceiling fan when installing on high or angled ceiling. If your ceiling is angled greater than 34° you will also need an Angled Mounting Kit. -
Page 5: Installing The Ceiling Bracket
Installing the Ceiling Bracket You have two options for installation. Pick which one works best for your location. Remove any existing bracket prior to installation. Only use the provided Hunter ceiling bracket that came in your fan’s box. Hunter Pro Tip:... -
Page 6: Hanging The Fan
Follow below if you are using the downrod that came pre-assembled in your box. Need to install a longer or shorter downrod? Check out the guide at the end of this manual. Hunter Pro Tip: The ground wire attached to the downrod is approximately 8 inches. -
Page 7: Wiring The Fan
If you are unfamiliar with wiring or uncomfortable doing it yourself, please contact a qualified electrician. You are going to need these: Hunter Pro Tip: Here is how to connect the wires: 4 Wire Nuts (these are in the... -
Page 8: Installing The Blades
1886 Installing the Blades Put the blade washers found in the hardware bag onto the blade screws found in the hardware bag. Then install the blade screws to Blade Screw secure each blade to the fan. Repeat x3 IMPORTANT Blade Washer NOTE: Follow the instructions on the blade. - Page 9 1886 Installing Wall Control Turning off the power WARNING Ensure the power is OFF at the outlet box and wall switch location before proceeding To avoid possible electrical shock, before with installation. installing your fan, disconnect the power by turning off the circuit breakers to the outlet box associated with the wall switch location.
-
Page 10: Troubleshooting
• Turn the power off, support the fan carefully, and check that the hanger ball is properly seated. • Use the provided balancing kit and instructions to balance the fan. Hunter Pro Tip: Cleaning the Fan Use soft brushes or cloths to prevent scratching. -
Page 11: Limited Lifetime Warranty
WARRANTY, BREACH OF CONTRACT, OR OTHERWISE. Some States do not allow the Please do not ship your fan or any fan parts to Hunter. Delivery will be refused. exclusion or limitation of incidental or consequential damages, so the above limitation or What Does This Warranty Cover? exclusion may not apply to you.
Need help?
Do you have a question about the Trimaran and is the answer not in the manual?
Questions and answers