Table of Contents
Advertisement
Quick Links
Advertisement
Table of Contents

Summary of Contents for Intellinet 523776
- Page 1 EthErnEt ManagEd Switch uSEr Manual Model 523776 INT-523776-UM-0607-02...
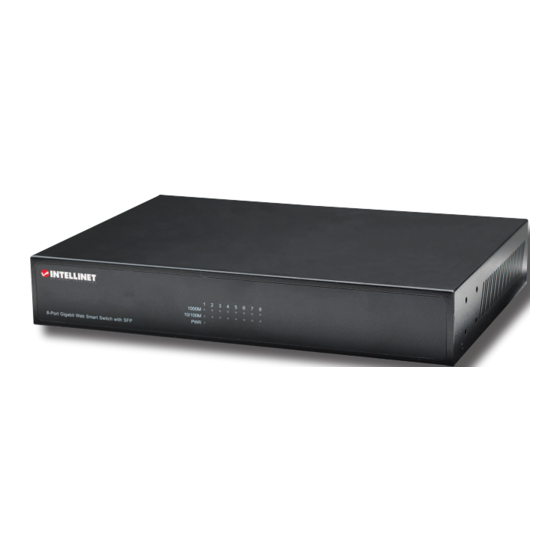
- Page 3 Thank you for purchasing the INTellINeT NeTWoRK SolUTIoNS Gigabit ethernet ™ Managed Switch, Model 523776. With eight Gigabit ports that provide true Gigabit connectivity, this switch will instantly boost your networking throughput so you can transfer large, bandwidth-hungry files faster and with a noticeable improvement in efficiency.
-
Page 4: Table Of Contents
tablE oF contEntS section page 1. INSTAllATIoN ......................5 Front Panel ......................5 Rear Panel ....................... 5 Placement ........................ 6 description of Switch Functions ................7 2. MANAGeMeNT ......................7 Switch Access ......................7 Configuration ......................8 System ......................8 Port ........................ -
Page 5: Installation
1. inStallation Front Panel The front panel of the Gigabit ethernet Managed Switch presents the led indicators, as shown in the image at right and described in the table below. NOTE: The image depicts only the LED section of the front panel. Status Indication/Operation Steady green... -
Page 6: Placement
Restore Default Button You can use this button to reset the switch or restore it to its factory default settings. To reset the switch, press the button once; to restore factory default settings, press and hold the button in for three seconds. Power Receptacle To be compatible with electrical standards around the world, the Gigabit ethernet Managed Switch is designed to work with voltages between 100 and 240 V AC and 50/60 Hz. -
Page 7: Description Of Switch Functions
description of Switch Functions Jumbo Frame The Gigabit ethernet Managed Switch supports Jumbo Frames, which means that it can transmit the same data in fewer frames. This helps to ensure fewer overheads, shorter processing time and fewer interruptions. NOTE: To enable Jumbo Frame, Flow Control should be enabled first. Flow Control and Backpressure Flow Control and Backpressure both help devices with different processing speeds communicate with each other. -
Page 8: Configuration
2. Key in the username and password. The factory defaults for the username and the password are both “admin.” Configuration System After login, the System screen (the first choice on the Configuration menu) appears. This is also the homepage. Click on the links on the left side of each screen to get access to the various management functions. -
Page 9: Vlan
Link: Shows the link status of each port. The field lights green and shows the link speed if there is a valid connection on the port. Mode: Select a speed for this port. “Auto Speed” enables auto-negotiation; “disable” stops the port from functioning. Flow Control: Check the box to enable the FDX Flow Control, or uncheck to disable. -
Page 10: Pvid
VLAn group, a port VLAn ID (PVID) that corresponds to the VLAn ID will be assigned automatically to this port. For example, when you make Port 3 of a VlAN part of VlAN Id 2, the PVId “2” will be assigned automatically to Port 3. Also, settings in VlAN, Port Aggregation and Mirror are co-dependent. -
Page 11: Quality Of Service (Qos)
Quality of Service (QoS) QoS enhances communication quality by giving precedence to certain classes of packets. This switch provides port-based, tag-based and DSCP QoS modes. Port-based QoS: This allows each port to be configured with either a high or low priority. -
Page 12: Mirror
DSCP QoS: This assigns packet priority according to the types of the incoming packets, distinguishing packets according to the “delay,” “Throughput” and “Reliability” information attached to the packet (as shown below). Bit 0 (Delay) Bit 1 (Throughput) Bit 3 (Reliability) 0 (normal) 0 (normal) 0 (normal) -
Page 13: Snmp
MIB with read/write authority. Discovery After installing a series of INTellINeT NeTWoRK SolUTIoNS switches, the discovery management tool helps users search and access those switches within the lAN. NOTE: The discovery tool lists a maximum of 16 devices for auto and manual modes. -
Page 14: Detailed Statistics
Detailed Statistics This screen allows users to see the detailed transmitting and receiving status of each port by clicking the port’s hyperlink. Click “Clear” to clear all statistics; click “Refresh” to renew them. Maintenance Restart To restart the system, click “Yes.” The system restarts and shows the authentication window. -
Page 15: Specifications
3. SPEciFicationS • Port configuration options Standards - enable/disable • IEEE 802.3 (10Base-T Ethernet) - 10, 100, 1,000 Mbps or auto-negotiation • IEEE 802.3u (100Base-TX Fast Ethernet) - full duplex or half duplex • IEEE 802.3x (flow control, for full duplex - flow control enable/disable mode) - maximum frame size (1518 –... - Page 16 Are you completely satisfied with this product? Please contact your INTellINeT NeTWoRK SolUTIoNS dealer ™ with comments or questions. Copyright © InTELLInET nETWoRK SolUTIoNS All products mentioned are trademarks or registered trademarks of their respective owners.


Need help?
Do you have a question about the 523776 and is the answer not in the manual?
Questions and answers