Advertisement
Quick Links
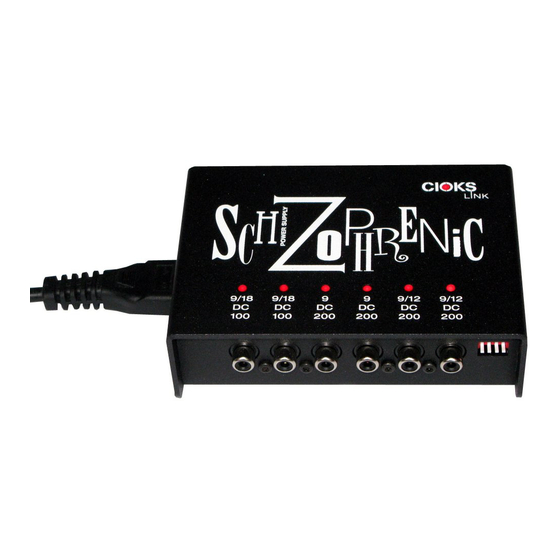
CIOKS LINK range power supplies underneath or on top of a Pedaltrain board.
Attaching of CIOKS link range power supply to a Pedaltrain pedal board
Version 1.0 of 21.07.2013
This document should help you to attach a CIOKS link range power supply to a Pedaltrain pedal board.
Considerations before you start
Power supply on top or underneath the pedal board?
The first question is whether you want to have the power supply on top or underneath the board. Top
placement gives you easy access to outlets, settings switch, mains power cord, mains voltage selector
switch and you always have a clear view on the LED indicators showing you the status of all isolated
sections. If there's any kind of faulty situation, like an overload or a shorted cable, you can locate it just by a
glance at the status LEDs. Attaching the unit underneath the board gives you limited access to the
mentioned features since you need to flip your pedal board but gives you more valuable space on top for
your pedals.
Space underneath the pedal board
All CIOKS link range power supplies are 88mm deep. According to information received from John Chandler,
CEO of Pro Stage Gear/Pedaltrain, there should be a minimum 89mm space between the bars/slats below
the pedal boards, allowing accommodating any of CIOKS link range power supplies in the space between.
No modifications or taller feet are needed with Pedaltrain models PT-Jr, PT-1, PT-2, PT-3, PT-PRO or PT-
Grande. If you have one of the small PT-nano or PT-mini, there is not enough high to fit a CIOKS link range
power supply. In case of these two Pedaltrain models you'd have to raise the whole board with ex. taller
feet. Whether you wish top or underneath placement, everything needed to attach the unit to the board is
included with the power supply, no additional screws or mounting kit is in the box.
Flex cables length
When planning where to attach the power supply to your Pedaltrain board in terms left, middle, right you
must take into consideration the lengths of the Flex cables, both those which were included with your unit
and those you can buy additionally. Make sure they all can reach from the right outlet of the power supply
to the input socket of the particular pedal. This consideration is crucial with the bigger pedal boards like the
PT-PRO or PT-Grande. All Flex cable types are available in 30 and 50cm length where type 1 (black, BOSS
standard) and type 4 (green, for Eventides or ex. 24V EHX pedals) are also obtainable in 80cm length. Now
where the new Extension Flex is also obtainable you can get an extra 50cm on any Flex cable to reach the
most far away pedals from the power supply.
AC mains inlet and courtesy AC mains outlet
Please also consider where you wish to have the power supply's AC mains inlet so you easily can plug in the
mains power cord to the unit. Also if you plan to add one more link range power supply and power it from
the courtesy AC mains outlet using the LINK adapter, there should be enough space for this next unit and
the adapter plus a bit extra.
Page 1
Advertisement

Related Manuals for CIOKS LINK Series


Summary of Contents for CIOKS LINK Series
- Page 1 No modifications or taller feet are needed with Pedaltrain models PT-Jr, PT-1, PT-2, PT-3, PT-PRO or PT- Grande. If you have one of the small PT-nano or PT-mini, there is not enough high to fit a CIOKS link range power supply. In case of these two Pedaltrain models you’d have to raise the whole board with ex. taller feet.
- Page 2 Pedaltrain Junior PT-Jr pedal board. The procedure is exactly the same with the Big John link or AC Rider link. When mounting the CIOKS/Eventide PowerFactor 2 you just need 4 instead of 3 sets of a screw, spring washer and stand-off.
- Page 3 CIOKS LINK range power supplies underneath or on top of a Pedaltrain board. The next two pictures show the power supply in the desired position and then the leaflet functioning as the drill template positioned and attached with tape in the exactly same place.
- Page 4 CIOKS LINK range power supplies underneath or on top of a Pedaltrain board. The next pictures show the mounted power supply both from top and from below of the board. On the next page you see how two link range power supplies are mounted underneath a Pedaltrain board and powered with just one mains power cord.
- Page 5 CIOKS/Eventide PowerFactor 2 If you wish to mount the CIOKS/Eventide PowerFactor 2 underneath a Pedaltrain board, the procedure is the same as with the Link range units, you just need to drill four holes instead of three. The four needed and included stand-offs should be attached as shown on the picture below.
- Page 6 CIOKS LINK range power supplies underneath or on top of a Pedaltrain board. Page 6...
- Page 7 CIOKS LINK range power supplies underneath or on top of a Pedaltrain board. Go to the next page to see the the stap-by-step mounting guide of the mains adapter and how it can be used to power one or two plug in adapters using the courtesy AC mains outlet of a link range power supply.
- Page 8 CIOKS LINK range power supplies underneath or on top of a Pedaltrain board. MAda – Mains Adapter incl. mounting kit The first picture shows what is included with the MAda – mains adapter incl. the mounting kit. To attach the adapter using the mounting kit you need to remove the two screws on the same side of the power supply where the AC mains courtesy outlet is located.
- Page 9 CIOKS LINK range power supplies underneath or on top of a Pedaltrain board. The next two pictures show the mains adapter attached to the Schizophrenic link power supply underneath a Pedaltrain Junior board. When the link range power supply is mounted underneath the Pedaltrain board as described earlier in this document, the adapter allows powering of two different devices like ex.
Need help?
Do you have a question about the LINK Series and is the answer not in the manual?
Questions and answers