
Subscribe to Our Youtube Channel
Related Manuals for progressive automations FLT-11


Summary of Contents for progressive automations FLT-11
- Page 1 FLT-11 User Manual Contents Caution Page 2 Technical Specifications Page 3 Page 4 Dimensions Parts/Setup Page 5 Operation/Safety Page 6...
- Page 2 Caution Warning Ensure no obstacles are in the column's path. Ensure the column is not touching any walls. Ensure all cords Pinch Point are appropriate length to accommodate the change in Keep hands and fingers clear. height. Keep children away from electric height-adjustable lifting columns, control units, and handsets. There is a risk of injury and electric shock.
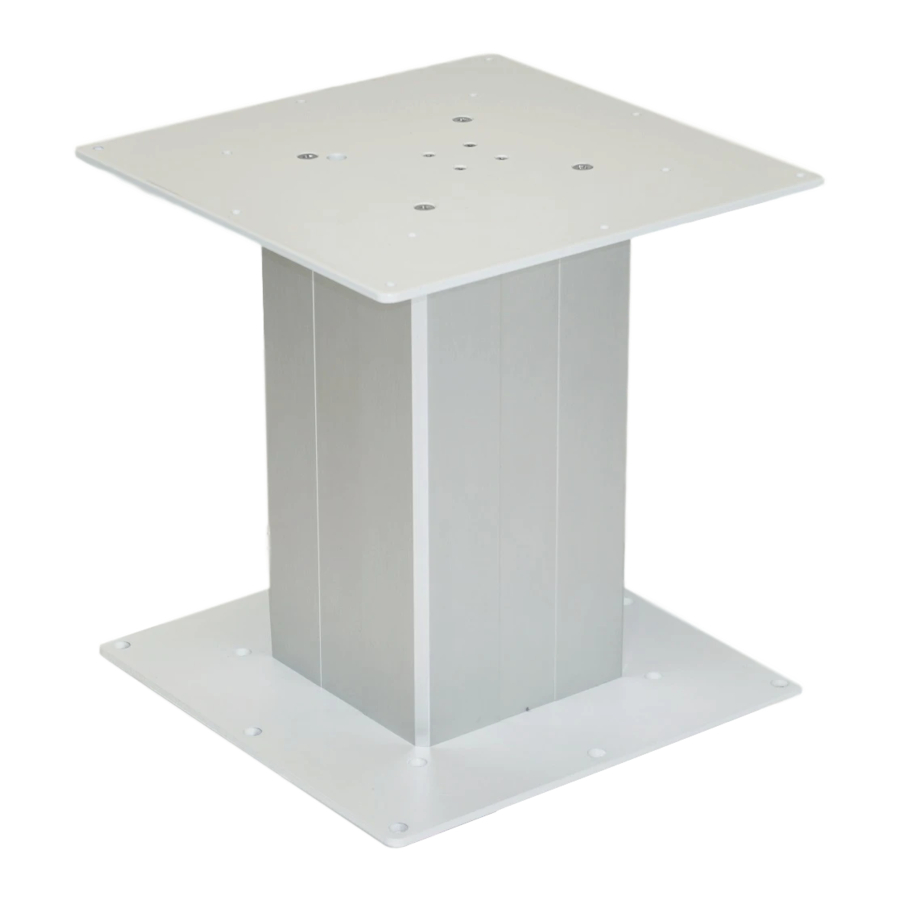
- Page 3 Technical Specifications Input Voltage 120 VAC, 60 Hz Output Voltage 24 VDC Stroke 16.5" Weight Capacity 225lbs 0.5"/sec Speed 12” - 28.5” Height Range Duty Cycle 10% Max. 2 mins on, 18 mins off Aluminum Alloy Material Certification Temperature Rating 5C to 40C...
- Page 4 Dimensions Wireless Remote 11.61" 5.50" Ø 0.21" 0.80" 2.20" Wired Remote 1.59" 0.80" Ø0.43" 11.61" 1.49" 3.94" Bottom 0.65" 0.23" 2.38" Ø 0.21" 6.13" 0.65" 0.23" Control Box 0.10" 0.24" 1.89" 3.44" 1.52" 1.57" 0.34" 0.84" 0.80" 0.65" 0.40" 0.18" 2.83"...
- Page 5 Parts Lifting Column Control Box AC Power Cord Extension Cable Wireless Remote Wired Remote Setup FLT-11 FLT-11 Control Box Wired Wireless Remote Remote...
- Page 6 Operation Procedure Use the wired or wireless remote for full up and down motion control. The non-momentary buttons allow the user to press the buttons for both up and down control. Pressing any button while in motion will stop the column. Pairing the wireless remote Press the UP and DOWN buttons on the wireless remote while simultaneously pressing the button on the side of the control box for 10 seconds.
Need help?
Do you have a question about the FLT-11 and is the answer not in the manual?
Questions and answers
What does a top blinking green light on the control mean? Unit goes down, but not up....
A blinking green light on the Progressive Automations FLT-11 control indicates that the lifting column is in reset mode. To complete the reset procedure, press and hold the down button for 10 seconds until the green light stops flashing.
This answer is automatically generated