Met One Instruments BAM-1020 Addendum
Leak check
Hide thumbs
Also See for BAM-1020:
- Operation manual (106 pages) ,
- Manual addendum (13 pages) ,
- Manual (5 pages)
Table of Contents
Advertisement
Quick Links
Met One Instruments, Inc.
1600 NW Washington Blvd.
Grants Pass, OR 97526
Telephone: (541) 471-7111
Facsimile: (541) 471-7116
BAM-1020 Leak Check Addendum - ©
this publication may be reproduced, transmitted, transcribed, stored in a retrieval system, or translated into any other language in any
form without the express written permission of Met One Instruments, Inc.
BAM-1020 L
BAM-1020-9804 L
www.metone.com
Copyright 2018 Met One Instruments, Inc. All Rights Reserved worldwide. No part of
EAK
A
DDENDUM
C
EAK
HECK
C
HECK
R
A
EV
Advertisement
Table of Contents

Subscribe to Our Youtube Channel
Related Manuals for Met One Instruments BAM-1020


Summary of Contents for Met One Instruments BAM-1020
- Page 1 BAM-1020 Leak Check Addendum - © Copyright 2018 Met One Instruments, Inc. All Rights Reserved worldwide. No part of this publication may be reproduced, transmitted, transcribed, stored in a retrieval system, or translated into any other language in any...
- Page 2 Page 2 BAM-1020-9804 Leak Check REV A...
-
Page 3: Table Of Contents
Figure 2-1 BX-305 Leak Check Valve Installed on Inlet Tube ............. 5 Figure 2-2 Nozzle Seal Tool with Hole Under the Nozzle ..............7 Figure 2-3 Nozzle Seal Tool with Solid Side Under the Nozzle ............8 BAM-1020-9804 Leak Check REV A Page 3... -
Page 4: Introduction
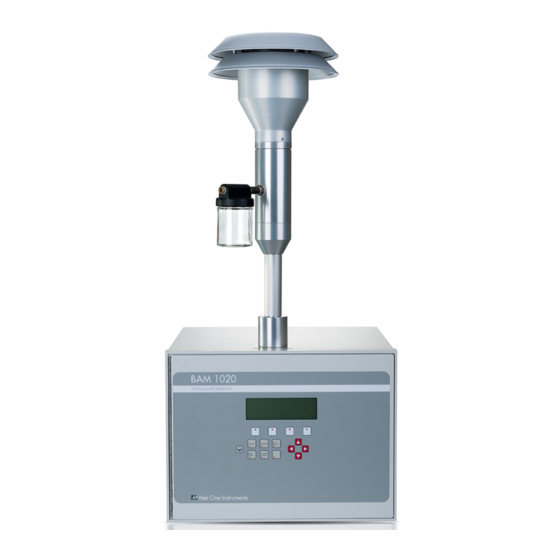
Please have the instrument serial number available when contacting the manufacturer. On most models manufactured by Met One Instruments, it will be located on a silver product label on the unit, and also printed on the calibration certificate. The serial number will begin with a letter and be followed by a unique five-digit number such as U15915. -
Page 5: Leak Checks
3. Press the PUMP button. The BAM-1020 will automatically lower the nozzle (if needed) and start the pump. 4. Allow sufficient time for the flow to stabilize at 16.7 LPM on the BAM-1020 display and then press the LEAK button. Verify the status changes to indicate LEAK ON. - Page 6 Operation Manual. Pay particular attention to areas shown to have build up in step 10 above. 12. Reinstall the filter tape as directed in the Filter Tape Loading section of the BAM-1020 Operation Manual. If step 6 failed, repeat the above leak check procedure now. If step 6 passed, continue on to step 13.
-
Page 7: Advanced Leak Checks
4. In the TEST>PUMP menu. Press the PUMP button. The BAM-1020 will automatically lower the nozzle and start the pump. 5. Allow sufficient time for the flow to stabilize at 16.7 LPM on the BAM-1020 display and then press the LEAK button. Verify the status changes to indicate LEAK ON. -
Page 8: Lower Leak Test
Figure 2-3 Nozzle Seal Tool with Solid Side Under the Nozzle 3. Verify the LEAK status still indicates LEAK ON. If not, press the LEAK button to turn it on and then press the PUMP button. The BAM-1020 should automatically lower the nozzle and start the pump. -
Page 9: Filter Tape Leak Test
8. Remove the Nozzle Seal Tool. 9. Place a three-inch-long piece of filter tape directly below the nozzle. 10. Press the PUMP button. The BAM-1020 should automatically lower the nozzle onto the strip of tape and start the pump. 11. When the flow rate stabilizes, write down the CTS flow rate value. This is the “With Tape”...
Need help?
Do you have a question about the BAM-1020 and is the answer not in the manual?
Questions and answers