Advertisement
English
• To see details of specifications and operations, refer to the instruction manual:
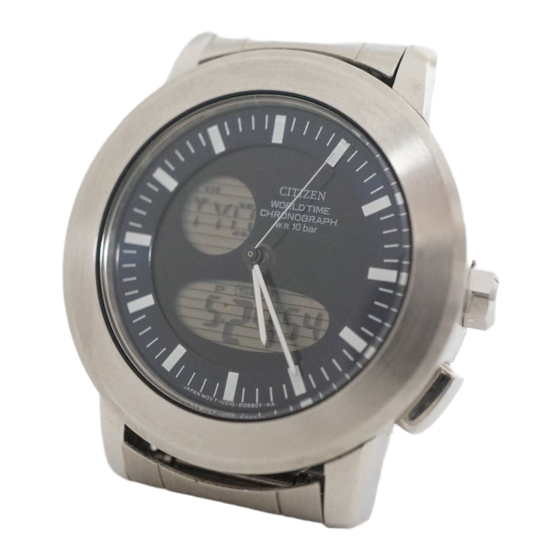
Component identification
Digital display 2
Button
M
Hour hand
Second hand
Button
B
• Actual appearance may differ from the illustration.
• Refer also to our web page for detail of usage of the scale and bezel on the watch.
(http://www.citizenwatch-global.com/support/pdf/enhanced/e.pdf)
Changing the mode
This watch features seven different modes (functions): "Time", "Calendar", "Alarm",
"Chronograph", "Timer", "Zone Setting" and "Shutter mode".
1.
Press and release the upper left button
Each time you press the button, the mode changes as below:
"Time"
"Shutter mode"
"Zone Setting"
Using EL lights
The EL lights are turned on when you press button
in and the mode is [Time], [Calendar] or [Zone Setting].
• The lights are also turned on when pressing button
measurement using the chronograph.
Setting the time
Setting the time of the analog section
1.
Pull out the crown when the second hand points 0 second.
The second hand stops.
2.
Rotate the crown to set the time.
• Move the hands 4 or 5 minutes forward and move them back to the right
time to set the time more precisely.
3.
Push in the crown in accordance with a reliable time source to
finish the procedure.
The second hand starts moving.
U010 Abbreviated instruction
Minute hand
Crown
Digital display 1
Button
A
repeatedly.
M
"Calendar"
"Alarm"
"Timer"
"Chronograph"
while the crown is pushed
A
or
during time
A
B
U010 instruction manual
Setting the time of the digital section
• Press button
to cancel setting of the time of the digital section.
M
• The setting is automatically canceled in about 2 minutes without any operation
during the setting.
1.
Press and release the upper left button
the mode to "Time".
2.
Press and release the lower left button
indicate an area name you want on the digital display 2.
• For area names, refer to the table on "Using the world time".
3.
Press and hold the lower left button
[SUM] and [On] or [OF] starts blinking and the time becomes adjustable.
• The blinking part is the target to adjust.
4.
Press and release the lower left button
the target to be set.
• Each time you press button
Normal time
indication
Summer time
12/24-hour basis
Hour
5.
Press and release the lower right button
• Press button
in accordance with a reliable time source when setting the
A
second.
• Pressing and holding button
setting the minute and the hour.
• "A" or "P" is displayed to indicate AM or PM in 12-hour basis indication.
6.
Repeat steps 4 and 5 to set other targets.
7.
Press and release the upper left button
procedure.
repeatedly to change
M
repeatedly to
B
for about 2 seconds.
B
repeatedly to change
B
, the target changes as follows:
B
Second
Minute
to adjust the target.
A
changes indication continuously when
A
to finish the
M
Advertisement
Table of Contents

Related Manuals for Citizen U010


Summary of Contents for Citizen U010
- Page 1 U010 Abbreviated instruction English • To see details of specifications and operations, refer to the instruction manual: U010 instruction manual Setting the time of the digital section Component identification • Press button to cancel setting of the time of the digital section.
- Page 2 U010 Abbreviated instruction Setting the calendar Using the world time The calendar of this watch does not have to be adjusted manually until Thursday, Press and release the upper left button repeatedly to change December 31, 2099 including leap years. (perpetual calendar) the mode to “Time”.
- Page 3 U010 Abbreviated instruction Using the zone-set function You can hide unnecessary ones in the 30 areas and UTC, which the watch can indicate the time of; you can also activate/deactivate summer time for those areas separately. • Press button to cancel setting.
Need help?
Do you have a question about the U010 and is the answer not in the manual?
Questions and answers