
Related Manuals for CAPITAL SPORTS Barria


Summary of Contents for CAPITAL SPORTS Barria
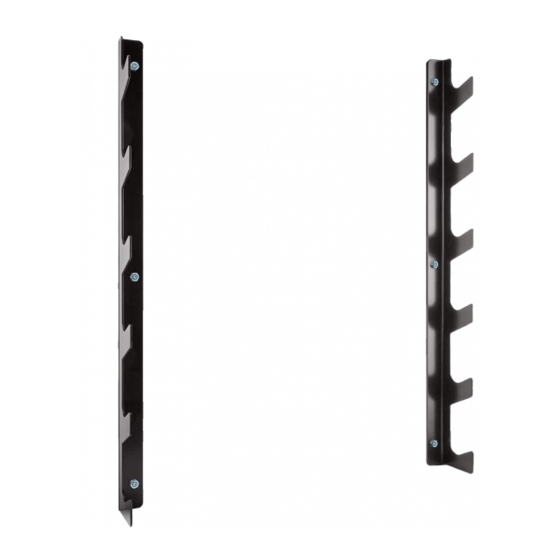
- Page 1 Barria Hantelstangen-Halterung Dumbbell Bar Holder Soporte para barras de pesas support de barres d’haltères Supporto barra del manubrio 10028757...
- Page 3 Sehr geehrter Kunde, wir gratulieren Ihnen zum Erwerb Ihres Gerätes. Lesen Sie die folgenden Hinweise sorgfältig durch und befolgen Sie diese, um möglichen Schäden vorzubeugen. Für Schäden, die durch Missachtung der Hinweise und unsachgemäßen Gebrauch entstehen, übernehmen wir keine Haftung. Scannen Sie den QR-Code, um Zugriff auf die aktuellste Bedienungsanleitung und weitere Informationen rund um das Produkt zu erhalten.
- Page 4 SICHERHEITSHINWEISE • Bewahren Sie die Bedienungsanleitung an einem sicheren Ort auf, so dass Sie jederzeit auf diese zugreifen können. • Bauen Sie das Gerät erst dann zusammen, wenn Sie die Bedienungsanleitung vollständig durchgelesen haben. Die Sicherheit und die Effizienz des Geräts können nur dann gewährleistet werden, wenn das Gerät richtig zusammengebaut wurde und fachgerecht gewartet und verwendet wird.
- Page 5 ZUSAMMENBAU Nutzen Sie einen geeigneten Drehen Sie die Schraubdübel hinein. Bohrer, um die Bohrlöcher für die Durch die Drehbewegung spreizt Schraubdübel zu bohren. sich die Metallhülse. Ein Stift bleibt hervorstehend. Drehen Sie die Mutter so fest, dass keine Luft mehr zwischen Wand, Halterung und Mutter ist.
- Page 7 Dear Customer, Congratulations on purchasing this device. Please read the following instructions carefully and follow them to prevent possible damages. We assume no liability for damage caused by disregard of the instructions and improper use. Scan the QR code to get access to the latest user manual and more product information.
-
Page 8: Safety Instructions
SAFETY INSTRUCTIONS • Please keep this manual in a safe place for your reference when necessary. • Please do not assembly or use this equipment until you read this manual thoroughly & carefully. The safety and efficiency only can be achieved when the equipment is assembled ,maintained and used properly. - Page 9 ASSEMBLY Use a suitable drill to drill the holes Screw in the screw anchors. The for the screw anchors. rotation expands the metal sleeve. A pin remains protruding. Tighten the nut so that there is no more air between the wall, bracket and nut.
- Page 11 Estimado cliente: Le felicitamos por la adquisición de este producto. Lea atentamente el siguiente manual y siga cuidadosamente las instrucciones de uso con el fin de evitar posibles daños. La empresa no se responsabiliza de los daños ocasionados por un uso indebido del producto o por haber desatendido las indicaciones de seguridad.
-
Page 12: Indicaciones De Seguridad
INDICACIONES DE SEGURIDAD • Conserve este manual en un lugar seguro para que pueda consultarlo en cualquier momento. • Monte el aparato una vez haya leído todo el manual de instrucciones. La seguridad y la eficacia del mismo solo podrá garantizarse si lo ha montado correctamente y si realiza un mantenimiento y uso idóneos. -
Page 13: Montaje
MONTAJE Utilice una broca apropiada para Introduzca el taco en el interior del perforar los orificios para los tacos. orificio girándolo. Con el movimiento giratorio, se desplegará el casquillo metálico. Sobresaldrá un pico. Apriete la tuerca para eliminar todo el aire existente entre la pared, el soporte y la tuerca. - Page 15 Chère cliente, cher client, Toutes nos félicitations pour l’acquisition de ce nouvel appareil. Veuillez lire attentivement et respecter les instructions de ce mode d’emploi afin d’éviter d’éventuels dommages. Nous ne saurions être tenus pour responsables des dommages dus au non-respect des consignes et à...
-
Page 16: Consignes De Sécurité
CONSIGNES DE SÉCURITÉ • Conservez le mode d‘emploi en lieu sûr afin de pouvoir vous y référer à tout moment. • Assemblez l‘appareil uniquement après avoir lu entièrement ce mode d‘emploi. La sécurité et l‘efficacité de l‘appareil ne peuvent être garanties que si l‘appareil a été... - Page 17 ASSEMBLAGE Utilisez une perceuse appropriée Vissez les chevilles. La cheville pour percer les trous de forage pour métallique s‘enfonce avec le les chevilles. mouvement rotatif. Reste une tige qui dépasse. Serrez l‘écrou pour qu‘il n‘y ait pas d‘air entre la paroi, le support et l‘écrou Frappez ensuite d‘un coup sec pour enfoncer la tige dans le mur.
- Page 19 Gentile cliente, La ringraziamo per aver acquistato il dispositivo. La preghiamo di leggere attentamente le seguenti istruzioni per l’uso e di seguirle per evitare possibili danni. Non ci assumiamo alcuna responsabilità per danni scaturiti da una mancata osservazione delle avvertenze di sicurezza e da un uso improprio del dispositivo.
-
Page 20: Avvertenze Di Sicurezza
AVVERTENZE DI SICUREZZA • Conservare il manuale d’uso in un luogo sicuro, in modo da poterlo consultare in ogni momento. • Procedere al montaggio del dispositivo solo dopo aver letto l’intero manuale d’uso. La sicurezza e l’efficacia del dispositivo sono garantite solo in caso di montaggio corretto e a regola d’arte e in un contesto di utilizzo appropriato. - Page 21 MONTAGGIO Utilizzare un trapano adatto per Avvitare i tasselli nei fori. Grazie al praticare i fori per i tasselli. movimento rotatorio la boccola di metallo si allarga consentendo al perno di sporgere. Stringere il dado in modo tale che tra la parete, il supporto e il dado non circoli l’aria.
Need help?
Do you have a question about the Barria and is the answer not in the manual?
Questions and answers