Advertisement
Quick Links
Advertisement

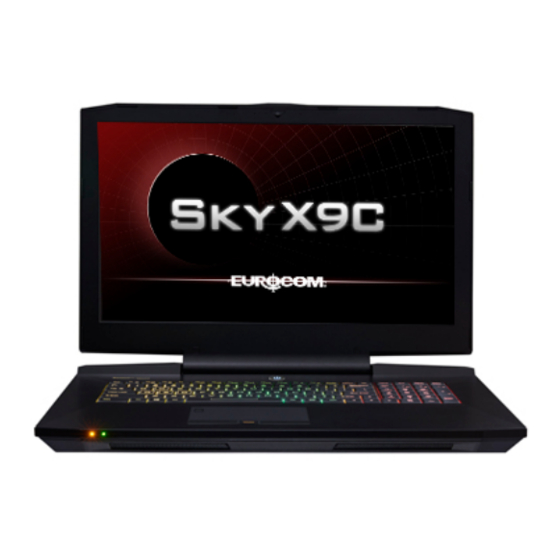
Summary of Contents for EUROCOM Sky X9C
- Page 1 P870DM3 to P870TM1 Conversion Guide...
-
Page 2: Tools Required
Tools Required 1. Container to hold screws 2. Large and small Philips screwdrivers 3. Exacto knife 4. High quality thermal paste 5. Cloth for cleaning thermal paste 6. Contact cleaner, or isopropyl alcohol... - Page 3 Part 1: Preparing the P870TM1 For install Step 1. Remove the 9 screws holding the bottom cover on Step 2. Remove the Bottom Cover...
- Page 4 Step 3. Remove the GPU heatsink by removing the 4 screws. Set aside Step 4. Remove the CPU heatsink, by going from number 7 to 1, disconnect CPU fan. Set aside. Verify that there is no screw in the hole mark KB.
- Page 5 Step 5. Open CPU retention clip. Step 6. Carefully install CPU. Make sure it is flat.
- Page 6 Step 7. Close CPU retention clip Step 8. Apply and spread high quality thermal paste.
- Page 7 Step 9. Install CPU heatsink, follow the number pattern from 1 to 7. Plug in CPU Fan.
- Page 8 Part 2: Removing parts from P870DM3 Step 1. Remove the 9 screws holding the bottom cover on Step 2. Remove the Bottom Cover...
- Page 9 Step 3. Remove the 4 screws and remove the battery. Remove K/B screw Step 4. Push large screwdriver in hold between CPU fan and subwoofer...
- Page 10 Step 5. Lift keyboard from top near LCD and place on palm rest. Be careful, there are 3 cables attached. Step 6. Disconnect 3 keyboard cables, and remove keyboard.
- Page 11 Step 7. Remove RAM, and unscrew Wi-Fi card. Step 8. Remove Wi-Fi card, and disconnect the 2 cables. Be careful, the cables are fragile.
- Page 12 Step 9. Remove LCD screw covers with an Exacto knife. Step 10. Remove the 2 LCD screws...
- Page 13 Step 11. Remove LCD front cover Step 12. Remove the 4 LCD screws and lay the panel down on the palmrest.
- Page 14 Step 13. Disconnect LCD Cable, and remove LCD. Set aside. Step 14. Remove the 14 screws and remove the GPU heatsink.
- Page 15 Step 15. Clean thermal paste off GPU Step 16. Remove the 2 screws and disconnect GPU power cable. Remove GPU.
- Page 16 Step 17. Remove the 1 screws and remove HDD. Remove GPU power cable.
- Page 17 Part 3: Installing parts to the P870TM1 Step 1. Install LCD cable and lock down with tape. Step 2. Install 4 LCD screws. Verify that LCD cable is tucked behind clip. Install LCD Front Cover...
- Page 18 Step 3. Install RAM and Wi-Fi. Be careful, the cables are fragile. Step 4. Connect the 3 cables and install keyboard.
- Page 19 Step 5. Keyboard installed. Step 6. Install HDD, and install GPU power cable.
- Page 20 Step 7. Install GPU, attach GPU power cable. Install 2 screws to GPU. Apply high quality thermal paste. Step 8. Install GPU heatsink. Follow the number pattern for screws, skip numbers that are not used.
- Page 21 Step 9. Install battery, and 4 screws. Install keyboard screw. Step 10. Install the Bottom Cover...


Need help?
Do you have a question about the Sky X9C and is the answer not in the manual?
Questions and answers