Sign In
Upload
Download
Table of Contents
Contents
Add to my manuals
Delete from my manuals
Share
URL of this page:
HTML Link:
Bookmark this page
Add
Manual will be automatically added to "My Manuals"
Print this page
×
Bookmark added
×
Added to my manuals
Manuals
Brands
Dimplex Manuals
Air Conditioner
DCP11MULTI
Instruction manual
Dimplex DCP11MULTI Instruction Manual
Multidirectional portable air conditioner
Hide thumbs
1
2
3
4
5
6
7
8
9
10
11
12
13
14
15
16
17
18
Table Of Contents
19
page
of
19
Go
/
19
Contents
Table of Contents
Bookmarks
Table of Contents
Specification
Control Panel
LED Display
Installation
Exhaust Hose
Choosing the Right Location
Exhaust Hose Installation
Window Kit Installation
Dehumidification Mode
Setting the Timer
Sleep Mode
Error Codes
Water Drainage Method
Remote Control
Safety Precautions
Air Filter(S)
Maintenance
Warranty
Advertisement
Quick Links
1
Specification
2
Led Display
3
Control Panel
4
Exhaust Hose
5
Installation
6
Dehumidification Mode
7
Water Drainage Method
8
Error Codes
Download this manual
INSTRUCTION MANUAL
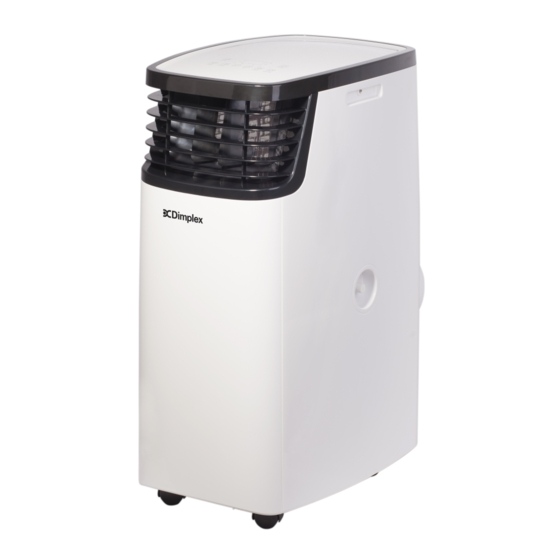
Multidirectional
Portable Air Conditioner
Model: DCP11MULTI & DCP14MULTI
For domestic household use only.
Table of
Contents
Previous
Page
Next
Page
1
2
3
4
5
Advertisement
Table of Contents
Need help?
Do you have a question about the DCP11MULTI and is the answer not in the manual?
Ask a question
Questions and answers
Related Manuals for Dimplex DCP11MULTI
Air Conditioner Dimplex DCP9 Instruction Manual
(25 pages)
Air Conditioner Dimplex DCP14MULTI Instruction Manual
Multidirectional portable air conditioner (19 pages)
Air Conditioner Dimplex DCPAC07C Instruction Manual
(25 pages)
Air Conditioner Dimplex DCPAC09C Instruction Manual
(26 pages)
Air Conditioner Dimplex DCP7W Instruction Manual
(29 pages)
Air Conditioner Dimplex DCP9WT Instruction Manual
(29 pages)
Air Conditioner Dimplex DCP12AN Instruction Manual
(29 pages)
Air Conditioner Dimplex DCP16C Instruction Manual
(25 pages)
Air Conditioner Dimplex DCP26EB Instruction Manual
Recycled portable air conditioner (25 pages)
Air Conditioner Dimplex DCP33EB Instruction Manual
Recycled portable air conditioner (25 pages)
Air Conditioner Dimplex DCP9C Instruction Manual
2.6kw portable air conditioner (27 pages)
Air Conditioner Dimplex DCP9BW Instruction Manual
2.6kw portable air conditioner (27 pages)
Air Conditioner Dimplex DCP5DUCTLESS Instruction Manual
(23 pages)
Air Conditioner Dimplex DC09MINI Instruction Manual
2.6kw portable air conditioner (13 pages)
Air Conditioner Dimplex DCB09 Owner's Manual
Window type air conditioner. 2.6kw cooling / 2.4kw heating, 4.1kw cooling / 3.6kw heating, 1.6kw cooling, 2.2kw cooling. (12 pages)
Air Conditioner Dimplex DCB07C Instruction Manual
Window/wall box air conditioner (12 pages)
This manual is also suitable for:
Dcp14multi
Table of Contents
Save PDF
Print
Rename the bookmark
Delete bookmark?
Delete from my manuals?
Login
Sign In
OR
Sign in with Facebook
Sign in with Google
Upload manual
Upload from disk
Upload from URL


Need help?
Do you have a question about the DCP11MULTI and is the answer not in the manual?
Questions and answers