Table of Contents
Advertisement
Quick Links
Advertisement
Table of Contents

Subscribe to Our Youtube Channel
Summary of Contents for Hakko Electronics 936
-
Page 3: Warnings And Cautions
3. WARNINGS AND CAUTIONS In this instruction manual, “WARNING” and “CAUTION” are defined as follows. WARNING WARNING: Misuse may potentially cause death of, or serious injury to, the user. CAUTION : Misuse may potentially cause injury to the user or physical damage to the objects involved. -
Page 4: Part Names
CAL pot plug/calibrator Power switch Hex wrench 5. SETTING UP & OPERATING THE HAKKO 936 CAUTION : The sponge is compressed. It will swell when moistened with water. Before using the unit, dampen the sponge with the water and squeeze it dry. -
Page 5: Set The Temperature
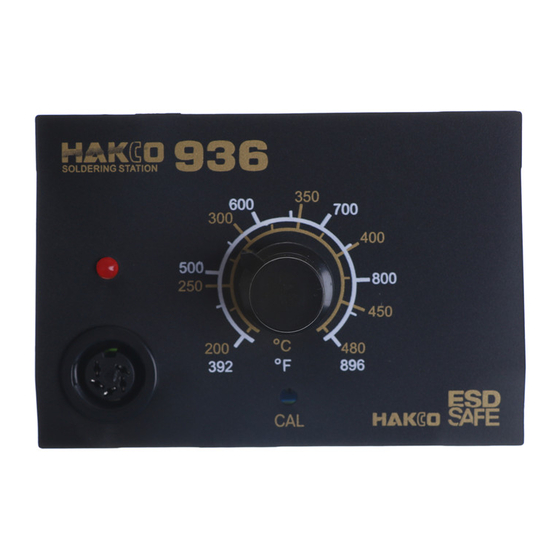
C. Set the temperature 1. Set the temperature control knob to the desired temperature. 2. Lock the knob. The HAKKO 936 station is equipped with a temperature control knob lock. After setting the desired temperature, tighten the hex nut on the underside of the knob mount using the supplied hex wrench. -
Page 8: Troubleshooting Guide
10. TROUBLESHOOTING GUIDE WARNING : * Disconnect the power plug before servicing. Failure to do so may result in electric shock. * If the power cord is damaged, it must be replaced by the manufacturer, its service agent or similarity qualified person in order to avoid personal injury or damage to the unit. -
Page 9: Broken Heating Element
11. CHECKING FOR BREAKAGE OF THE HEATING ELEMENT AND CORD ASSEMBLY 2.5 - 3.5 Ω (Normal) Disconnect the plug and measure Between pins 4&5 (Heating Element) 43 - 58 Ω (Normal) Between pins 1&2 (Sensor) the resistance value between the <... -
Page 10: Broken Soldering Iron Cord
Disassembling the 900S 1. Slide the handle cover (2) toward the cord and remove the screw (1) securing the heating element. 2. Turn the nut (3) counterclockwise and remove it. 3. Remove the tip (4). 4. Pull both the heating element (5) and the cord toward the tip of the iron and out of the handle (6).


Need help?
Do you have a question about the 936 and is the answer not in the manual?
Questions and answers