Sign In
Upload
Download
Table of Contents
Contents
Add to my manuals
Delete from my manuals
Share
URL of this page:
HTML Link:
Bookmark this page
Add
Manual will be automatically added to "My Manuals"
Print this page
×
Bookmark added
×
Added to my manuals
Manuals
Brands
FONESTAR Manuals
Matrix Switcher
MPX-4088
Instruction manual
FONESTAR MPX-4088 Instruction Manual
Audio matrix
Hide thumbs
Also See for MPX-4088
:
Instruction manual
(49 pages)
1
2
3
4
5
6
7
8
9
10
11
12
13
14
15
16
17
18
19
20
21
22
23
24
25
26
27
28
29
30
31
32
Table Of Contents
33
page
of
33
Go
/
33
Contents
Table of Contents
Bookmarks
Table of Contents
Exemption of Liability
Controls and Functions Front Panel
Rear Panel
Connection Examples
Configuration and Control Software
Controls and Functions Front Panel
Rear Panel
Installation
Rs-232 Communication Protocol
Firmware Updating
Configuration of Network Parameters
Technical Specifications
Warranty
Advertisement
Quick Links
1
Rear Panel
2
Connection Examples
Download this manual
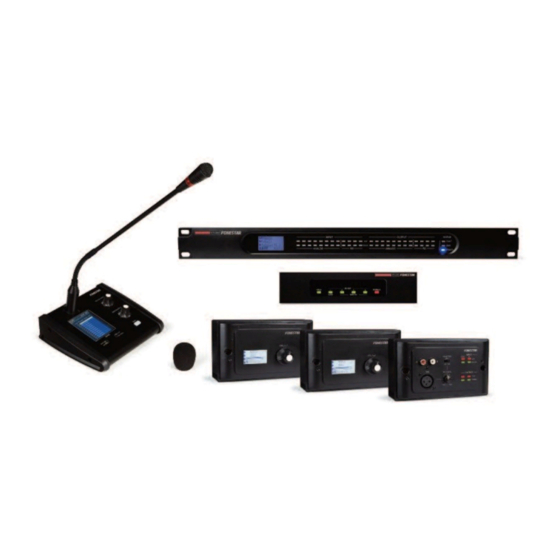
MPX-4088, MPX-400MIC, MPX-410ES,
MPX-420V, MPX-430VS AND MPX-440X
AUDIO MATRIX
INSTRUCTION MANUAL
Table of
Contents
Previous
Page
Next
Page
1
2
3
4
5
Advertisement
Table of Contents
Need help?
Do you have a question about the MPX-4088 and is the answer not in the manual?
Ask a question
Questions and answers
Subscribe to Our Youtube Channel
Related Manuals for FONESTAR MPX-4088
Stereo System FONESTAR MPX-4088 Instruction Manual
Audio matrix (49 pages)
Remote Control FONESTAR MPX-410ES Quick Start Manual
Audio input/output control (13 pages)
Microphone FONESTAR MPX-400MIC Quick Start Manual
For audio matrix (4 pages)
Controller FONESTAR MPX-420V Quick Start Manual
Volume controller (4 pages)
Matrix Switcher FONESTAR MPX-440X Instruction Manual
Audio matrix (33 pages)
Matrix Switcher FONESTAR MPX-8800 Instruction Manual
Allocation matrix with 8 input channels to 8 output zones (15 pages)
Matrix Switcher FONESTAR FO-20M44XT Instruction Manual
4 x 4 hdmi matrix (48 pages)
Matrix Switcher FONESTAR FO-455M Instruction Manual
Hdmi extensions matrix via tcp/ip ethernet (12 pages)
Matrix Switcher FONESTAR FO-22M44-CAT Instruction Manual
4 x 4 hdmi extension matrix (25 pages)
Matrix Switcher FONESTAR FO-22M42 Instruction Manual
4 x 2 hdmi matrix (17 pages)
Matrix Switcher FONESTAR FO-22M88 Instruction Manual
8 x 8 hdmi matrix (48 pages)
Matrix Switcher FONESTAR FO-14M44E Instruction Manual
4 x 4 hdmi matrix (9 pages)
This manual is also suitable for:
Mpx-400mic
Mpx-410es
Mpx-420v
Mpx-430vs
Mpx-440x
Table of Contents
Print
Rename the bookmark
Delete bookmark?
Delete from my manuals?
Login
Sign In
OR
Sign in with Facebook
Sign in with Google
Upload manual
Upload from disk
Upload from URL


Need help?
Do you have a question about the MPX-4088 and is the answer not in the manual?
Questions and answers