Velux INTEGRA KLI 310 Instructions Manual
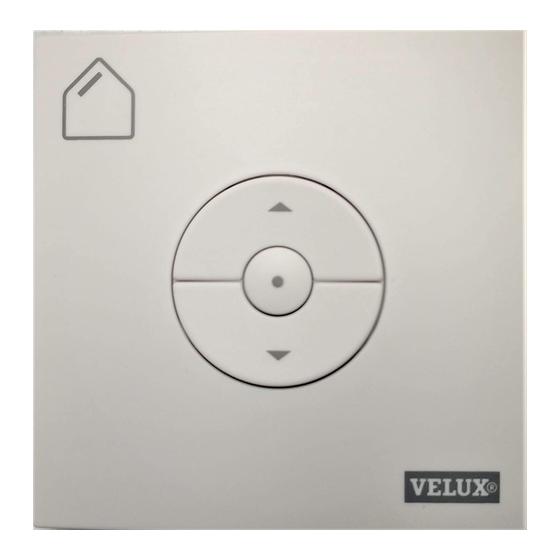
Wall switch
Hide thumbs
Also See for INTEGRA KLI 310:
- Instructions manual (55 pages) ,
- Directions for use manual (19 pages) ,
- Quick start manual (9 pages)

Related Manuals for Velux INTEGRA KLI 310


Summary of Contents for Velux INTEGRA KLI 310
- Page 1 VELUX INTEGRA ® KLI 310/311/312 ENGLISH: Instructions for wall switch ESPAÑOL: Instrucciones para el teclado de control FRANÇAIS : Instructions pour le bloc numérique 日本語: リモコンKLI 110の取扱説明書 VAS 454332-2018-XX...
- Page 2 Pages 85-111 Set-up of KLI 311/312/310 to operate products 20-21 already registered in control pad KLR 200 Set-up of KLI 311/KLI 310 to operate VELUX INTEGRA skylights 22-23 Set-up of KLI 311/KLI 310 to operate VELUX INTEGRA blinds 24-25 Set-up of KLI 311/KLI 312/KLI 310 to operate...
- Page 3 • The control keypad should be fixed at a position where the product to be operated is within sight. • The control keypad has been designed for use with genuine VELUX INTEGRA ® products. • The control keypad is a Class 2 Low Voltage product (3 V d.c.).
-
Page 4: Installation
• The term "IC:" before the control keypad certification number only signifies that the Industry Canada technical specifications were met. • If you have any technical questions, please contact your VELUX sales company, see telephone list or www.velux.com. Installation •... - Page 5 QUICK START QUICK START Power on products Power on the electrical skylights at the mains and the solar skylights at their power switch. Batteries Insert batteries as shown. Power on solar blinds at their sliding switch. 8 VELUX VELUX ® ®...
- Page 6 Rain sensor VELUX INTEGRA skylights come with a rain sensor. A KLI provided together with a VELUX INTEGRA product is pre-regis- If the rain sensor is activated, the skylight will close automatically within tered with this product and needs no additional set-up to operate the approximately 30 seconds and the rain sensor will not allow the skylight product.
- Page 7 Fix wall bracket to wall with screws as shown. For installation of more wall switches in a group, temporarily use the red If needed, detach the wall switch as shown spacer bar as shown. 12 VELUX VELUX ® ®...
- Page 8 KLI models and set-up KLI 310 universal for all INTEGRA products. KLI 311 provided with every VELUX INTEGRA ® The KLI has two buttons used for advanced set-up: skylight. The weel button “Open for registration”. The icon indicates which products it can oper- ate.
- Page 9 The product will start running briefly back and forth. Press Rectangle button on the new KLI wall switch for 1 second. The product is now controlled by both KLI wall switches. 1 sec 1 sec 16 VELUX VELUX ® ®...
- Page 10 Press Rectangle button on the master wall switch KLI for 1 second. All products are now controlled simultaneously by the master wall switch (a). Repeat the procedure for products failing set-up and for adding ad- ditional products. 1 sec 1 sec 18 VELUX VELUX ® ®...
- Page 11 KLR 200 KLR 200 KLR 200 Note: To add more products, tap "Choose more" and repeat steps 5-8. The products can now be operated with KLI 310/311/312 as well. KLI 310/311/312 KLR 200 1 sec 20 VELUX VELUX ® ®...
- Page 12 Set-up of KLI 311/KLI 310 to operate VELUX INTEGRA skylights Important: The KLI must be the universal KLI 310 or the model match- ing the product. If a non-functional control must be replaced or if the control pad cannot find certain products, you can make the products ready for registration by manually resetting them to initial factory settings.
- Page 13 Set-up of KLI 312/KLI 310 to operate VELUX INTEGRA blinds Important: The KLI must be the universal KLI 310 or the model match- ing the product. If a non-functional control must be replaced or if the control pad cannot find certain products, you can make the products ready for registration by manually resetting them to initial factory settings.
- Page 14 Press the stop key and then the DOWN key within 3 seconds. This is only necessary at the initial set-up after installing the product. The products can now be operated by the KLI 311/312/310. 1 sec max 3 sec 26 VELUX VELUX ® ®...
- Page 15 Delete (reset) all products from a wall switch KLI by pressing tooth wheel button for 1 sec followed by pressing rectangle button for 1 sec. Now the products cannot be operated by this KLI anymore. 1 sec 1 sec 28 VELUX VELUX ® ®...
Need help?
Do you have a question about the INTEGRA KLI 310 and is the answer not in the manual?
Questions and answers