Table of Contents
Advertisement
WARNING: If the information in this manual is not followed exactly, a fire or explosion may result causing property
damage, personal injury or loss of life.
– Do not store or use gasoline or other flammable vapors and liquids in the vicinity of this or any other appliance.
– WHAT TO DO IF YOU SMELL GAS
• Do not try to light any appliance.
• Do not touch any electrical switch.
• Immediately call your gas supplier. Follow the supplier's instructions.
• If you cannot reach your gas supplier, call the fire department.
– Installation and service must be performed by a qualified installer, service agency or the gas supplier.
0117WB036S
0117WB039E
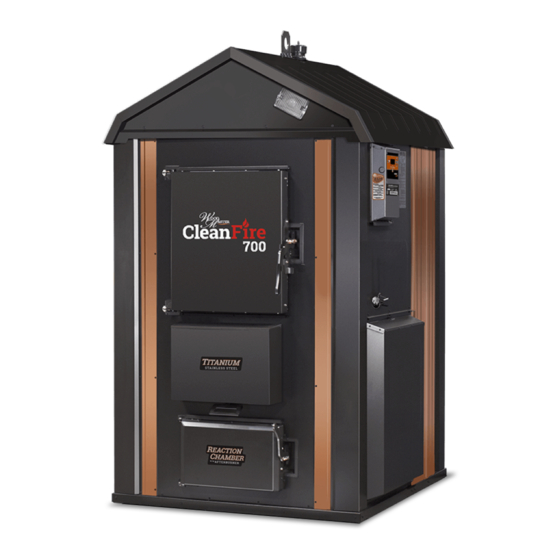
OUTDOOR WOOD FURNACE
OWNER'S MANUAL
CLEANFIRE 700
CLEANFIRE 500
CLEANFIRE 300
SAVE THESE
INSTRUCTIONS
(p/n 9000752) - JUN 2020
Advertisement
Table of Contents


Need help?
Do you have a question about the CleanFire 700 and is the answer not in the manual?
Questions and answers