Advertisement
Advertisement
Table of Contents

Related Manuals for Baofeng DM-V1


Summary of Contents for Baofeng DM-V1
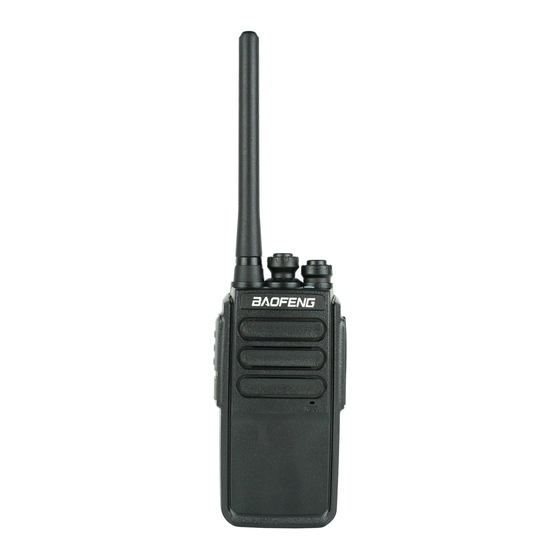
- Page 1 BAOFENG DM-V1 Programming Guide...
-
Page 2: Programming Notes
PREFACE Thank you very much for choosing our BAOFENG Dual Band Digital DMR and Analog two way radio. This radio adopts the latest advances in technology, providing reliable communication in today’s demanding communication environment. This radio offers both DMR digital and analog communication, introduces innovative DMR digital processing system to achieve SMS, high-audio quality and digital encryption. -
Page 3: Usb Driver Installation
1) Connect the machine to the computer using the programming cable. 2) Open the CPS DM-V1 programming software and open the firmware upgrade tool via “Program - Tool”. 3) Press and hold the PTT button to turn on the light, then the green light will be on. -
Page 4: General Setting
When reading or writing data from or to the DM-V1, the software offers various possibilities: 4.1 Read data To read in all frequency settings as well as further settings from your DM-V1 radio, use this option. Picture 3: Read data 4.2 General setting... -
Page 5: Button Definitions
Picture 4: General Setting-Parameter The following topics described those parameters used more often. 4.3 Button Definitions There are various buttons definitions possible: Radio Buttons One Touch Call 4.3.1 Radio Buttons The radio buttons may even have two different functions assigned. One of the functions is been activated on a ‘Short Press’... -
Page 6: One Touch Call
Picture 5: Radio Buttons Each of the keys has a function activated on ‘Short Press’ and another one activated on ‘Long Press’, resulting in a total of 30 different functions being directly accessible. 4.3.2 One Touch Call There are a total of six ‘One Touch Call’ options. Each of them with its own ‘Mode’, ‘Call’, ‘Call Type’ and ‘Quick Text’... - Page 7 Picture 7: One Touch Call Call Mode select either ‘Digital’ or ‘None’ If you select ‘None’ mode, this option is ignored. If you select digital Call Contact mode, it will define the ‘Digital Contact’ to be used. In ‘Digital’ mode, you can choose between ‘Call’ and ‘Quick Text’. Call Type If ‘Quick Text’...
- Page 8 Picture 8: Menu Item Note: The radio has no LCD display and will not be able to access the menu function through the radio display. 4.5 UI Indication-Alert Tone The eight parameters refer to tone prompts given in certain cases. Picture 9: Tone Alerts If you check ‘Disable All Tone’, you will not hear any prompts, even if you check ‘Channel Free Indication Tone’...
-
Page 9: Quick Text
4.7 Quick Text You can edit fast quick text that you use frequently. After saving them to the DM-V1 radio, the One Touch Call function enables one-button transmission of short messages. You can easily send them to the people... - Page 10 Picture 11: Quick Text 4.8. Encrypt Setting Digital encryption is also supported by your DM-V1 radio. You can set the corresponding digital encryption password. The person you are talking to can only hear your voice by setting the same encryption password as you, avoiding other people hearing your call. Select ’Program’-> ‘DMR Services’ ->...
- Page 11 5. DMR Parameter Configuration 5.1 Configuring Digital Contacts Store up to 800 Contacts. Select ’Program’ -> ‘DMR Services’ -> ‘Contact’ in order to work on those digital contacts. Picture 13: Digital Contacts Entry within the list of digital contacts Call Alias Name to be displayed for this digital contact You may select between: Group Call...
-
Page 12: Configuring Channels
Picture 14: Typical Digital RX group 5.3 Configuring Channels The DM-V1 offers up to 1024 channels for UHF. To start double click on the first line No.1 to open the Channel Information window for that channel: Picture 15: Channels List... - Page 13 Picture 16: Channel Information Let’s have a very short explanation of all those fields: Channel Alias The name of the channel (should be unique) Channel Type Select ‘Analog’ and ‘Digital’ Rx Frequency[MHz] the UHF frequency Tx Frequency[MHz] the UHF frequency Scan List Select which Scan List(s) will be scanned Lone worker...
- Page 14 5.5 Scan List A ‘Scan List’ is a group of channels to be monitored when the ‘Scan’-function is been activated using one of the programmable function keys. The DM-V1 has the capability of storing multiple scan lists per channel. 1. Select Scan List from the left column 2.
- Page 15 Picture 18: Scan List Scan Alias Name given to group of scanned channels Available Will list the channels available to scan Members List of channels to be scanned This feature defines the conventional channel/trunking personality on which the radio will Designated TX channel transmit if the user presses the Push-to-Talk (PTT) button while the radio is scanning.
- Page 16 After you have completed all the above steps, you can write the data to the DM-V1 radio. Note: Whenever you have made your changes and additions to the settings of your DM-V1 radio use this option to write your settings to the radio...
Need help?
Do you have a question about the DM-V1 and is the answer not in the manual?
Questions and answers