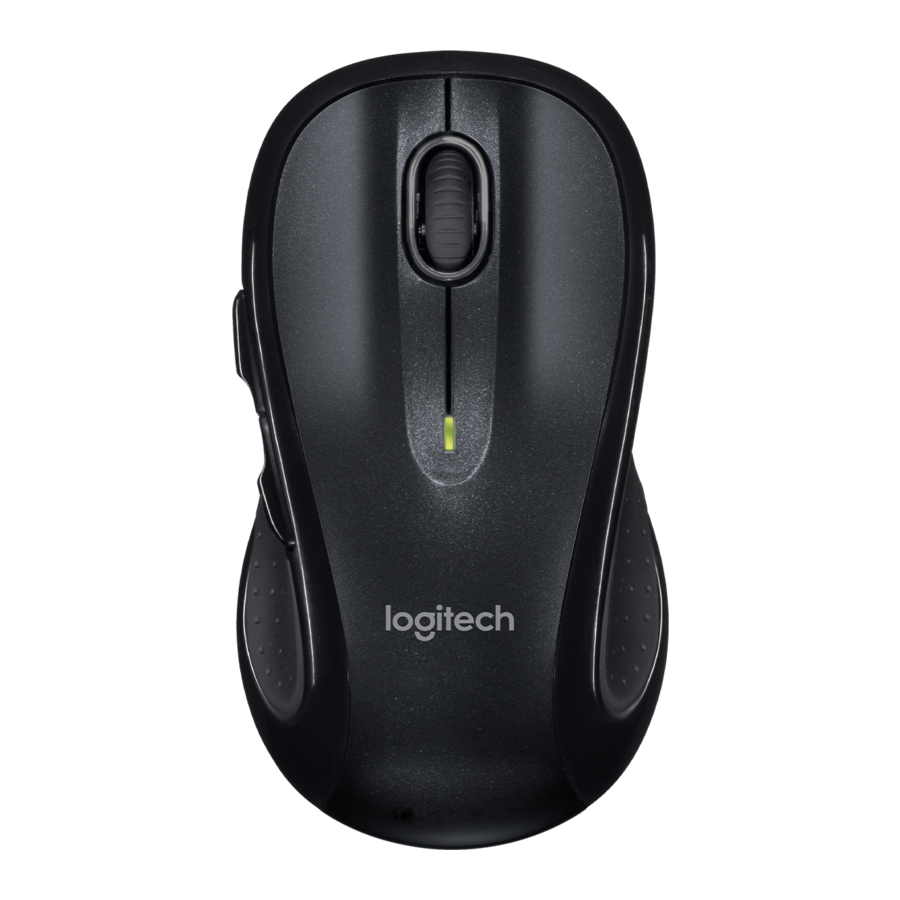
Logitech M510 Setup Manual
Hide thumbs
Also See for M510:
- Installation manual ,
- Setup manual (284 pages) ,
- Getting started manual (2 pages)
Advertisement
Advertisement
Table of Contents

Summary of Contents for Logitech M510
- Page 1 Logitech® Wireless Mouse M510 Logitech® Souris sans fil M510 Setup Guide Guide d’installation...
- Page 2 Logitech® Wireless Mouse M510 English 3...
- Page 3 Logitech® Wireless Mouse M510 Turn on your computer. 4 English...
- Page 4 Logitech® Wireless Mouse M510 1. Pull the tab to activate the mouse batteries. 2. The ON/Off slider should be in the ON position. English 5...
- Page 5 Logitech® Wireless Mouse M510 Insert the Unifying receiver into a computer USB port. Mac® OS X Users: When plugging in the Unifying receiver, the Keyboard Assistant dialog box may appear. You can just close this window. 6 English...
- Page 6 Logitech® Wireless Mouse M510 Congratulations! You are now ready to use your mouse. Advanced features. Software is optional for this mouse! Download the free mouse software (Logitech® Options) at www.logitech.com/downloads to customize the mouse buttons and to enable side-to-side scrolling and middle button features.
- Page 7 1. Battery LED flashes red when battery power is low. 2. Back and forward buttons. Customize with other preferred functions, like application switch or volume up and down through Logitech software. 3. Side-to-side scrolling. Great for navigating through photo albums and spreadsheets. (Function requires software download.)
- Page 8 7. Move the Unifying receiver to a USB port closer to the mouse, or go to www.logitech.com/ usbextender for a USB extension stand that will allow the Unifying receiver to be placed closer to the mouse.
- Page 9 The Logitech® Unifying receiver Plug it. Forget it. Add to it. You’ve got a Logitech® Unifying receiver. Now add a compatible wireless keyboard that uses the same receiver as your mouse. It’s easy. Just start the Logitech® Unifying software* and follow the onscreen instructions.


Need help?
Do you have a question about the M510 and is the answer not in the manual?
Questions and answers