Advertisement
Quick Links
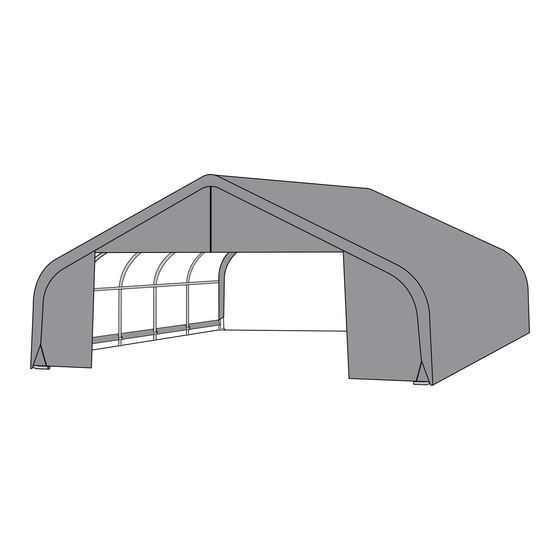
22'W x 13'H Peak Style Shelter
Frame Assembly Instructions
Recommended ToolS
Please read instructions COMPLETELY before assembly. This shelter MUST be securely anchored.
THIS IS A TEMPORARY STRUCTURE AND NOT RECOMMENDED AS A PERMANENT STRUCTURE.
Before you start: 3+ individual recommended for assembly.Assembly time is dependent upon the size
of your building. Allow approximately 15 minutes for every foot in building length.
1-800-524-9970
Canada:
150 Callender Road
1-800-559-6175
Watertown, CT 06795
www.shelterlogic.com
2/1/11
Page 1
05_107153_0D
Advertisement

Related Manuals for ShelterLogic 107153


Summary of Contents for ShelterLogic 107153
- Page 1 Before you start: 3+ individual recommended for assembly.Assembly time is dependent upon the size of your building. Allow approximately 15 minutes for every foot in building length. 1-800-524-9970 Canada: 150 Callender Road 1-800-559-6175 Watertown, CT 06795 www.shelterlogic.com 2/1/11 Page 1 05_107153_0D...
-
Page 2: Warranty
ATTenTIon: This shelter product is manufactured with quality materials. It is designed to fit the ShelterLogic custom fabric cover included. ® , LLC ShelterLogic Shelters offer storage and protection from damage caused by sun, light rain, tree sap, animal - bird excrement ®... - Page 3 22'W x 13'H Peak Style Frame Assembly 107153 Please read and understand instructions completely before assembly. Lay out frame parts as shown. Top Rail middle Ribs end Rib end Rib Wind Brace cover Rails Side Rails Wind Brace Assembly Mfg.
- Page 4 Basic Frame Assembly NOTE: FRAME EXTENSION kIT 22'x20'x13' is the base frame dimension. Your model may have more middle ribs than shown in the illustration on pg.2. You will receive one extra rib for every extra 4 ft. of building length that you purchase. The basic frame assembly will remain the same.
- Page 5 5. connecT RIBS WITH SIde RAIlS And Fig.5 SHelTeRlock STABIlIzeR BlockS: ™ A. Place assembled first end rib in the staked area. Place the ShelterLock on the upright as shown in ™ Fig.5. From the outside of the rib insert the bolt through the upright and then through the ShelterLock ™...
- Page 6 8. SlIdInG coVeR RAIl ASSemBlY: 11105 A. Place a Cover Rail Pipe (11105) between each rib. Use 2 Rail Clamps (11106 or 11107) to attach each end of the pipes. B. Use Bolt #11130. HAND-TIGHTEN these bolts only! NOTE: Round head of carrage bolts should be facing outside. End Rib Cross Rail Clamps 11106 11130...
- Page 7 11. end And dooR PAnel InSTAllATIon A. Hold end panel at the top center with white inner surface facing inside of the shelter. (If you purchased the white cover, the inner face has the visible weld seams.) Wrap the edges of the fabric panel around the end rib. B.
- Page 8 Fig.12C noTe: cHeck THAT YoUR coVeR IS coRRecTlY PlAced on THe FRAme. Fig.12D The ShelterLogic logo should line up on the left front and ® right rear corners near the top rail. If the logo is not legible, the cover has not been put on the frame correctly.
- Page 9 D. Disassemble cover rails and slide through fabric pockets at each leg and reattach with clamps to each leg. Repeat this on other side. Push down on cover rails to tighten cover, before tightening bolts completely. E. Check and tighten Ratchets and Cover Rails monthly to ensure the cover is tight. NOTE: The ShelterLogic logo should ®...
Need help?
Do you have a question about the 107153 and is the answer not in the manual?
Questions and answers