MAXSA 40330 Manual
Replacing the batteries or the battery pack
Hide thumbs
Also See for 40330:
- Assembly & operating instructions (7 pages) ,
- Operating instructions manual (6 pages) ,
- Assembly & operating instructions (7 pages)
Advertisement
Quick Links
Advertisement

Related Manuals for MAXSA 40330


Summary of Contents for MAXSA 40330
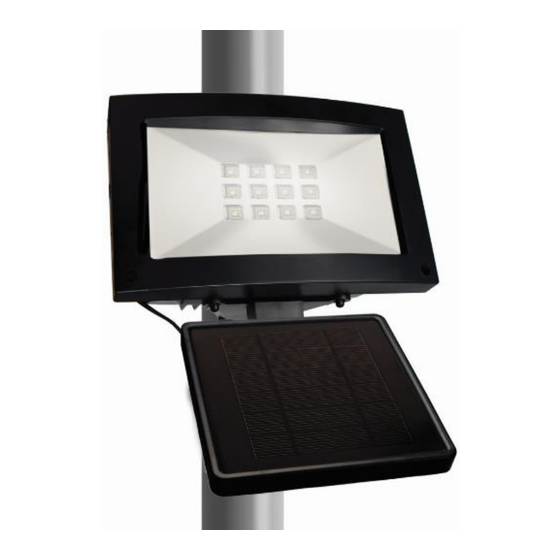
- Page 1 Model 40330 Replacing the Batteries or the Battery Pack...
- Page 2 6 LEDs and need to replace the battery pack, these instructions will guide you, step-by-step, through the process. If you have questions at any time, please don’t hesitate to contact the MAXSA Innovations office for assistance. Our phone number is 703-495-0661 and we’re happy to help!
- Page 3 Step 1: Loosen Faceplate Remove the circled screws from the nuts. Loosen the screws on the side of the faceplate. There is one screw on each side.
- Page 4 Step 2: Open Faceplate Once the front screws have been removed and the side screws have been loosened, rotate the faceplate forward and down, exposing the reflecting tray.
- Page 5 Step 3: Remove Reflective Plate Pull the reflective plate out of the light. It should lift right out and expose the LED board. You will see two screws holding the LED board in place (circled in red). Remove them. Keep track of the bolts. You will need to switch one with one of the bolts later on.
-
Page 6: Step 4: Remove The Led Board
Step 4: Remove the LED Board Pull the LED board out. Be careful not to sever the wires connecting the LED board to the control board still within the body. Once removed, you will see the stand-off bracket. Remove the outermost screws of the stand- off bracket, circled in red. -
Page 7: Step 5: Remove The Bracket
Step 5: Remove the Bracket After removing the screws, remove the bracket. This will expose the battery pack. You will see the battery pack is plugged into the control board. -
Page 8: Step 6: Remove The Battery Pack
Step 6: Remove the Battery Pack Unplug the battery pack and take it out of the light... - Page 9 Step 7: Remove Cover from Bracket Go to the bracket removed in Step 5. There are two nuts and bolts holding the battery pack cover to the bracket. Remove them so the cover is no longer attached to the bracket.
- Page 10 Step 8: Attach Battery Tray to Bracket Use the bolt set aside from Step 3. Place it through the battery tray, then through the bracket. Put a nut on the end of it and tighten it. Note the orientation of the pieces, be sure yours matches.
-
Page 11: Step 9: Insert Batteries
Step 9: Insert batteries Insert 3 rechargeable AA batteries into the battery tray. - Page 12 Step 10: Reinstall Bracket Place the bracket back into the body of the light. Be sure the plug from the battery tray is on the same side as the control circuit board. Use the two screws previously removed to attach the bracket back to the stand-offs in the body.
- Page 13 Once plugged in, press the ON/OFF button on the outside of the light. If you installed it correctly, the LEDs should activate. If it does not activate, please call MAXSA innovations for further troubleshooting. 703- 495-0661.
- Page 14 Step 12: Replace LED Board Put the LED Board back in place on the bracket. Use the remaining bolt from when you first removed it, and one the remaining bolt from Step 7 when you removed the battery cover from the bracket.
- Page 15 Step 13: Close Light Face Place the reflective plate back over the LED board. Rotate the face of the light upwards so it closes. Insert and tighten the screws on the front. Then tighten the screws on the sides of the faceplate.
Need help?
Do you have a question about the 40330 and is the answer not in the manual?
Questions and answers