Table of Contents
Advertisement
Quick Links
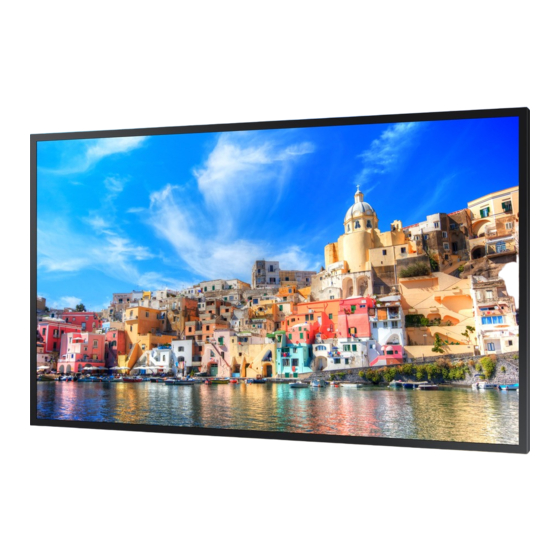
Window Display
Installation Manual
OM75R
Follow the instructions provided in this guide when installing the product.
Samsung will not provide warranty coverage for problems that may arise as a result of failure to follow the guide.
The color and shape of the product may vary. In addition, instructions in the installation guide may change without prior notice when
necessary to improve the product.
Advertisement
Table of Contents

Summary of Contents for Samsung OM75R
- Page 1 Follow the instructions provided in this guide when installing the product. Samsung will not provide warranty coverage for problems that may arise as a result of failure to follow the guide. The color and shape of the product may vary. In addition, instructions in the installation guide may change without prior notice when...
-
Page 2: Table Of Contents
Contents OM75R Prior to Installation Precautions for installation ------------------------------------------------------------------------------------------------------------------------ Rotation and tilt angle ------------------------------------------------------------------------------------------------------------------------ Clearance for installation ------------------------------------------------------------------------------------------------------------------------ Installing the wall-mount ------------------------------------------------------------------------------------------------------------------------ Air flow direction ------------------------------------------------------------------------------------------------------------------------ Enclosure unit design guide Inlet and outlet types ------------------------------------------------------------------------------------------------------------------------ Vent opening design guide ------------------------------------------------------------------------------------------------------------------------... -
Page 3: Prior To Installation
Temperature increase due to tempered glass may cause a malfunction of the display, which is not covered by the display warranty. Rotation and tilt angle – Contact Samsung Customer Service Centre for further details. 15° • The display can be used in landscape or portrait orientation and tilted forward at a maximum angle of 15°... -
Page 4: Clearance For Installation
– If the unit is subjected to excess heat due to an insufficient gap, this may cause a malfunction, which will not be covered by the warranty. – To use an enclosure, make sure you contact Samsung Electronics for assistance. An enclosure may cause the display temperature to increase. - Page 5 OM75R Clearance for wall mounting – Contact Samsung Customer Service Centre for further details. - at least 100 mm (ambient temperature measuring point) - below 30 °C – When mounting to a wall surface, the clearance between the product and the wall should be at least 100 mm at all times and the ambient temperature should not be exceed 30 °C.
-
Page 6: Installing The Wall-Mount
100 mm from the wall. There should also be a clearance of at least 100 mm when using a wall mount not made by Samsung. Since the set screw depth is 46 mm, you should select an M8 screw that is longer than 46 mm, considering the thickness of the mount. -
Page 7: Air Flow Direction
OM75R Air flow direction The display is equipped with a cooling fan which sucks external air through the air inlet to lower the internal temperature of the display and discharges the warmed air through the air outlet. – When designing an enclosure or installing the display, make sure you remove any obstacles that may interfere with the flow of air at the air inlet or outlet. -
Page 8: Enclosure Unit Design Guide
OM75R 02 Enclosure unit design guide Inlet and outlet types Air inlet and outlet should be grid or mesh types. – Do not use the louver type as it has a limited intake size. Grid type Mesh type Louver type Vent opening design guide Follow the guide when combining the semi-outdoor unit with the enclosure unit. -
Page 9: Partition Design Guide
OM75R Partition design guide • For semi-outdoor units, add partitions between the inlet and outlet to keep air paths separated. • Partitions should fit perfectly inside the enclosure unit, with no gap between the semi-outdoor unit and enclosure unit. If there is a gap, use a foam tape to fill it. - Page 10 OM75R Single enclosure unit When using with the enclosure unit, design the semi-outdoor unit according to the following specifications to prevent discharged hot air from flowing back into the inlet. • Design the locations of the enclosure unit inlet and outlet to match the locations of the semi-outdoor unit inlet and outlet.
- Page 11 OM75R Designing a 1 x N single-side enclosure • When installing the display along with an enclosure, ensure adequate clearance (A) between the back of the enclosure and surrounding objects for proper flow of air. – Example 1) Exposure to direct sunlight: 100 mm or more –...
- Page 12 OM75R Designing a double-side enclosure • When installing the display along with an enclosure, ensure adequate clearance (A) between the back of the enclosure and surrounding objects for proper flow of air. – Example 1) Exposure to direct sunlight: 100 mm or more –...


Need help?
Do you have a question about the OM75R and is the answer not in the manual?
Questions and answers