Table of Contents
Advertisement
Quick Links
Before you start: 2+ individuals recommended for assembly, approximate time 3 hours.
Recommended tools: Power Drill, Safety Glasses, Rope, Tape Measure, Ratchet with Socket Set,
Adjustable Wrench, Step Ladder, Rubber Mallet, Utility Knife, 5/8 Concrete Drill Bit, Sledge Hammer.
ShelterLogic, LLC
150 Callender Road
Watertown, CT 06795
www.shelterlogic.com
1-800-524-9970
Canada:
1-800-559-6175
Assembly Instructions
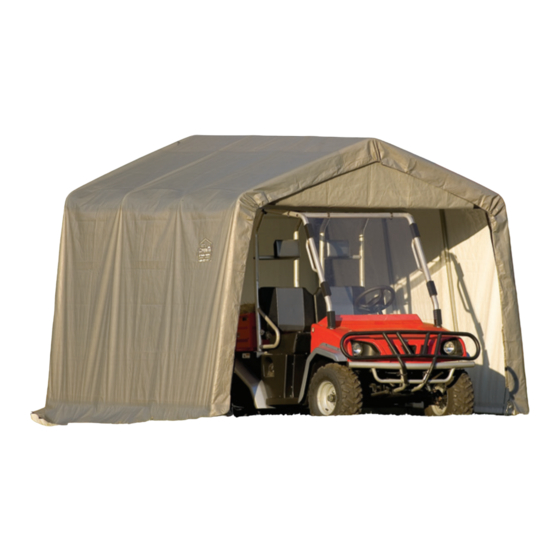
8' W x 8' H or 10' H
Peak Style
Frame Assembly
05-10DT13-0A
Advertisement
Table of Contents

Related Manuals for ShelterLogic Peak Style 8' W x 8' H


Summary of Contents for ShelterLogic Peak Style 8' W x 8' H
- Page 1 Before you start: 2+ individuals recommended for assembly, approximate time 3 hours. Recommended tools: Power Drill, Safety Glasses, Rope, Tape Measure, Ratchet with Socket Set, Adjustable Wrench, Step Ladder, Rubber Mallet, Utility Knife, 5/8 Concrete Drill Bit, Sledge Hammer. ShelterLogic, LLC 150 Callender Road Watertown, CT 06795 www.shelterlogic.com...
- Page 2 8'W x 8'H Peak Style Frame Assembly Please read and understand instructions completely before assembly. Layout out frame parts as shown. 21/22 tOP rail end rib 21/22 CrOSS 8' W X 8' H rail middle ribS 21/22 end rib wind braCe bOlt CaPS 10150...
- Page 3 8'W x 10'H Peak Style Frame Assembly Please read and understand instructions completely before assembly. 21/22 tOP rail end rib Layout out frame parts as shown. 21/22 8' W X 10' H middle ribS 21/22 CrOSS rail end rib wind braCe UPriGHt eXtenSiOn, 27”...
- Page 4 ASSEMBLY OF PEAK STYLE GARAGE SHELTER NOTE FOR FRAME EXTENSION KIT: 8’ x 8’ is the base frame dimension. Your model may have more middle ribs than shown in the illustrations. You will receive one extra rib for every extra 4 feet of building length that you purchase.
- Page 5 3. INSTALL SIDE RAILS AND SHELTERLOCK STABILIzER BLOCKS: ™ A. Place assembled first end rib in the staked area. Place the 02030 ShelterLock on the upright as shown in Detail D. From the ™ outside of the rib insert the bolt through the upright and then detail d through the ShelterLock ™...
- Page 6 6. SECURE BASE FEET: detail G A. Slide leg pipe over over the base feet, line up the holes in the pipe with the holes in the feet and secure with the hard- ware indicated in Detail G. Secure 01010 with bolt and nut 10114...
- Page 7 end PanelS 9. INSTALLING THE COVER ON THE FRAME: nOt SHOwn FOr Clarity A. Lay the cover on the ground next to the frame with the inside of the cover (the side with the pipe pockets) facing down and the webbing on the front and rear of the corner of the build- ing.
- Page 8 P NOTE: CHECK THAT YOUR COVER IS CORRECTLY PLACED ON THE FRAME. The ShelterLogic logo should line ® up on the left front and right rear corners near the top rail. If the logo is not legible and positioned as shown as “incorrect”, the cover has...
Need help?
Do you have a question about the Peak Style 8' W x 8' H and is the answer not in the manual?
Questions and answers