Epson PictureMate Setup
Hide thumbs
Also See for PictureMate:
- Using manual (79 pages) ,
- Product information (11 pages) ,
- Start here manual (7 pages)
Advertisement
Quick Links
Photo Printer
Setup
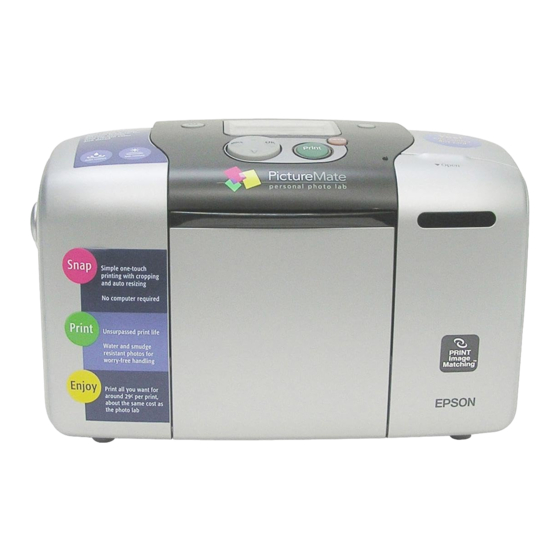
1 Unpacking
Remove the contents from the box. Remove all tape from the printer.
printer
AC adapter
3 Installing the Photo Cartridge
1. Press the
On button to turn on the printer.
2. Shake the new photo cartridge four or five times.
3. Remove the photo cartridge from its protective bag.
Do not touch this part.
4. Open the cover on the back of the printer. Slide the lever into the
Release position by sliding it in the direction shown.
5. Place the cartridge properly into the cartridge holder, then push
it in until you feel resistance and hear the cartridge faintly click
into place.
Note:
After installing the cartridge, make sure the sides of the cartridge are even. If
either side of the cartridge sticks out, push the side of the cartridge until it clicks.
photo cartridge
CD-ROM
Direct Print
Guide
Setup
The contents may vary in certain locations.
power cord
c
Caution:
Do not shake the photo cartridge after
removing it from the bag; it can cause
leakage.
Do not remove or tear the label on the
cartridge; this can cause leakage.
c
Cautions
must be observed to
avoid damage to your
equipment.
2 Getting Started
Connect the power cord and AC adapter, then plug-
in the printer.
PictureMate
Photo Paper
Software
Installation
Guide
6. Set the lever to the Lock position by sliding it in the direction shown.
Close the cover.
c
Caution:
Do not load paper until ink charging is complete.
Note:
If you cannot close the cover, the photo cartridge is not installed correctly. Go
back to Step 4 and eject the photo cartridge. Then install the photo cartridge
again
7. The printer automatically starts to charge ink. Charging takes
about three minutes.
c
Caution:
Do not turn off the printer during the ink charging process.
8. Press the OK button to finish.
Note:
The photo cartridge packaged with your printer is partly used during initial setup.
In order to produce high quality printouts, the print head in your printer will be
fully charged with ink. This one-off process consumes a quantity of ink and
subsequent cartridge will last for their full rated life.
Continue to the next page...
Cautions and Notes
Notes
contain important information
and useful tips on the operation of
your printer.
Copyright© 2005 Seiko Epson Corporation. All rights reserved.
Printed in XXXXXX XX.XX-XX XXX
Advertisement

Subscribe to Our Youtube Channel
Related Manuals for Epson PictureMate


Summary of Contents for Epson PictureMate
- Page 1 After installing the cartridge, make sure the sides of the cartridge are even. If either side of the cartridge sticks out, push the side of the cartridge until it clicks. Continue to the next page... Copyright© 2005 Seiko Epson Corporation. All rights reserved. Printed in XXXXXX XX.XX-XX XXX...
- Page 2 The photo number will be entered in the following procedure. 1. Open the paper support and output tray. photo number 2. Load PictureMate Photo Paper into the paper feeder. Then slide Printing a Photo the left edge guide against the left edge of the paper.
Need help?
Do you have a question about the PictureMate and is the answer not in the manual?
Questions and answers