Beko HNT 62210 B User Manual
Hide thumbs
Also See for HNT 62210 B:
- User manual (70 pages) ,
- User manual (121 pages) ,
- User manual (125 pages)

Related Manuals for Beko HNT 62210 B


Summary of Contents for Beko HNT 62210 B
- Page 1 Hood User manual HNT 62210 B HNT 62340 B EN PL CS ET BG RU 01M-8850083200-0520-03 01M-8807493200-0520-03...
-
Page 2: Meanings Of Symbols
Please read this user manual first! Dear Customer, Thank you for preferring a Beko product. We hope that you get the best results from your product which has been manufactured with high quality and state-of-the-art technology. Therefore, please read this entire user manual and all other accompanying documents carefully before using the product and keep it as a reference for future use. - Page 3 CONTENTS ENGLISH 04-15 POLSKI 16-28 ČESKY 29-41 EESTI 42-54 55-68 БЪЛГАРСКИ 69-83 РУССКИЙ Hood / User Manual 3 / EN...
-
Page 4: General Safety
8 years and above instructions shall void any and persons with reduced physi- warranty. cal, sensory or mental capabilities Beko products comply with the • or lack of experience and know- applicable safety standards; the- ledge if they have been given... -
Page 5: Important Safety And Environmental Instructions
Important Safety and Environmental Instructions account. deformation in some parts of your product. Make sure that your mains power • supply complies with the informa- Turn off the hob before taking the • tion supplied on the rating plate of pot, pan etc. - Page 6 Important Safety and Environmental Instructions In the event of be started any clude other smoke. • flame, cover the flame and never The ventilation in the room may • use water to extinguish. be insufficient when the hood for Unplug the appliance before each electric hob is used simultane- •...
-
Page 7: Compliance With Rohs Directive
Important Safety and Environmental Instructions 1.2 Compliance with the WEEE 1.3 Compliance with RoHS Directive and Disposing of the Directive Waste Product: The product you have purchased complies with EU This product complies with EU WEEE Directive RoHS Directive (2011/65/EU). It does not contain (2012/19/EU). - Page 8 Important Safety and Environmental Instructions 1.5 Position of the hood Install the hood beneath the cup- board. When the hood is installed, there must be at least 65 cm cle- arance with the product and cookers. Min.65 cm Hood / User Manual 8 / EN...
-
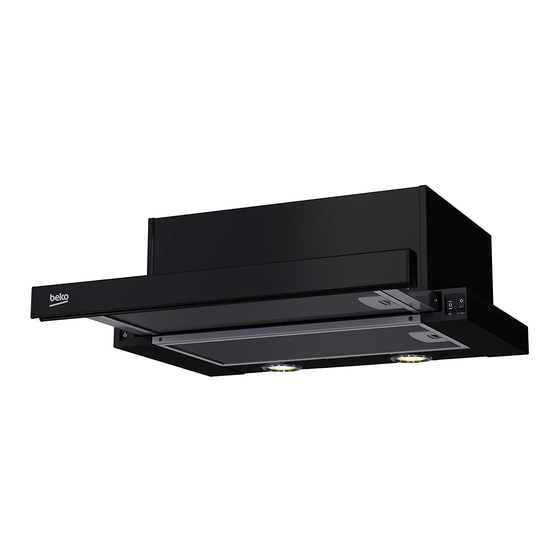
Page 9: General Appearance
General Appearance 2.1 Overview 1. Front panel 1- Přední panel 2. Switch 2- Přepínač 3- Filtr 3. Filter 4- Osvětlení 4. Lighting Min305-Max420 1190_60 cm 1390 Hood / User Manual 9 / EN... -
Page 10: Installation Of The Hood
Installation of the hood This installation manual covers all models indica- Place the provided plastic flue at the flue output ted on the cover page. on the product. Rotate the plastic flue in clockwi- se direction. Fig. 4 3.1 Boring the hanger holes Drill the holes indicated on the installation temp- late with A, B, C, D using a Ø4 mm drill bit. - Page 11 Installation of the hood 3.2 Functions of the hood The hood can be operated in kitchens with and without flue. 3.3. Usage with flue In usage with flue connection, hood must be con- nected to a flue that will discharge the air outsi- de.
-
Page 12: Efficient Ventilation
Usage with or without carbon filter 4.1 Functions of the hood WARNING: Aluminium filters can be washed in a dishwasher. The alumi- The hood can be operated in kitchens with and nium filters may alter in colour after without flue. several washes. -
Page 13: Digital Electronic Control With 3 Levels
Handling the hood 5.2 Spd digital switch (HNT There is a multi-position switch on the hood to control the speed settings. For the best perfor- 62340 B) mance against heavy steams and odours, we recommend the high speed setting. The motor operates after the slider set is opened and stops when closed (this is optional). -
Page 14: Energy Efficient Usage
Handling the hood 5.5 Handling the hood. Auto-stop in 15 min: This appliance is equipped with an Auto-Stop • Hood is equipped with a motor having various function which allows the appliance to ventilate speed settings. the room for an additional period of time in or- • For a better performance, we advise you to use der to remove the unpleasant odour and vapour low speeds in normal conditions, and high spe-... -
Page 15: Cleaning And Maintenance
Cleaning and maintenance 6.1 Maintenance 6.2 Replacement of LED lamp • Unplug and disconnect the product before any To replace the LED lamps, press the rear holder maintenance and cleaning operation. section of the lamp downwards and pull out the • Aluminium cartridge filter collects the dust and lamp towards the bottom direction and slightly oil particles in the air. - Page 16 Cleaning and maintenance Hood is not operating. ✔ ✔ Lighting does not operate. ✔ ✔ ✔ Hood air suction is weak. ✔ ✔ ✔ Does not exhaust air (in ✔ ✔ flueless environments) Hood / User Manual 16 / EN...
Need help?
Do you have a question about the HNT 62210 B and is the answer not in the manual?
Questions and answers