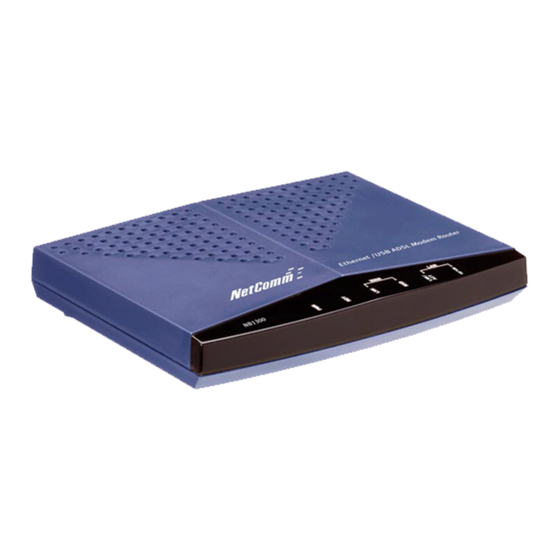
NetComm NB-1300 Setup Document
Hide thumbs
Also See for NB-1300:
- User manual (84 pages) ,
- Quick start manual (20 pages) ,
- Security instructions (10 pages)
Advertisement
DSL Setup Document
How to install and set up your Netcomm NB-1300
I
NB-1300 ......................................................................................................................................................................1
NSTALL THE
C
ONFIGURE THE COMPUTER
C
...................................................................................................................................................................2
ONFIGURE THE ROUTER
One-Page Setup .............................................................................................................................................................................3
Administration...............................................................................................................................................................................4
Status.............................................................................................................................................................................................4
Install the NB-1300
The NB1300 can connect either directly to a desktop computer or to a network via hub, switch or another router. All
connections are made to the computers using an ethernet or USB cable.
•
Use straight-through cable for connecting to a normal port (MDI-X) on a hub or switch.
•
Use crossover cable for connecting direct to a PC, server, or uplink port (MDI-II) on a hub or switch.
•
Ensure the cable is not over 100 metres in length (or service degradation will result).
•
If using the USB cable, additional installation is required; see below.
All connections to the Internet are made over ordinary phone cabling. Use the cabling supplied with the router or use
your own. The service will work over ordinary phone extension cords and other phone socket appliances (double
adaptors, etc); however, any noise over or damage to the appliances may result in problems accessing the Internet
service.
1. Plug the power cord into the router and then into a power point.
2. The RDY light will go red while internal checks are done; once complete, it will go off. If it does not, there may
be some problems.
3. The power LED should light up green and stay lit.
4. Plug the phone cord into the "ADSL" port on the router and then into the plug servicing the DSL-enabled line. If
you have multiple lines, ensure you have the correct line!
5. The ADSL Port LED should blink green until it negotiates an ADSL connection, after which it will stay steady.
6. USB connection:
a. Place the supplied CD-ROM in your computer.
b. Connect the supplied USB cable to the modem and to a USB port on your computer
c. Windows should detect the new hardware. When prompted to search for drivers select "Specify
location".
d. Browse to the driver letter of your CD-ROM drive and locate the "USB driver" folder.
e. Click "OK". The Wizard will locate the USB driver and prompt you to install it.
f.
Once the driver is installed, it is configurable as a regular ethernet adaptor and will be set to
automatically accept an IP address from your modem.
7. Ethernet connection:
1300 764 764
5888
...............................................................................................................................................................2
www.rsl.com.au
PAGE 1 of 5
Advertisement
Table of Contents

Related Manuals for NetComm NB-1300


Summary of Contents for NetComm NB-1300
- Page 1 DSL Setup Document How to install and set up your Netcomm NB-1300 NB-1300 ..................................1 NSTALL THE ................................2 ONFIGURE THE COMPUTER ...................................2 ONFIGURE THE ROUTER One-page setup .....................................3 Administration....................................4 Status......................................4 Install the NB-1300 The NB1300 can connect either directly to a desktop computer or to a network via hub, switch or another router. All connections are made to the computers using an ethernet or USB cable.
- Page 2 DSL Setup Document • Plug the appropriate ethernet cable into one of the ports on the back of the router and then into your network device (network card on PC, hub, switch, router, etc). 8. The Link/Act LED should light up green and stay steady. You are now physically connected.
- Page 3 DSL Setup Document One-page setup 7. Fill the fields as follows: • IP address: by default, 192.168.1.1 (the address of the modem) Subnet mask: 255.255.255.0 • Service name: you can leave blank or enter RSL COM. Username: enter the username assigned to you by RSL COM. This will be in the format 0290009000@rslcom.net.au and is not the same as your email address.
- Page 4 DSL Setup Document • Bridge mode: disabled Click "Apply". The router will save the settings and make a connection to RSL COM. You will now be able to use any Internet software to browse the web, check your email, and so on. Administration Use these options if you wish to set up advanced network applications such as Port Address Translation, routing options, change options such as the username, password or default IP address of the router, or view the current...
- Page 5 DSL Setup Document www.rsl.com.au 1300 764 764 PAGE 5 of 5 5888...
Need help?
Do you have a question about the NB-1300 and is the answer not in the manual?
Questions and answers