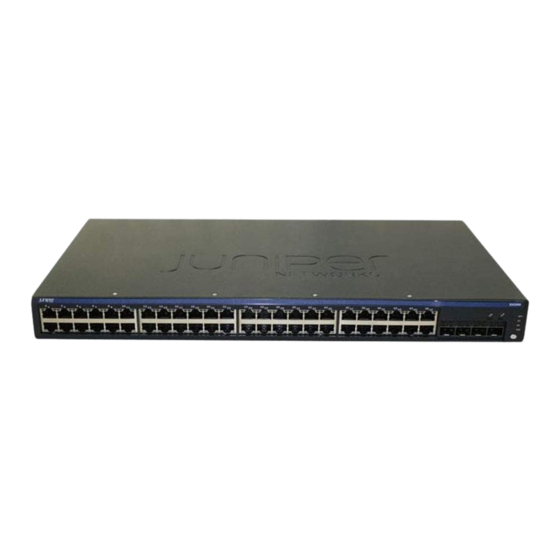
Juniper EX2200 Mounting Manual
Mounting on a wall
Hide thumbs
Also See for EX2200:
- Hardware manual (354 pages) ,
- User manual (238 pages) ,
- Complete hardware manual (176 pages)
Table of Contents
Advertisement
Quick Links
Mounting an EX2200 Switch on a Wall
You can mount an EX2200 switch on a wall by using the separately orderable
wall-mount kit.
WARNING:
When mounting an EX2200 switch chassis in a vertical position, orient the front
panel of the chassis downward to ensure proper airflow and meet safety
requirements in the event of a fire.
When wall-mounting Power over Ethernet (PoE) models (EX2200-24P and
EX2200-48P), install the wall-mount baffle above the units to reduce the risk of
objects or substances falling into the air exhaust or power supply, which could
cause a fire.
Before mounting the switch on a wall:
Verify that the site meets the requirements described in Site Preparation Checklist
for EX2200 Switches.
Read General Safety Guidelines and Warnings for EX Series Switches, with
particular attention to Chassis Lifting Guidelines for EX2200 Switches.
Remove the switch from the shipping carton (see Unpacking an EX2200 Switch).
Ensure that you have the following parts and tools available:
2 wall-mount brackets (provided in the wall-mount kit)
1 wall-mount baffle (provided in the wall-mount kit)
12 wall-mount bracket screws (provided in the wall-mount kit)
6 mounting screws (8-32 x 1.25 in. or M4 x 30 mm) (not provided)
Hollow wall anchors rated to support up to 75 lb (34 kg) if you are not screwing
the screws directly into wall studs (not provided)
Phillips (+) screwdriver, number 2 (not provided)
Mounting an EX2200 Switch on a Wall
1
Advertisement
Table of Contents

Summary of Contents for Juniper EX2200
- Page 1 Mounting an EX2200 Switch on a Wall You can mount an EX2200 switch on a wall by using the separately orderable wall-mount kit. WARNING: When mounting an EX2200 switch chassis in a vertical position, orient the front panel of the chassis downward to ensure proper airflow and meet safety requirements in the event of a fire.
- Page 2 For PoE models, install screw E 2.76 in. (7 cm) up from and 8.32 in. (21.1 cm) to the right of screw A. For PoE models, install screw F 4.49 in. (11.4 cm) to the right of screw E. Mounting an EX2200 Switch on a Wall...
- Page 3 Baffle for PoE Models Rear (EX2200-24P and EX2200-48P) panel Hang attached brackets on wall-mounted screws. Front panel Connecting AC Power to an EX2200 Switch Related Topics Connecting and Configuring an EX Series Switch (CLI Procedure) Mounting an EX2200 Switch on a Wall...
- Page 4 Connecting and Configuring an EX Series Switch (J-Web Procedure) Wall-Mounting Warnings for EX2200 Switches Published: 2010-04-27 Mounting an EX2200 Switch on a Wall...


Need help?
Do you have a question about the EX2200 and is the answer not in the manual?
Questions and answers