Table of Contents
Advertisement
Quick Links
Advertisement
Table of Contents

Related Manuals for Bloomfield 1222 1


Summary of Contents for Bloomfield 1222 1
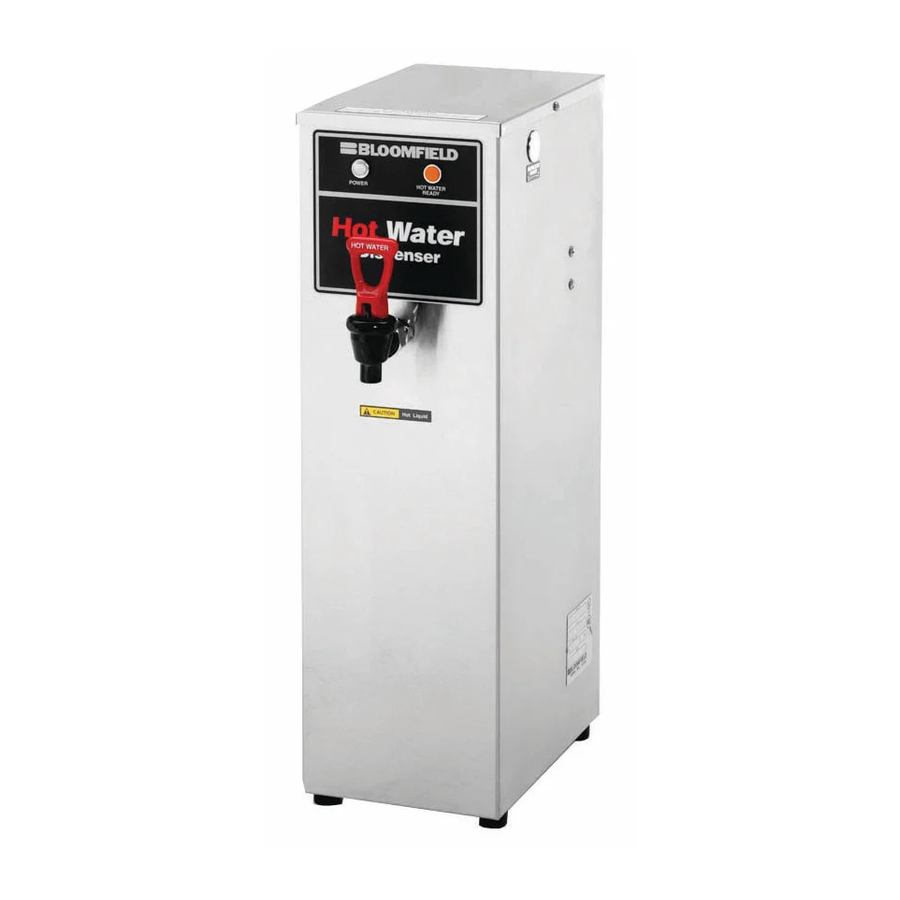
- Page 1 Model 1222 Dispenser 76580 Rev. D ECN-12888 PRINTED IN UNITED STATES OF AMERICA OWNERS MANUAL HOT WATER DISPENSER 2 GALLON MODELS: 1222 1222CA 5 GALLON MODELS: 1225 1226 Includes: Installation Operation Use & Care Servicing Instructions M712 0616 cps...
-
Page 2: Warranty Statement
It also does not apply if the serial nameplate has been removed or unauthorized service personnel perform service. The prices charged by Bloomfield Industries for its products are based upon the limitations in this warranty. obligation under this warranty is limited to the repair of defects without charge by a Bloomfield Industries Authorized Service Agency or one of its sub-agencies. -
Page 3: Table Of Contents
1222 1222CA 1225 1226 Meets Canadian standards This manual applies to the following Bloomfield Industries products: 1222 2-Gallon Hot Water Dispenser 1222CA 2-Gallon Hot Water Dispenser 1225 5-Gallon Hot Water Dispenser 1226 5-Gallon Hot Water Dispenser Thank You for purchasing this Bloomfield Industries appliance. -
Page 4: Features & Operating Controls
FEATURES AND OPERATING CONTROLS... -
Page 5: Precautions & General Information
Failure could result in property damage and personal injury. WARNING Electric Shock Hazard Hot Water Dispenser must be properly grounded to prevent possible shock hazard. DO NOT assume a plumbing line will provide such a ground. Electrical shock will cause death or serious Injury. -
Page 6: Installation Instructions
NOTE: Water supply inlet line must meet certain minimum criteria to insure successful operation of the dispenser. Bloomfield recommends 1/4" copper tubing for installation of less than 12 feet and 3/8" for more than 12 feet from a 1/2" water supply line. - Page 7 NSF requires that the unit be able to be moved for cleaning underneath. A flex line or loops of copper tubing will satisfy this requirement. See Figure 2 below. In some areas, local codes require a backflow preventer (check valve) to be installed on the inlet water line. If a backflow preventer is used, you must install a water hammer arrester in the incoming line, between the backflow preventer and the brewer inlet, as far away from the brewer as space will allow.
-
Page 8: Operation
OPERATION Fig. 3 Dispenser Operation Diagram IMPORTANT: A. START-UP Be sure tank is filled with water before pressing tank heater switch to ON. IMPORTANT: Fill the water tank before energizing tank heater B. USE 1. Always use a container suitable for hot water. WATER HEATER Water temperature is sensed by thermobulb inserted into the water tank. -
Page 9: Cleaning Instructions
PROCEDURE: Clean Hot Water Dispenser PRECAUTIONS: Disconnect dispenser from electric power. Allow dispenser to cool. FREQUENCY: Daily TOOLS: Mild Detergent, Clean Soft Cloth or Sponge Bristle Brush 1. Disconnect dispenser from electric power. Allow to cool before cleaning. 2. Wipe exterior of dispenser with a soft clean cloth or sponge moistened with mild detergent and clean water. -
Page 10: Troubleshooting Suggestions
TROUBLESHOOTING SUGGESTIONS SYMPTOM Water won’t heat No flow from hot water faucet Water faucet drips POSSIBLE CAUSE Dispenser unplugged or circuit breaker tripped Tank heater switch "OFF" Temperature setpoint too low Hi-Limit safety switch tripped Damaged internal component or wiring Water supply OFF Solenoid inlet strainer plugged Water filter (if used) plugged... -
Page 11: Servicing Instructions
ACCESS PANELS REAR PANEL: Remove rear panel to access hot water tank, thermostat, heating elements, tubing, water level control and plumbing connections. Rear panel is held by four screws at the back. The flanged top portion fits over the body of the dispenser. SOLENOID DOOR: Solenoid door may be removed to aid in solenoid replacement. - Page 12 SERVICING INSTRUCTIONS (continued) TEMPERATURE ADJUSTMENT Check temperature at discharge of faucet. Remove thermostat access button plug to access thermostat. Turn thermostat shaft clockwise to increase temperature. REMOVE TANK LID ASSEMBLY Unplug dispenser or turn circuit breaker OFF. Turn OFF water supply.
- Page 13 REPLACE HEATING ELEMENT Remove tank lid assembly as detailed on page 10. Remove two hex nuts holding element to cover. Pull element from mounting holes. Reassemble in reverse order. REPLACE SOLENOID Unplug power cord. Turn OFF and disconnect water supply from dispenser inlet fitting.
-
Page 14: Deliming Instructions
NOTE: Normally, silicone hoses do not need to be delimed. Should deliming hoses become necessary, Bloomfield recommends replacing the hoses PROCEDURE: Delime the Water Tank PRECAUTIONS: Disconnect dispenser from electric power. Allow dispenser to cool. FREQUENCY:... -
Page 15: Exploded Views And Parts Lists
SERVICE KITS FAUCET REPAIR KITS 84686 Faucet & Shank Complete 8700-25 L Seat Cup (only) SOLENOID REPAIR KITS 83612 Solenoid Complete, Single 120V (1222, 1222CA) 83760 Solenoid Complete, Single 240V (1225, 1226) 85218 Inlet Fitting Kit (includes cap, fitting, washer & screen) 85219 Inlet Strainer (only) EXPLODED VIEWS AND PARTS LISTS... - Page 16 EXPLODED VIEW & PARTS LIST NOTE: Model 1225/1226 shown. Model 1222/1222CA is similar.
- Page 17 ITEM DESCRIPTION WRAP, BODY TANK ASSY PANEL, TOP BACK PLUG, BUTTON 7/8" SUPPORT, TANK LIGHT, PILOT GREEN LABEL, HW DISPENSER LIGHT, PILOT AMBER CONTROL, LOW WATER, 120V CONTROL, LOW WATER, 240V SPACER, NYLON PANEL, REAR LOWER SOLENOID, SINGLE 120V SOLENOID SINGLE 240V DOOR, ACCESS SWITCH, ROCKER 250V STRAIN RELIEF...
-
Page 18: Wiring Diagrams
WIRING DIAGRAM 2-GALLON MODELS 1222 and 1222CA... - Page 19 WIRING DIAGRAM (continued) 5-GALLON MODELS 1225 and 1226...
- Page 20 Bloomfield Industries proudly supports CFESA Commercial Food Equipment Service Association Bloomfield Industries, Inc. Division of Carrier Commercial Refrigeration In US and Canada Telephone: 775-689-5700 Fax: 888-492-2783 Fax: 800-356-5142 ( for orders only website: www.wellsbloomfield.com PRINTED IN UNITED STATES OF AMERICA...
Need help?
Do you have a question about the 1222 1 and is the answer not in the manual?
Questions and answers