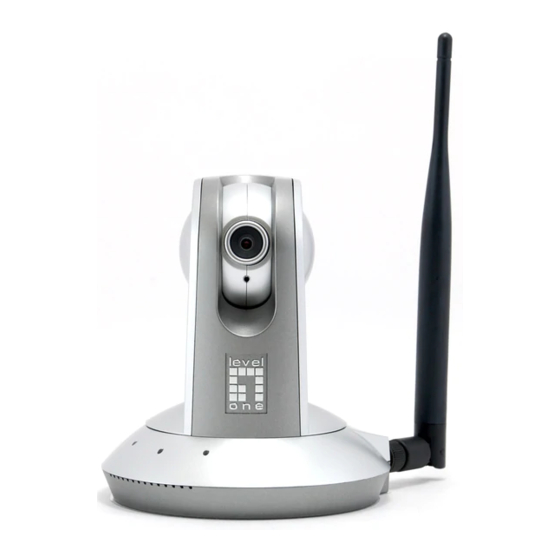
LevelOne FCS-1060 Setup Manual
Epicamera
Hide thumbs
Also See for FCS-1060:
- User manual (112 pages) ,
- Quick installation manual (23 pages) ,
- Specification sheet (3 pages)
Advertisement
Setting up Level One IP Camera (Model FCS-1060)
1. Login to `192.168.0.99' (default Level One IP Camera Address)
a. Username: administrator (default)
b. Password: (blank)
2. After login, click `Configuration'.
If you face any problem during setting up your camera, please do not hesitate to email us at support@epicamera.com.
Our technical support will get back to you as soon as we can. Thanks.
Advertisement
Table of Contents

Related Manuals for LevelOne FCS-1060


Summary of Contents for LevelOne FCS-1060
- Page 1 Setting up Level One IP Camera (Model FCS-1060) 1. Login to `192.168.0.99’ (default Level One IP Camera Address) a. Username: administrator (default) b. Password: (blank) 2. After login, click `Configuration’. If you face any problem during setting up your camera, please do not hesitate to email us at support@epicamera.com.
- Page 2 For Network Setup 1. Under Configuration, Click `Network’. If you face any problem during setting up your camera, please do not hesitate to email us at support@epicamera.com. Our technical support will get back to you as soon as we can. Thanks.
- Page 3 2. Fill in the box. a. IP Address: 192.168.0.99 (IP Camera Address). b. Subnet Mask: 255.255.255.0 (default). c. Gateway: (your modem IP Address). d. DNS: (For streamyx user, 202.188.0.133, 202.188.1.5). e. Click `Save’. If you face any problem during setting up your camera, please do not hesitate to email us at support@epicamera.com. Our technical support will get back to you as soon as we can.
- Page 4 For FTP Setup 1. Under Configuration, Click `Email and FTP’. 2. Fill in the box. a. FTP Server IP: www.epicamera.com. b. Account: (FTP Login ID). c. Password: (FTP Password). d. Directory: (/Camera No. /) via “/Cam1/” or “/Cam2/” or “Cam32/”. e.
- Page 5 To Turn on FTP service 1. Under Configuration, Click `Application’ and click`Snapshot #1’. If you face any problem during setting up your camera, please do not hesitate to email us at support@epicamera.com. Our technical support will get back to you as soon as we can. Thanks.
- Page 6 2. `Enable’ snapshot #1. Trigger option; choose `Sequential’ and type in snapshot interval timer. Choose send snapshot by `FTP’ and Click `Save’. If you face any problem during setting up your camera, please do not hesitate to email us at support@epicamera.com. Our technical support will get back to you as soon as we can.
- Page 7 Configure Motion detection 1. Under Configuration, Click `Motion detection’ and `Enable’ motion detection. If you face any problem during setting up your camera, please do not hesitate to email us at support@epicamera.com. Our technical support will get back to you as soon as we can. Thanks.
- Page 8 2. Under `Snapshot’ option, `Enable’ snapshot #1. To configure schedule, choose desire days and time. Under Trigger, choose `Motion detection’. Send snapshot by `FTP’ and Click `Save’. If you face any problem during setting up your camera, please do not hesitate to email us at support@epicamera.com. Our technical support will get back to you as soon as we can.
Need help?
Do you have a question about the FCS-1060 and is the answer not in the manual?
Questions and answers