Advertisement
Quick Links
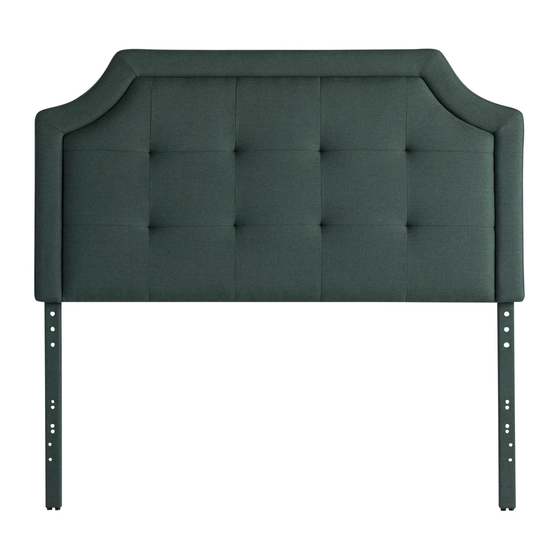
HEADB OARD
PARTS LIST:
A M bolts x
B Big Washers x
C Wrench x
D M Bolts x
E Small Washers x
F Nuts x
G Horizontal Wall Mount x
H Vertical Wall Mount x
I Screws x
J Drywall Anchors x
K Allen Key
mm
L Allen Key
mm
Figure
(A) M8 Bolts
(B) Big Washers
Figure
(G) Wall Mount
Wall
(I) Screws x
(I) Screws x
(H) Wall Mount
(J) Drywall Anchor x
(if needed in step )
Failure to follow these warnings and assembly instructions could result in serious injury or death. Read all instructions before assembling the headboard. Keep the assembly instructions
for future use. Before each usage or assembly, inspect the headboard for damaged hardware or missing parts. DO NOT use the headboard if any parts are missing or broken. If
replacement parts and instructional literature are needed, contact the manufacturer at
AS SE MB LY I N STRU C TI O NS
A
B
C
D
E
F
G
H
K
L
(A) M Bolts
(B) Big Washers
Legs
Mounting Blocks
(G) Horizontal Wall Mount
Step
Remove the headboard from the box and lay it face down on the floor
Open the velcro panel on the back and remove both the legs and
hardware
Step
Insert each leg into one of the provided slots on the back of the
headboard and slide to adjust to your desired height
I
Step
see Figure
J
Using two of the A M bolts and two of the B big washers
for each leg secure both legs to the headboard with the L allen key
provided
Step
See Figure
Using the mounting blocks on the back of your headboard screw the two
G wall mounts to the top of your headboard with the provided I
screws Using the remaining I screws attach the H wall mounts to
your wall Make sure to place the wall mounts at the correct height to pair
with your previously installed G wall mounts see figure
studs are available to secure the headboard to your wall use the
provided J drywall anchors instead Li or slide the headboard into
place to join the G and H wall mounts together
Step
See Figure
With the front side of the headboard facing the bed frame attach the
headboard to the frame using the D M bolts E small washers F
nuts and K allen key
If your bed frame doesn't fit the headboard use the provided modification plates that
are included to secure the bed frame to the headboard Additional instructions are
included with the plates
Figure
(G) Horizontal Wall Mount
. DO NOT substitute parts.
-
-
**recommended**
(E) Small Washers
Headboard
Bed Frame
(D) M6 Bolts
If no wall
(F) Nuts
Advertisement

Subscribe to Our Youtube Channel
Related Manuals for Malouf Carlisle


Summary of Contents for Malouf Carlisle
- Page 1 HEADB OARD AS SE MB LY I N STRU C TI O NS Step PARTS LIST: Remove the headboard from the box and lay it face down on the floor A M bolts x Open the velcro panel on the back and remove both the legs and B Big Washers x hardware C Wrench x...
- Page 2 H E A D B OA R D M O D I F I C AT I O N P L AT E A S SE M B LY I NSTRUC TI ON S fig. 1 Place assembled bed frame in front of headboard and position modi plate to determine which slots will line up with headboard brackets and headboard Use provided lock nuts small washers and short M bolts to attach modi plates to headboard brackets as shown in figure...
Need help?
Do you have a question about the Carlisle and is the answer not in the manual?
Questions and answers