Advertisement
Table of Contents
- 1 Table of Contents
- 2 Package Contents
- 3 Hardware Contents
- 4 Safety Information
- 5 Preparation
- 6 Initial Installation Instructions
- 7 Wiring Instructions
- 8 Final Installation Instructions
- 9 Operation Instructions
- 10 Care and Maintenance
- 11 Troubleshooting
- 12 Limited Lifetime Warranty
- 13 Replacement Part List
- Download this manual
Harbor Breeze ® is a registered trademark
of LF, LLC. All Rights Reserved.
ATTACH YOUR RECEIPT HERE
Serial Number
Questions, problems, missing parts? Before returning to your retailer, call our customer
service department at 1-800-643-0067, 8 a.m. - 6 p.m., EST, Monday - Thursday,
8 a.m. - 5
PH19238
Purchase Date
p.m., EST, Friday.
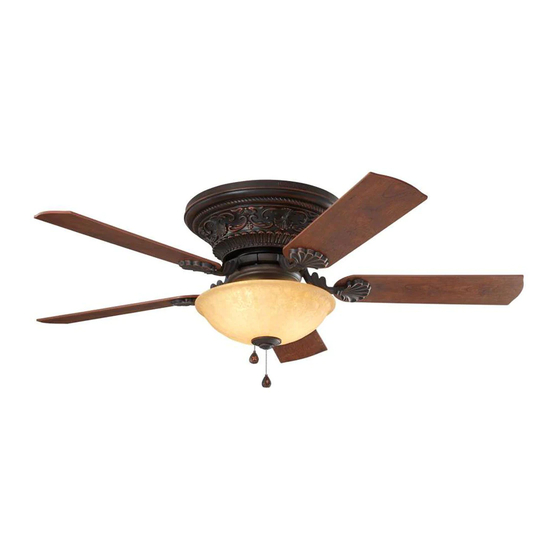
LYNSTEAD CEILING FAN
1
ITEM #0807420
MODEL #L1901
Español p. 17
Advertisement
Table of Contents

Related Manuals for Harbor Breeze L1901


Summary of Contents for Harbor Breeze L1901
- Page 1 ITEM #0807420 LYNSTEAD CEILING FAN MODEL #L1901 Harbor Breeze ® is a registered trademark Español p. 17 of LF, LLC. All Rights Reserved. ATTACH YOUR RECEIPT HERE Serial Number Purchase Date Questions, problems, missing parts? Before returning to your retailer, call our customer service department at 1-800-643-0067, 8 a.m.
-
Page 2: Table Of Contents
TABLE OF CONTENTS Package Contents ......................Hardware Contents ......................Safety Information ......................Preparation ........................Initial Installation Instructions ................... Wiring Instructions ......................Final Installation Instructions .................... Operation Instructions ...................... Care and Maintenance ..................... Troubleshooting ....................... Limited Lifetime Warranty ....................Replacement Part List ...................... -
Page 3: Package Contents
PACKAGE CONTENTS PART DESCRIPTION QUANTITY PART DESCRIPTION QUANTITY Mounting Bracket Metal Washer (Preassembled on Motor Body Mounting Bracket (A)) Mounting Plate Mounting Screw (Preassembled to motor (Preassembled on Switch body (B)) Housing Plate(C)) Motor Housing Light Kit Mounting Screw Blade Iron (Preassembled on Switch Blade Housing (G)) -
Page 4: Hardware Contents
HARDWARE CONTENTS (not shown actual size) Wire Nut Blade Screw Motor Screw Qty. 4 Qty. 15 + 1 extra Qty. 10 + 1 extra Qty. 2 SAFETY INFORMATION READ AND SAVE THESE INSTRUCTIONS Please read and understand this entire manual before attempting to assemble, operate or install the product. . -
Page 5: Preparation
WARNING CAUTION PREPARATION Estimated Assembly Time: and Wrench. -
Page 6: Initial Installation Instructions
INITIAL INSTALLATION INSTRUCTIONS Turn off circuit breakers and wall switch to the fan supply line leads. Turn Off Power Source DANGER: Failure to disconnect power supply prior to installation may result in serious injury or death. 2. . Fan mounting options: This fan was designed to be mounted only on flat ceilings and can be used on ceilings less than 8 feet high (blades should be a minimum of 7 feet from the... - Page 7 INITIAL INSTALLATION INSTRUCTIONS Remove the hex nuts (M) and metal washers (N) from the threaded rods on the mounting bracket (A). Hang the motor body (B) onto the hook from the mounting bracket (A). This will allow for hands-free wiring.
-
Page 8: Wiring Instructions
WIRING INSTRUCTIONS WARNING: To avoid possible electrical shock, be sure electricity is turned off at the main fuse box before hanging. WARNING: If you are not sure if the outlet box is grounded, contact a licensed electrician for advice, as it must be grounded for safe operation. WARNING: If house wires are different colors than referred to in the following steps, stop immediately. -
Page 9: Final Installation Instructions
FINAL INSTALLATION INSTRUCTIONS 1. Lift the motor body (B) onto the mounting bracket (A), making sure not to break away any wire connections, and allow the four threaded rods from the mounting bracket (A) to insert into rubber grommets on the motor bracket from the motor body (B). - Page 10 FINAL INSTALLATION INSTRUCTIONS 4. Align the holes between the blade iron (E) and motor. Install the blade assembly to the motor using motor screws (CC), and partially tighten. Repeat for the remaining blade assemblies. Securely tighten all motor screws (CC). Hardware Used Motor Screw x 10...
- Page 11 FINAL INSTALLATION INSTRUCTIONS Install the two bulbs (J) into each socket. Remove and retain the silicone washer (Q), metal washer (R) and manual nut (S) from the threaded rod on the light kit (H). Lift the glass bowl (I) up to the light kit (H), allowing the threaded rod to go through the center hole in the bottom of the glass bowl (I).
- Page 12 FINAL INSTALLATION INSTRUCTIONS Connect the fobs (DD) to the appropriate pull chains. Hardware Used OPERATION INSTRUCTIONS 1. The fob (DD) marked with a fan image is for motor speed control: High, Medium, Low and Off. Pull once for each position. 2.
-
Page 13: Operation Instructions
OPERATION INSTRUCTIONS When the season changes, you may want to change the direction in which the fan spins. To switch between clockwise and counterclockwise rotation, flip the fan reversal switch. NOTE: Wait for fan to stop before reversing the switch. In warmer weather, counterclockwise rotation creates a downward air flow, which cools the air. -
Page 14: Troubleshooting
TROUBLESHOOTING POSSIBLE CAUSE CORRECTIVE ACTION PROBLEM 1. Hex nuts are loose. 1. Tighten all hex nuts with wrench securely. 2. Normal noise. 2. Allow "break-in" period of 24 hours. Most noises associated with a new fan will disappear after this period. 3. -
Page 15: Limited Lifetime Warranty
LIMITED LIFETIME WARRANTY The manufacturer warrants this fan to be free from defects in workmanship and material present at time of shipment from the factory for life (with limitations) from the date of purchase. This warranty applies only to the original purchaser. The manufacturer agrees to correct such defect at no charge or, at our option, replace the ceiling fan with a comparable or superior model. -
Page 16: Replacement Part List
REPLACEMENT PART LIST For replacement parts, call our customer service department at 1-800-643-0067, 8 a.m. - 6 p.m., EST, Monday - Thursday, 8 a.m. - 5 p.m., EST, Friday. Part Description Part# Mounting Bracket A102-0374005 Motor Housing A113-0375490 Blade Iron A143-0193490 Blade A141-0244036...
Need help?
Do you have a question about the L1901 and is the answer not in the manual?
Questions and answers
Where can I purchase a replacement globe?