Advertisement
HARBOR BREEZE and logo design are
trademarks or registered trademarks of
LF, LLC. All rights reserved.
ATTACH YOUR RECEIPT HERE
Serial Number
Questions, problems, missing parts? Before returning to your retailer , call our customer
service department at 888-251-1003, 8 a.m. - 8 p.m., EST, Monday - Sunday. You could also
contact us at partsplus@lowes.com
AS23190
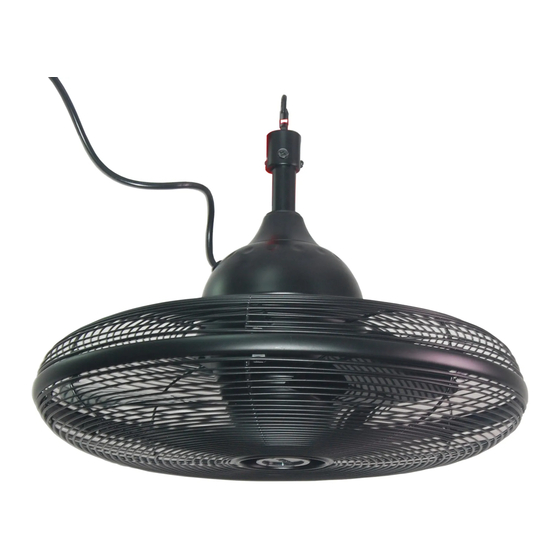
VALDOSTA PORTABLE
Purchase Date
1
ITEM # 5380809
FAN
MODEL # L1120H-BK
Español p. 10
Advertisement
Table of Contents

Related Manuals for Harbor Breeze VALDOSTA L1120H-BK


Summary of Contents for Harbor Breeze VALDOSTA L1120H-BK
- Page 1 ITEM # 5380809 VALDOSTA PORTABLE MODEL # L1120H-BK Español p. 10 HARBOR BREEZE and logo design are trademarks or registered trademarks of LF, LLC. All rights reserved. ATTACH YOUR RECEIPT HERE Purchase Date Serial Number Questions, problems, missing parts? Before returning to your retailer , call our customer service department at 888-251-1003, 8 a.m.
-
Page 2: Table Of Contents
TABLE OF CONTENTS Package Contents....................... Hardware Contents......................Safety Information....................... Preparation ......................... Assembly Instructions......................Operating Instructions ......................Care and Maintenance ....................... Troubleshooting........................Limited Lifetime Warranty....................Replacement Parts List ...................... -
Page 3: Package Contents
PACKAGE CONTENTS PART DESCRIPTION QUANTITY Downrod Assembly Coupling Cover Rod Clip Motor Body Wire Clip Coupling (Preassembled to the Motor Body (D)) Cross Pin (Preassembled to Coupling (F)) Clip (Preassembled to Coupling (F)) Coupling Screw (Preassembled to Coupling (F)) -
Page 4: Hardware Contents
HARDWARE CONTENTS (shown actual size) Set Screw Acorn Nut Qty. 1 Qty. 1 SAFETY INFORMATION READ AND SAVE THESE INSTRUCTION hanging structure can support the weight, do not attempt to install this fan as it may fall and cause regarding proper mounting methods in your area. the fan before installing, cleaning and servicing the item. -
Page 5: Preparation
PREPARATION Before beginning assembly of the product, make sure all parts are present. Compare parts with package contents list and hardware contents list. If any part is missing or damaged, do not attempt to assemble the product. Estimated Assembly Time: 45 minutes Tools Required for Assembly (not included): Philips Screwdriver, Step Ladder, Tape and Pliers. - Page 6 ASSEMBLY INSTRUCTIONS 3. Insert downrod assembly (A) through coupling cover (B) into coupling (F). Make sure to align the hole in downrod assembly (A) with the hole in coupling (F). Install cross pin (G) through coupling (F) and downrod assembly (A). Insert clip (H) into cross pin (G) until it snaps into place.
-
Page 7: Operating Instructions
ASSEMBLY INSTRUCTIONS 6. Peel the backing off the adhesive tape stripes on the bottom of the wire clips (E). Attach the wire clips (E) as needed to the wall or ceiling and press gently. Clip the power cord to the wire clips (E). Plug the power cord into a ground 3-prong outlet. -
Page 8: Care And Maintenance
CARE AND MAINTENANCE IMPORTANT: Shut off the main power supply before beginning any maintenance. Do not use water or a damp cloth to clean the ceiling fan. • Clean fan housing with only a soft brush or lint-free cloth to avoid scratching the finish. Clean blades with a lint-free cloth. -
Page 9: Limited Lifetime Warranty
LIMITED LIFETIME WARRANTY manship and material present at This warranty applies only to the original purchaser. . Any damage to the unauthorized person will render the warranty invalid. varying weather conditions. 888 - 251 - 1003 REPLACEMENT PARTS LIST For replacement parts, call our customer service department at 888-251-1003, 8 a.m. - 8 p.m., EST, Monday - Sunday.
Need help?
Do you have a question about the VALDOSTA L1120H-BK and is the answer not in the manual?
Questions and answers
How do I remove the guard from my Valdosta 20” fan to clean it
how do you get the control knob off to take the cage off and clean the blades
How do I remove the fan speed knob?