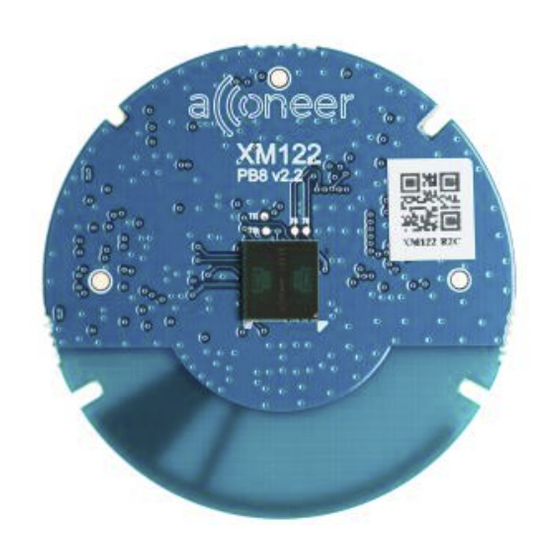
Summary of Contents for Acconeer XM122
- Page 1 PROPRIETARY AND CONFIDENTIAL Explore the next sense Getting Started Guide Acconeer XM122-XB122 IoT Module Evaluation Kit Oct 2019...
- Page 2 PROPRIETARY AND CONFIDENTIAL Installation guide The XM122 is delivered non-flashed. This installation quick guide will show you how to get the Acconeer XM122-XB122 Module Server up and running. For a hands-on instruction video, please visit Acconeer channel. https://www.youtube.com/channel/UC56HMJfKPSpamS-kMHXOcAw © 2019 by Acconeer – All rights reserved...
- Page 3 PROPRIETARY AND CONFIDENTIAL Preparing the HW Installation To complete a successful installation of Acconeer EVK, the following HW components will be required: Additionally*: XB 122 Breakout Board XM 122 Module • USB Micro Cable for connection to PC * Not provided by Acconeer.
- Page 4 XB122 (Breakout board, back side) XM122 Front Serial wire debug/ JTAG Battery/ A111 USB Switch BT Antenna USB for Voltage Battery holder supply and UART Back Connector I2C, GPIOs, UART Connector for external BT antenna © 2019 by Acconeer – All rights reserved...
- Page 5 The following applications will be required to complete an installation. Also, they will be very useful when working with the Radar Sensor Module Server. Please download and install: Acconeer Module SW Image for XM122: Available from https://developer.acconeer.com/ • Acconeer Exploration tool: https://github.com/acconeer/acconeer-python-exploration...
- Page 6 Assemble the HW XM122/XB122 • Connect the XM122 Module to the XR111 Sensor Board XB122 Breakout Board. Connect the USB cable to USB slot. • • End result in the rightmost picture Connector Connector © 2019 by Acconeer – All rights reserved...
- Page 7 Start Boot Mode (DFU Mode) Press the DFU-button and hold it. Press the RESET-button and hold it. Release the RESET-button. Release the DFU-button RESET Now the module is in DFU mode and ready to be flashed. © 2019 by Acconeer – All rights reserved...
- Page 8 Server run the following command: nrfutil dfu serial --package acc_module_server_dfu_package_xm122.zi p --port COM3 -b 115200 Make sure COM3 above is replaced with your COM port. Now the XM122 is flashed and ready to use. © 2019 by Acconeer – All rights reserved...
-
Page 9: Installing Python
Make sure the Add Python to PATH option is selected. (Pic 1) Click Install Now. No need for a customized • Installation. (Pic 2) • Close once the installation is completed. (Pic 3) © 2019 by Acconeer – All rights reserved... - Page 10 You can always find it by searching for “cmd”. • In the command prompt, change the directory to where you unzipped the exploration tool by typing the command cd followed by the path to the folder. (Pic 2) © 2019 by Acconeer – All rights reserved...
- Page 11 Installing Exploration tool • Run the command: pip install --user –r requirements.txt (Pic 1) • Wait until the installation has finished and run the next command: python setup.py install --user (Pic 2) © 2019 by Acconeer – All rights reserved...
- Page 12 Choose a service or a detector and click • Start. (We used Envelope as an example) • The result should be a graph showing the envelope data output from the sensor. Shown in next page. © 2019 by Acconeer – All rights reserved...
- Page 13 PROPRIETARY AND CONFIDENTIAL Exploration Tool GUI, Envelope graph Connect/Disconnect Select Service/Detector Start © 2019 by Acconeer – All rights reserved...
- Page 14 PROPRIETARY AND CONFIDENTIAL...


Need help?
Do you have a question about the XM122 and is the answer not in the manual?
Questions and answers