Table of Contents
Advertisement
Quick Links
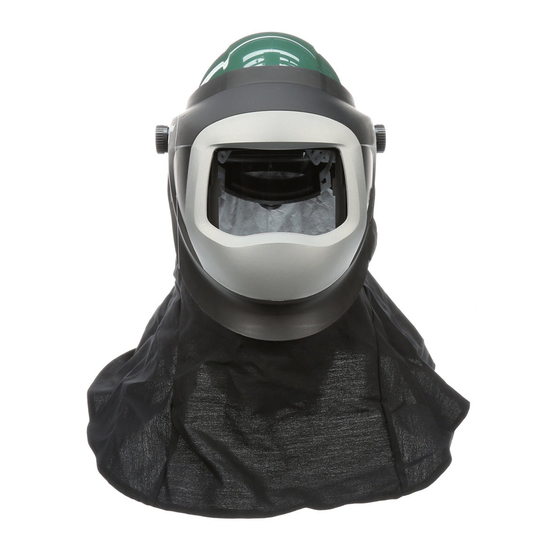
3M™ Helmet L-905 with Wide-view Faceshield
1) The L-114 is the Reinforced Chin Strap. The L-114 chin strap must be
used in the L-700 and L-900 Series Headgear in order to comply with
ANSI Z89.1-2003 Protection from Side Impacts. Replace the chin strap
when it is worn, torn or damaged. To remove it:
a. Unscrew the L-145 Knobs.
b. Remove the components of the L-146 Welding Knob and Pivot Kit.
c. Remove the chin strap attachment plate from the pocket that
contained the cam clip.
2) The L-125 is the Flame Retardant Shroud made from Nomex®
Material, the L-126 is the Inner Shroud and the L-127 is the Leather
Welding Shroud. Replace either shroud whenever it is worn excessively
or anytime it is torn. To remove it:
a. Hold the headgear upside down.
b. Lift the 3M™ Scotchmate™ flap on the left side of the shroud.
c. With a flat-blade screwdriver, loosen the hose clamp until the
shroud assembly can be slipped off the headgear.
d. The L-127 leather welding shroud has an inner shroud (L-126) that
can be zipped out for washing.
Nomex is a registered trademark of E.I. Dupont.
3) The L-153 is the Welding Shield. It should be replaced when it is
damaged. To remove it:
a. Unscrew the L-145 Welding Knobs on either side of the welding
shield and remove them from the cams.
b. Remove the welding shield.
© 3M June 2006. All rights reserved.
and Welding Shield
Disassembly
L-905 - Disassembly
Advertisement
Table of Contents

Related Manuals for 3M L-905


Summary of Contents for 3M L-905
- Page 1 To remove it: a. Hold the headgear upside down. b. Lift the 3M™ Scotchmate™ flap on the left side of the shroud. c. With a flat-blade screwdriver, loosen the hose clamp until the shroud assembly can be slipped off the headgear.
- Page 2 The L-162 Safety Plate. The safety plate should be replaced when it is damaged or missing. ii. The next piece in the stack is a shade glass. This is not a 3M part, but it can be purchased at a welding supply store in the shade desired.
- Page 3 Do not use the headgear until the latches are in place. To remove the latches: a. Use a pliers to grasp the base of the L-shaped latch. b. Pull forcefully on the latch until it is removed. © 3M June 2006. All rights reserved.
- Page 4 The lens cover closest to the lens should not be removed in the work area where your lens can get dirty. © 3M June 2006. All rights reserved.
- Page 5 If used, the air deflector should be replaced if it is damaged or missing. To remove it: a. Pull it off of the front of the headgear shell. © 3M June 2006. All rights reserved.
Need help?
Do you have a question about the L-905 and is the answer not in the manual?
Questions and answers