Advertisement
Quick Links
MAXIMUM LOAD CAPACITY:
28 LBS (12.7 KG)
IMPORTANT
DO NOT use power tools to assemble or
adjust the arm. Use hand tools ONLY.
CAUTION!
The Elite arm contains high pressure gas
springs. The following cautions MUST be
observed to avoid serious injury.
• Do not attempt to adjust the Elite arm until all
components are mounted (monitor, keyboard, etc.)
• Arm must be completely horizontal (extended)
before adjusting the arm's tension. Failure to do so will
damage the arm and void the warranty.
• NEVER loosen or remove
any of the 16 shoulder bolts.
Doing so will cause the arm to
immediately come apart with
tremendous force, and could
cause serious injury.
• If equipment requiring AC power
is mounted to this unit, have a
certified electrician inspect the installation.
• Failure to install this unit according to these
instructions will void all ICW warranties. If installed
incorrectly, ICW is not liable for any damage or injury
caused by the unit.
If Mounting To A Desk
ATTACH TO DESK
Drill a 3/8 hole through the
horizontal mounting surface.
Screw the 3/8 all-thread
stud into offset hole in desk
mount. The stud is found in
the hardware bag.
Push the 3/8 stud on desk
mount through the hole the
desk. Slide large mounting
washer over the stud from
underneath and secure in
place with the 3/8 nylock nut.
Run cables through center of
desk puck.
Page 1 of 3
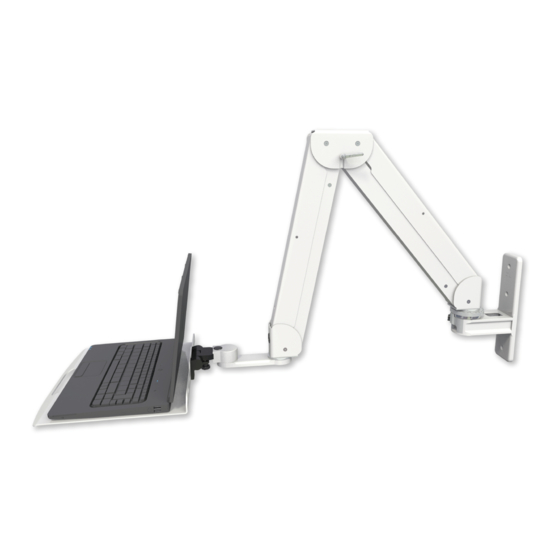
ELITE 5220 & 5216 INSTALLATION
ICW recommends wood or metal stud mounting only.
8 shoulder bolts
on each side
Cables run
through center of
desk puck and out
through slot
All-thread stud
Desk surface
Washer
Nylock nut
If Mounting To Wall or Wall Track
MOUNT TO WALL
• Locate stud and mark top hole.
• Drill 11/64 pilot hole and insert
#14 screw and tighten slightly.
• Using a level, mark lower
holes and drill pilot holes.
• Insert #14 screws and, with
unit level, tighten all screws.
ICW supplies #14 wood screws.
If installing onto metal studs,
you will need to replace with
proper metal stud fasteners.
To tighten center screw,
additional tools may be helpful
(not provided). Provided screws
will accept a 90° bent Phillips or
square bit nut driver on a short socket wrench.
MOUNT TO WALL TRACK
Attach wall track to
wall using installation
instructions provided
with track.
Attach track adapters
Attach track adapters
to back of wall ear by
threading socket head
screws from front of wall ear into track
adapters. Loosely tighten with 5/32" hex key.
Attach wall plate to track
Slide track adapters into track from either top or
bottom. Position wall ear to desired location on track.
Firmly tighten wall ear screws with 5/32" hex key.
If Mounting To A Pole
ATTACH TO POLE
Separate the two sections
of the pole mount. Place around pole,
reassemble and firmly tighten screws.
EASY-TO-CABLE-MANAGE ELITE 5220 & 5216 INSTALLATION - 11/13/17
Advertisement

Related Manuals for ICW ELITE 5220


Summary of Contents for ICW ELITE 5220
- Page 1 • Failure to install this unit according to these with track. instructions will void all ICW warranties. If installed Attach track adapters incorrectly, ICW is not liable for any damage or injury Attach track adapters caused by the unit. to back of wall ear by...
- Page 2 Add provided wire clips, weaving Add wire clip to end of arm. ALLOW FOR ARM MOVEMENT. through wire loom to secure cables. Run cables through opening in center of wall ear. Page 2 of 3 EASY-TO-CABLE-MANAGE ELITE 5220 & 5216 INSTALLATION - 11/13/17...
- Page 3 Check for level. Repeat if necessary. If center bolt is not retightened, the Elite foot could come loose. Button Stop Block • Replace arm covers. head bolt screws Page 3 of 3 EASY-TO-CABLE-MANAGE ELITE 5220 & 5216 INSTALLATION - 11/13/17...