Table of Contents
Advertisement
Advertisement
Table of Contents

Subscribe to Our Youtube Channel
Related Manuals for Raven SBG SmartGrid


Summary of Contents for Raven SBG SmartGrid
- Page 1 USER MANUAL (ENGLISH) SBGuidance 4.0 SmartGrid module 016-8000-008 Rev. A...
- Page 2 Preface WARNING! This user manual must be available for people who operate, service and repair this product. Name of device: Type designation: Serial no. of manifold: Serial no. of terminal: Serial no. of sensor box: Serial no. of dynamIQ: Year of manufacture: Options: Installed software module: Your dealer:...
-
Page 3: Preface
Preface Preface This operating manual is intended for those In this manual several terms are used that are persons who are competent to operate the intended to draw attention to particular aspects SBGuidance software. The operating manual of the SBGuidance System and its operation. contains important information and instructions that must be complied with when setting up, Tip:... -
Page 4: Disclaimer
Error! Reference source not found. Disclaimer Warning! Warning! Always wear personal protective The safety instructions contained in the equipment when operating manual of the tractor or the operating/adjusting/repairing the system machine must be complied with at all outside of the tractor cabin. times. - Page 5 Preface terminal and GPS-antenna unattended in the tractor on the field. Pagina 5/20 I april 2017 I 2.0...
-
Page 6: Table Of Contents
Inhoudsopgave Table of contents Preface ............................3 Disclaimer ............................. 4 1. Introduction ..........................7 2. Main menu ..........................8 3. SmartGrid ..........................9 3.1. Creating/loading Field + Operation ..................9 3.2. SmartGrid menu ........................9 3.2.1. Settings ......................... 9 3.2.2. Grid information ......................14 4. -
Page 7: Introduction
SmartGrid 1. Introduction The SmartGrid module is intended to generate grid points according to a certain pattern. These grid points are linked to an AB-based operation. Three different patterns are possible: Square/rectangle connetion Triangular connection Plot seeding Please note!: This manual only deals with the operation of the SmartGrid software module. -
Page 8: Main Menu
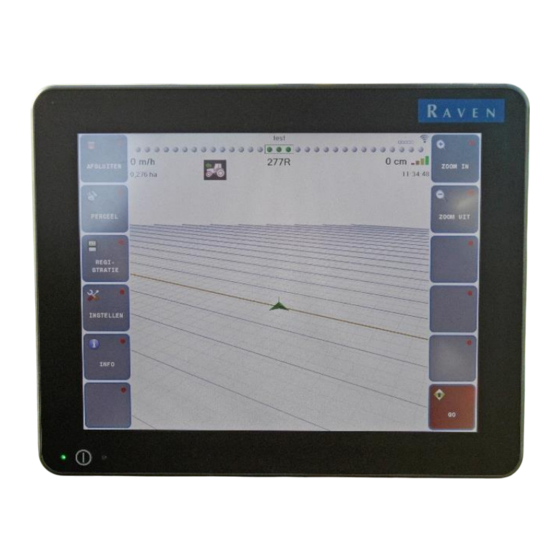
SmartGrid Main menu If the grid module is activated, an extra button with the name SMART GRID is shown in the main menu. By pressing this button all the settings can be done for the grid module. Tip: For detailed information about the main menu, refer to the general SBGuidance user manual. -
Page 9: Smartgrid
SmartGrid 3. SmartGrid Create new field To use the grid module, certain conditions must be met and a number of settings must be checked/changed. See below for the actions that Create new should be done before starting. operation 3.1. Creating/loading Field + Operation Load excisting To use the grid module a field has to be field and operation... - Page 10 SmartGrid Grid set up Click on CONFIGURATION to set the desired grid configuration. A wizard appears to make the necessary settings. On the first page you can choose between three different modes: Rectangle (Figure Triangle (Figure Plot seeding (Figure Figure 5 Rectangle mode Depending on the chosen mode the next...
- Page 11 SmartGrid REFERENCE POINT: The reference point that will be used for detecting grid points has to be chosen. Possibilities: Antenna (Main/tractor), Antenna (AUX/implement). Implement rear, implement front. At implement rear and implement front the reference point on the implement will be used. For more information about the settings on a implement see the general SBGuidance user manual.
- Page 12 SmartGrid PULSE LENGTH: Length of the signal in milliseconds. DELAY COMPENSATION: At the Drive signal, a distance can be entered to compensate for rolling out of the machine. On the third page the conditions and extra options of the grid module are shown (Figure AUTOSTEER MUST BE ACTIVE: Grid signal is only given if the vehicle’s...
- Page 13 SmartGrid Press confirm to save the settings. Start offset This offset determines the staring postiion of the grid points in the driving direction. The displayed value is the distance in the driving direction to the A-point of hte AB Line. The start offset is manually adjustable by pressing the number value or automatically by placing the start offset under the current reference point of the tractor/machine.
-
Page 14: Grid Information
SmartGrid 3.2.2. Grid information Press on the second tab (i-icon) to look at the diagnosis information (Figuur 11). The available information about grid and gridpoints are shown in this menu. Figuur 11 Grid diagnostic information ROW: The row number (row 1 = working line 1 = line between the two red dotted lines). - Page 15 SmartGrid MEAN ERROR: Average of all errors made on the grid points. With the -button the FAILURES, FAILURES ERROR MEAN ERROR values can be reset The red square at the top right of the diagnostic menu indicates when a grid point is detected. The square turns green once a grid point is detected.
-
Page 16: Rcu Module
SmartGrid 4. RCU module 4.1. RCU Grid For controlling machines based on a grid pattern, a RCU Grid module is available (Figure 12). This can be connected to the SBG CANbus cabling. On the 7-pin Amphenol connector different output signals are available, shown in Table 1. Table 1 Pinout 7-polige Amphenol connector RCU Grid Figure 12 RCU Grid Output signal... - Page 17 SmartGrid The output of the RCU Grid module will not be updated when the GPS receiver is not in RTK-fixed mode. Wait till the GPS receiver is in RTK-fixed mode. If a virtual implement is connected and the headland signal is activated, no output signal is generated by the RCU Grid module when the reference point is on the headland.
-
Page 18: Rcu Start - Stop
SmartGrid 4.2. RCU Start – Stop For starting and stopping a vehicle on detected grid points a RCU Start-Stop module (Figure 13) is available. This can be connected to the SBG CANbus cabling. On the 4-pin Amphenol connector are different output signals available, shown in Table 2. - Page 19 SmartGrid headland line. In AUTO mode the stopsignal output become high and the startsignal output become low when the headland line is detected. It is required to activate the headland signal of the virtual implement. In (manual) mode the module only responds by pressing the buttons (start) or (stop) manually.
- Page 20 SBG precision farming Hoornseweg 22 1775 RB Middenmeer Email: info@sbg.nl Web: www.sbg.nl Tel: +31 (0)227 54 93 00...
Need help?
Do you have a question about the SBG SmartGrid and is the answer not in the manual?
Questions and answers