Advertisement
P2P connection via Wi-Fi Dongle(Windows)
Equipment needed: F70WV2 w/power adapter, PC/w Wi-Fi Dongle and Sphere 2 installed
1
Plug-in the WiFi dongle to PC/laptop.
Wi-Fi Dongle
Laptop
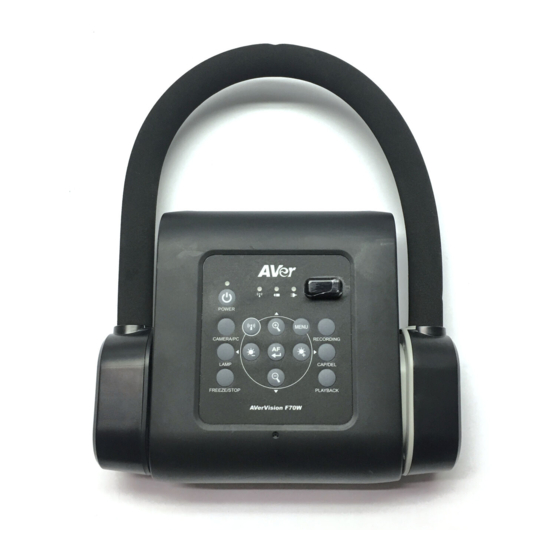
5
Open menu.
2
Install AVer Sphere2 application
on laptop.
AVer Sphere2
Laptop
Note: Download Sphere2 application from
bleow URL.
www.averusa.com/education/support/aplus-suite
6
Go to the WiFi setup tab > AP Mode.
3
Enable WiFi function.
7
Run Sphere2 on your laptop.
4
Connect F70WV2 to HDMI display
and plug in power adapter.
LCD/DCP projector
HDMI monitor
8
Select F70WV2 to connect.
Then, WiFi will be connected.
Note: Please refer to the F70WV2 support
page FAQs for more advance Wireless
setup.
www.averusa.com/support
Advertisement
Table of Contents

Related Manuals for AVer F70W


Summary of Contents for AVer F70W
- Page 1 P2P connection via Wi-Fi Dongle(Windows) Equipment needed: F70WV2 w/power adapter, PC/w Wi-Fi Dongle and Sphere 2 installed Connect F70WV2 to HDMI display Plug-in the WiFi dongle to PC/laptop. Install AVer Sphere2 application Enable WiFi function. and plug in power adapter. on laptop.
- Page 2 P2P connection via Wi-Fi Dongle(MAC) Equipment needed:F70WV2 w/power adapter, MacBook/w Wi-Fi Dongle and Sphere 2 installed Connect the WiFi dongle to MacBook. Install AVer Sphere2 application Enable WiFi function. Connect F70WV2 to HDMI display on MacBook. and plug in power adapter.
- Page 3 Select Set Service Order to set Wi-Fi as Drag Wi-Fi to top of list. Click Apply to save the changes. Run Sphere2 on your MacBook. 1st network service. Then, select F70WV2 to connect. AVerVision F70WV2 Note: Please refer to the F70WV2 support page FAQs for more advance Wireless setup.
- Page 4 Connecting to WiFi Equipment needed: F70WV2 w/power adapter, PC/Mac w/A+ Suite installed, access to WiFi network Connect F70WV2 to HDMI display Enable WiFi function. Open menu. Go to the WiFi setup tab. and insert WiFi Dongle. WiFi Dongle HDMI monitor “Connecting to Note: Refer to the HDMI”...
- Page 5 Connecting via Miracast Equipment needed: F70WV2 w/power adapter, AVer interactive flat panel, access to WiFi network Insert WiFi Dongle to F70WV2. Enable WiFi function. Open menu. Run the “Screen Share” app on the AVer Interactive Flat Panel. If you do...
- Page 6 Connecting to HDMI Equipment needed: F70WV2 w/power adapter, HDMI display, HDMI cable Insert WiFi Dongle. Connect F70WV2 to HDMI display Turn on F70WV2. Auto focus camera. and plug in power adapter. WiFi Dongle LCD/DCP projector HDMI monitor 1 sec. POWER POWER Note: Adjust the video input on your Note: F70WV2 defaults to 1280x720 upon...
- Page 7 Connecting to PC/Mac via USB Equipment needed: F70WV2 w/power adapter, PC/Mac w/A+ Suite installed, mini USB cable Plug in power adapter and Connect F70WV2 to PC/Mac Open Sphere2, select F70WV2. Auto focus camera. Turn on F70WV2. via mini USB cable. AVerVision F70WV2 Note: if this is the first time you are connecting the F70WV2 to your PC/Mac,...
- Page 8 9. ENTER 7. AUTO FOCUS 10. LAMP 8. ZOOM +/- For User Manual and Software, please visit the link below. http://averusa.com/classroom-technology/support/ Contact Information AVer Information Inc. USA 668 Mission Court, Fremont, California 94539 USA Toll Free: (877) 528-7824 Email: support.usa@aver.com P/N:300AP0DW-???
Need help?
Do you have a question about the F70W and is the answer not in the manual?
Questions and answers