Advertisement
Quick Links
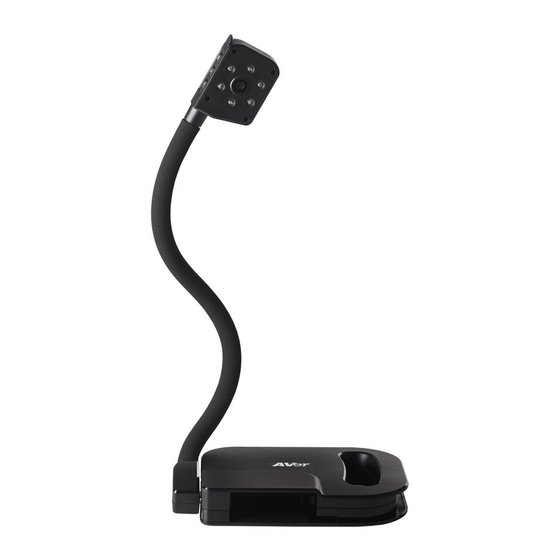
Please first identify which AVer document camera you are using to know what software to install.
A+ Suite (Sphere2 on Win10/Mac) or Sphere Lite (Chromebooks): AVer U70+, AVer U50, AVer M70HD, AVer
300AFHD, AVer F70W, AVer F50-8M, AVer F17-8M, M17-13M
AVerTouch (Win10/Mac): AVer M15W, AVer M15-13M, AVer M70W
A+ Suite (Sphere2):
1. Download the A+ Suite software on your computer, go to:
https://averusa.com/education/support/aplus-suite
Select the OS you are using to download the software (we will use Win10 in this tutorial)
2. Open the downloaded .exe file to start the installation
Follow the setup wizard to install the A+ Suite software
Setup your AVer Document Camera from home!
Advertisement


Need help?
Do you have a question about the U70+ and is the answer not in the manual?
Questions and answers