Advertisement
Installation instructions
To ensure the best performance from your new washer please follow the instructions below.
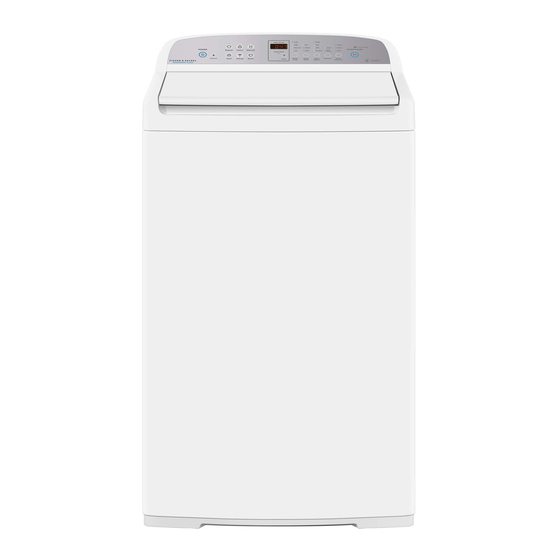
Product and minimum clearance dimensions
Overall height of product † (to highest point on console)
A.
Overall width of product
B.
Depth of product
C.
Height of product to top of lid † (closed)
D.
https://producthelp.fisherpaykel.com/nz/Wash/Top_Loaders/WashSmart_Eco/WA8560E1/User_Guide_WA8560E1/03_Install...
Product Dimensions
Property (mm)
WA**60*
1045 - 1075
600
600
950 - 980
Updated: Wed, 06 May 2020 16:00:17 GMT
Powered by
1
Advertisement
Table of Contents

Summary of Contents for Fisher & Paykel WashSmart Eco WA 60 Series
- Page 1 Installation instructions To ensure the best performance from your new washer please follow the instructions below. Product and minimum clearance dimensions Product Dimensions Property (mm) WA**60* Overall height of product † (to highest point on console) 1045 - 1075 Overall width of product Depth of product Height of product to top of lid †...
-
Page 2: Minimum Clearances
Property (mm) WA**60* Height of lid open † (measured from bottom of product) 1350 - 1385 min. 850 - 1200 Standpipe height † Includes adjustable mounted feet and the range of movement. Minimum Clearances Property (mm) WA**60* Minimum cavity width Minimum depth clearance (including inlet hoses, drain hose and bowed front) Minimum clearance to either side or wall #... -
Page 3: Maximum Capacity
Maximum Capacity WA7060* WA7560* WA8060* WA8560* WA9060G WA1060* Maximum capacity (kg) 10.0 Maximum capacity may differ according to market, and the associated standards. Unpacking To ensure the best performance from your new washer please follow the instructions below. Removing the packaging 1. -
Page 4: Drain Hose
Location Install the washer on a solid and level floor surface ensuring it has at least 20 mm clearance on each side. The washer must not be installed on any textured floor coverings (eg carpets, rugs). In your washer you will find: •... -
Page 5: Electrical Connection
Electrical connection • This appliance must be supplied with a 220 – 240 V, 50 Hz, sinusoidal, 10 A electrical supply. • Check the power cord for damage, making sure it is not squashed or twisted. • A damaged power cord must be replaced by a Fisher & Paykel trained and supported service technician, in order to avoid a hazard. -
Page 6: Inlet Hoses
Inlet hoses WARNING: Failure to adhere to the following instructions may result in a flood and damage to property. • New hose sets provided with the washer shall be used to connect the washer to the water supply. • Old hose sets should not be used. •... - Page 7 your washer to remember your wash preferences. Levelling instructions It is IMPORTANT to level the washer to ensure good spin performance. A spirit level is provided with your washer. Use this to level your washer, always placing it on a clean, flat surface. The washer is level when the bubble sits in the centre, within the two lines.
-
Page 8: Completing Your Installation
3. With the lid closed, tilt the washer forward away from the wall approximately 100 mm (Fig.2), the self-adjusting feet will release. Gently lower the washer back down. Fig.2 Tilt washer forward 4. Open the lid, place the spirit level at either the right hand or left hand side of the top deck. -
Page 9: Installation Test Cycle
the hose connections for leaks again after 24 hours. • Uncoil power cord, remove and discard the plastic pin cover, and plug into wall socket. • Connect the appliance to an earthed outlet protected by a fuse of suitable capacity. Do not touch or operate the washer with wet hands or with bare feet. - Page 10 Available from your Fisher & Paykel dealer or a Fisher & Paykel trained and supported service technician. Drain Hose Part No. 425627P Extension If the power cord of your clothes washer is damaged it is highly recommended that it is replaced by a Power Fisher &...


Need help?
Do you have a question about the WashSmart Eco WA 60 Series and is the answer not in the manual?
Questions and answers