Advertisement
Check Weighing (CHECK)
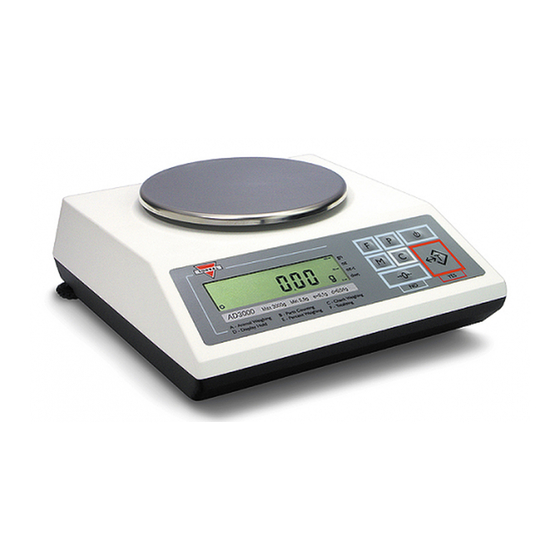
The check weighing function is used to compare the weight of an object against a preset target range. To set the limits
and use the check weighing function follow the steps below. A "C" indicator will appear on the screen to indicate the
scale is in Check Weighing mode.
1. To enter Check Weighing Mode, press the "F" key. Select "CHECK" by pressing the "T" key.
2. The current, set UNDER‐limit and the command "UNDER" will appear on the display sequentially. To accept the
current UNDER‐limit, press the "T" (Yes) key. To change the limit, press the "
0.000
Note: The UNDER‐limit displayed will be from the last time the function was used. If this is the first time the Check
Weighing function is used, the limit will be set to 0.000g.
To enter a weight, use the following keys: the "
the next digit; "P" key to insert a decimal; "FUNCTION" key to accept the entire setting; and "CLR" key to clear and start
over . To become familiar with setting the weight limits, see Table 16.1.
52
3. After setting the UNDER‐limit, the current, set OVER‐limit and the command "OVER" will appear on the display
sequentially. To accept the current OVER‐limit, press the "T" (Yes) key. To change the limit, press the "
0.000
Check Weighing - Quick Reference Guide– AD Series
CHECK
0 "
_
UNDER
(NO) key to increment a digit; "T" (YES) key to accept and go to
OVER
" key.
0
" key.
0
Advertisement
Table of Contents

Summary of Contents for Torbal AD Series
- Page 1 Check Weighing - Quick Reference Guide– AD Series Check Weighing (CHECK) The check weighing function is used to compare the weight of an object against a preset target range. To set the limits and use the check weighing function follow the steps below. A “C” indicator will appear on the screen to indicate the scale is in Check Weighing mode. 1. To enter Check Weighing Mode, press the “F” key. Select “CHECK” by pressing the “T” key. CHECK 2. The current, set UNDER‐limit and the command “UNDER” will appear on the display sequentially. To accept the current UNDER‐limit, press the “T” (Yes) key. To change the limit, press the “ ” key. UNDER 0.000 Note: The UNDER‐limit displayed will be from the last time the function was used. If this is the first time the Check Weighing function is used, the limit will be set to 0.000g. ...
- Page 2 Check Weighing - Quick Reference Guide– AD Series 4. Once both limits have been set the scale will display “TARE”. Place a container on the pan and press the “T” key to tare. TARE ------ 5. The scale is now ready to use. To perform check weighing place your object on the pan to check whether the weight of the object falls within the designated range. If the weight is less than the lower limit the scale will display the weight of the object and the command “UNDER”. If the weight falls within the range, the “ACCEPT” command will be displayed. If the weight exceeds the upper limit, the scale will display “OVER”. UNDER ACCEPT OVER 54 Note: To change the limit setting press “CLR” and repeat Steps 1 to 7. If the same limits are used, the scale can be tared without clearing the ...


Need help?
Do you have a question about the AD Series and is the answer not in the manual?
Questions and answers