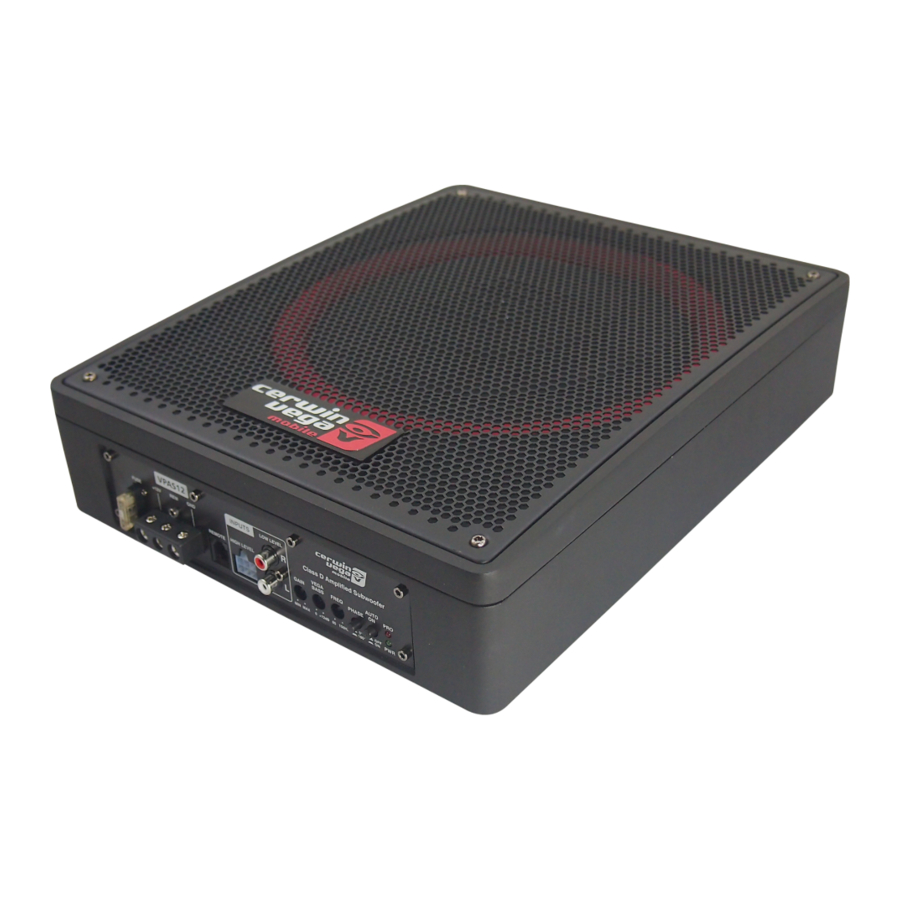
Cerwin-Vega Vega Series User Manual
Amplified 12"
Hide thumbs
Also See for Vega Series:
- Manual (47 pages) ,
- User manual (13 pages) ,
- User manual (8 pages)
Advertisement
Advertisement
Table of Contents

Summary of Contents for Cerwin-Vega Vega Series
- Page 1 VEGA SERIES AMPLIFIED 12“ SUBWOOFER VPAS12 USER MANUAL...
-
Page 2: Specifications
Cerwin Vega Mobile Amplified Subwoofer Thank you for purchasing a Cerwin Vega Mobile Amplified Subwoofer for your car audio system. You have chosen Cerwin Vega Mobile because you deserve the best! Cerwin Vega Mobile products are designed and engineered to the highest quality standards in the industry to create the ultimate listening experience in your vehicle. - Page 3 Features/Functions Panel controls and features A.POWER STATUS LED F.INPUT GAIN CONTROL There is a GREEN “power” LED that glows After you have installed your system, turn this green when power is on and no problems are GAIN control to minimum (counter-clockwise). present.
-
Page 4: Installation
Installation Low Level Input Wiring Low-level (RCA) input wiring is preferred for best audio performance. Most trunk or hatchback installations will require a 15-20 foot RCA cable, while pickup trucks and under-seat installations will require a 6-12 foot RCA cable. Always use a high quality cable. -
Page 5: Power Connections
Installation Power Connections Connect the ground terminal to the closest point on the chassis of the vehicle. Keep this ground wire to less than 18" (45 cm) in length. Use 8 gauge wire (NO CCA WIRE!!!!) Connect the remote terminal to the remote output of head unit using 16 gauge wire. - Page 6 Installation We included mounting brackets to ensure the subwoofer remains securely mounted. Two types of installation are possible. In the trunk Figure 1 1 - Rear seats must be positioned in their normal fixed position. 2 - Decide the best location possible that suits your automobile and space available. The best and most secure location for optimum sound quality is behind the rear seats, or the trunk floor (see Figure 1).
- Page 7 Installation (4) Machine Screws M6*8 (4) Mounting Tabs Figure 2 Figure 3 Pre Drilled Mounting hole (4) M4*25mm supplied screws Figure 4...
- Page 8 Installation Under a seat 1 - The seat must be positioned in its normal fixed position. 2 - Decide the best location possible that suits your automobile and space available, checking that the enclosure doesn’t hamper the seat mobility. (See Figure 1) 3 - Ensure the area for subwoofer location is clean and tidy.
- Page 9 Installation (4) Machine Screws M6*8 (4) Mounting Tabs Figure 2 Figure 3 Pre Drilled Mounting hole (4) M4*25mm supplied screws Figure 4...
-
Page 10: Troubleshooting
Troubleshooting Troubleshooting If you experience operation or performance problems with this product, compare your installation with the electrical wiring diagram on the previous pages. If problems persist, read the following troubleshooting tips which may help eliminate the problems. SYMPTOM POSSIBLE REMEDY Amplifier will not Check to make sure you have a good ground connection. - Page 11 Registration is voluntary and failure to register will not diminish your limited warranty rights. Limited Warranty (U.S.A.) Cerwin Vega Mobile warrants all of our amplifiers and speakers to be free of defects in materials and workmanship for a period of one (1) year.


Need help?
Do you have a question about the Vega Series and is the answer not in the manual?
Questions and answers