Cerwin-Vega Vega Series User Manual
Digital bass enhancer
Hide thumbs
Also See for Vega Series:
- Manual (47 pages) ,
- User manual (13 pages) ,
- User manual (12 pages)
Table of Contents
Advertisement
Advertisement
Table of Contents

Subscribe to Our Youtube Channel
Related Manuals for Cerwin-Vega Vega Series


Summary of Contents for Cerwin-Vega Vega Series
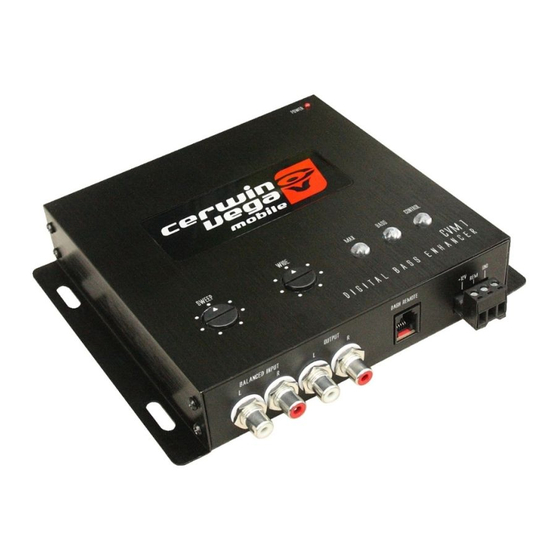
- Page 2 Introduction Congratulations for purchasing the Cerwin-Vega Mobile CVM1 for your car audio system. you have chosen the Cerwin Vega Mobile because you deserve the best! The Cerwin Vega Mobile CVM1 Digital Bass Processor is designed and engineered to reproduce extreme bass in your vehicle! Our authorized Cerwin Vega Mobile dealers...
-
Page 3: Bass Driver
Features BASS DRIVER: The CVM1 contains a Bass Driver circuit that an accurately recreates and injects Low frequency information back into the signal path. What that means in everyday terms is that the BASS BOOSTER will give more bass impact to your best compact discs or even your old tapes. BASS Equalization Circuit: The CVM1 has a unique equalization circuit that contours the restored bass to your speaker systems. -
Page 4: Power Connector
Functions 1. INPUTS: The inputs of the CVM1 use a balanced input circuit to help minimize induced noise. These are designed to handle very high signal voltages of up to 15volts. 2. OUTPUTS: RCA connectors should be connected to the next component AFTER the CVM1 before a crossover. 3. - Page 5 Functions 10. INPUT GROUNDING: In most systems, the source unit may leave this jumper set in the BALANCED position. In some systems, the source unit may look for a ground through the RCA connectors. In this event, you should go ahead and the change the jumpers to the UNBALANCED position.
-
Page 6: Power Connection
Electronic Connections & Wiring POWER CONNECTION B+)12V(: Connect a red wire to the battery or other power source. REMORE: Connect an orange wire to remote activating (12V DC) wire of car stereo or equalizer. Connect a Black wire to the car chassis for ground connection. GND:... -
Page 7: Signal Connection
Signal Connection NOTE: For signal connection, the output RCA connectors should be connected to the next component after the CVM1; such as, a crossover, equalizer or amplifier. Remember, the CVM1 should go inline BEFORE a crossover. -
Page 8: Control & Specification
Control & Specification ADJUSTING THE BASS CONTROL THE BASS RESPONSE IN A SYSTEM IS AFFECTED BY FOUR FACTORS: (1) The acoustics of the vehicle (2) The locations of the speakers (3) The music source (CD, Tape, etc.) (4) Speakers and speaker enclosures. Because of the variations in the recording process, we developed CVM1 to help restore any low frequencies lost during the recording lost during the recording process;... -
Page 9: Troubleshooting Guide
Guide TROUBLE SHOOTING GUIDE If the Unit does not turn-on, and/or the power indicator LED is NOT illuminated, do this: 1) Check and make sure that B+ and GND are not reversed. 2) Check that all power wires are properly connected and have the appropriate potential (11-16 volts) 3) Check that the fuse is intact and funtioning. - Page 10 Notes...
- Page 11 Thank you for purchasing a Cerwin Vega Mobile product and we hope to provide you with countless hours of listening enjoyment. Cerwin Vega Mobile warrants all of our amplifiers and speakers to be free of defects in materials and workmanship for a period of one (1) year. This warranty is non-transferable and applies only to the original purchaser from an authorized Cerwin Vega Mobile dealer.
Need help?
Do you have a question about the Vega Series and is the answer not in the manual?
Questions and answers