OWC ThunderBay 4 Assembly Manual & User Manual
Hide thumbs
Also See for ThunderBay 4:
- Support manual (22 pages) ,
- Assembly manual & user manual (12 pages) ,
- Assembly manual & user manual (9 pages)

Related Manuals for OWC ThunderBay 4


Summary of Contents for OWC ThunderBay 4
- Page 1 ThunderBay 4 Assembly Manual & User Guide 4-Bay RAID Array 2.5" & 3.5" Mac & Windows Thunderbolt 2 HDDs & SSDs...
-
Page 2: Table Of Contents
2.3 About SoftRAID ................. 5 2.4 Chaning Drives & Drive Failure ..........5 Support Resources 3.1 Troubleshooting ................ 6 3.2 About Data Backup ..............6 3.3 Online Resources ..............6 3.4 Contacting Technical Support ..........6 OWC ThunderBay 4 Contents... -
Page 3: Introduction
© 2020 Other World Computing, Inc. All rights reserved. OWC, the OWC logo, and ThunderBay are trademarks of New Concepts Development Corporation, registered in the U.S. and/or other countries. Mac and macOS are trademarks of Apple Inc., registered in the United States and other countries. Thunderbolt and the Thunderbolt logo are trademarks of Intel Corporation or its subsidiaries. -
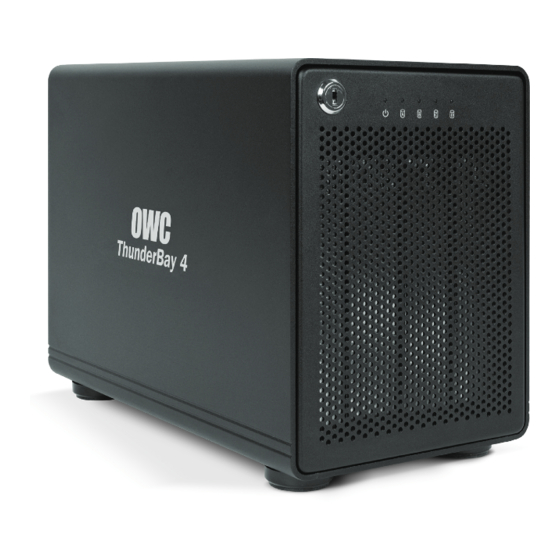
Page 4: Front View
Thunderbolt device. Use the other Thunderbolt 2 port to add more Thunderbolt devices to the chain. 3. On/Off switch — Turn the power on and off using this switch. 4. Power input — Connect the included power cable here. OWC ThunderBay 4 Introduction... -
Page 5: Usage Notes
As long as the ON/OFF switch is in the ‘ON’ position, the ThunderBay 4 will turn on when it receives a data signal through the Thunderbolt cable. If there is no Thunderbolt cable connected, or if the computer is off or in a sleep or hibernation mode, the ThunderBay 4 will turn off and its power LED will turn orange to indicate that it is not receiving a data signal. -
Page 6: Device Setup
7. Fasten the drive into the drive tray using six of the included screws (three per side). 8. Slide the drive tray back into the rails in the ThunderBay 4 and push until it is seated fully, then push in on the thumbscrew and turn it clockwise until it stops turning. If you encounter resistance, do not force the drive tray. -
Page 7: Quick Start
RAID array using software. By itself, the ThunderBay 4 does not monitor drive health or alert you to a drive failure. You can monitor the health of your drives via SoftRAID in order to determine when a drive has failed or is in a pre-failure state. To replace a failed drive, simply remove the drive from its bay and replace it with another drive, following the steps in Section 2.1. -
Page 8: Support Resources
To ensure that your files are protected and to prevent data loss, we strongly suggest that you keep two copies of your data: one copy on your OWC ThunderBay 4 and a second copy on your internal drive or another storage medium, such as an optical backup, or on a second external storage unit. Any data loss or... - Page 9 The material in this document is for information purposes only and subject to change without notice. While reasonable efforts have been made in the preparation of this document to assure its accuracy, OWC, its parent, partners, affiliates, officers, employees, and agents assume no liability resulting from errors or omissions in this document, or from the use of the information contained herein.
- Page 10 OWC. © 2020 Other World Computing, Inc. All rights reserved. OWC, the OWC logo, and ThunderBay are trademarks of New Concepts Development Corporation, registered in the U.S. and/or other countries. Apple, Bootcamp, Mac, macOS, and OS X are trademarks of Apple Inc., registered in the United States and other countries.
Need help?
Do you have a question about the ThunderBay 4 and is the answer not in the manual?
Questions and answers