OWC thunderbay 4 Assembly Manual & User Manual
Hide thumbs
Also See for thunderbay 4:
- Support manual (22 pages) ,
- Assembly manual & user manual (12 pages) ,
- Assembly manual & user manual (8 pages)
Advertisement
Advertisement
Table of Contents

Related Manuals for OWC thunderbay 4


Summary of Contents for OWC thunderbay 4
- Page 1 T H U N D E R B A Y Assembly Manual & User Guide...
-
Page 2: Table Of Contents
Device Setup ..............2.1 Hard Drive Installation 2.2 Quick Start 2.3 Software RAID 2.4 Changing Drives & Drive Failure Support Resources ............3.1 Troubleshooting 3.2 About Data Backup 3.3 Online Resources 3.4 Contacting Technical Support OWC ThunderBay 4 Table of Contents... -
Page 3: Minimum System Requirements
The images and descriptions may vary slightly between this manual and the unit shipped. Functions and features may change depending on the firmware version. The latest product details and warranty information can be found on the product web page. OWC’s Limited Warranty is not transferable and subject to limitations. OWC ThunderBay 4 with Thunderbolt 3... -
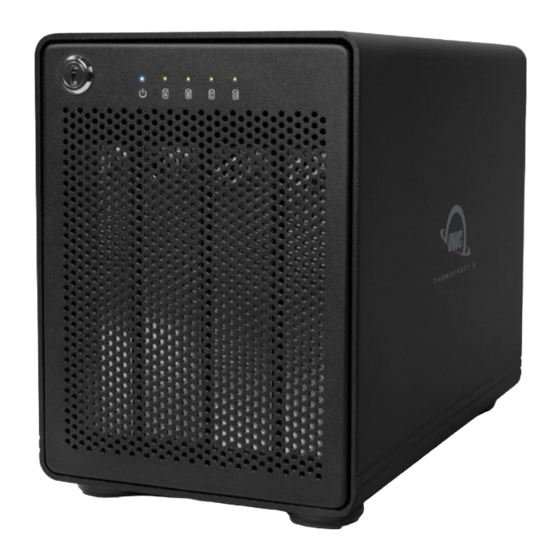
Page 4: Front View
Thunderbolt device. Use the other Thunderbolt 3 port to add more Thunderbolt devices to the chain. 3. ON/OFF switch — Turn the power on and off using this switch. 4. DisplayPort — Connect a DisplayPort-compatible display here. 5. Power input — Connect the included power cable here. OWC ThunderBay 4 with Thunderbolt 3 Introduction... -
Page 5: Usage Notes
• Although the ON/OFF switch controls power to the device, the OWC ThunderBay 4 requires an active data signal for powered operation. As long as the ON/OFF switch is in the ‘ON’ position, the ThunderBay 4 will turn on when it receives a data signal through the Thunderbolt cable. -
Page 6: Hard Drive Installation
7. Fasten the drive into the drive tray using six of the included screws (three per side). 8. Slide the drive tray back into the rails in the ThunderBay 4 and push until it is seated fully, then push in on the thumbscrew and turn it clockwise until it stops turning. -
Page 7: Software Raid
RAID array using software. By itself, the ThunderBay 4 does not monitor drive health or alert you to a drive failure. You can monitor the health of your drives through software in order to determine when a drive has failed or is in a pre-failure state. To replace a failed drive, simply remove the drive from its bay and replace it with another drive, following the steps in Section 2.1. -
Page 8: Troubleshooting
Remember that the ThunderBay 4 needs an active data signal in order for the power to remain on. If it is disconnected from the computer, or if the computer goes to sleep or turns off, the ThunderBay 4 will go to sleep. If you are still experiencing problems, consult Section 3.4 for OWC technical support contact information. - Page 9 OWC, its parent, partners, affiliates, officers, employees, and agents assume no liability resulting from errors or omissions in this document, or from the use of the information contained herein. OWC reserves the right to make changes or revisions in the product design or the product manual without reservation and without obligation to notify any person of such revisions and changes.
Need help?
Do you have a question about the thunderbay 4 and is the answer not in the manual?
Questions and answers