Advertisement
Overview
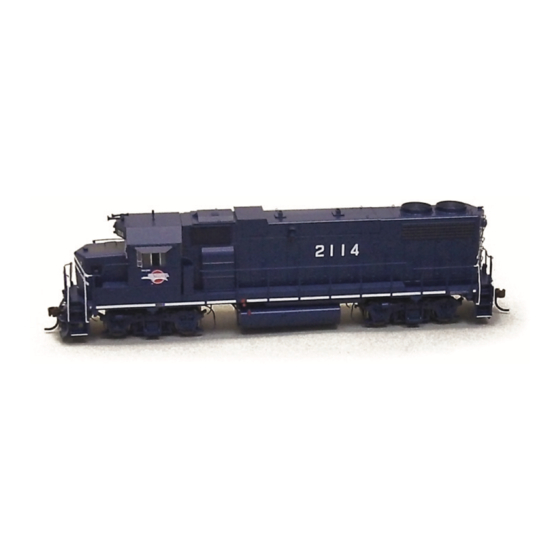
This application note describes how to install a
TSU-GN1000 digital sound decoder into an Athearn
Genesis HO GP38-2.
Skill Level 2: The entire installation can be completed in
one to two hours with no modification required to the
model.
Bill of Materials
Part No.
Description
828058
TSU-GN1000 for EMD 645 Non-Turbo
810113
16mm x 35mm Oval Speaker
Evergreen P.N.
9040
1mm Sheet Styrene
175
2.5mm Strip Styrene
For your convenience, Evergreen part numbers have been
listed above. Please visit their website at
www.evergreenscalemodels.com.
Tools You Will Need
■ 25W Soldering Iron
■ Rosin Core Solder
■ Wire Strippers
■ Wire Cutters
■ X-Acto Knife
■ Miniature Screwdriver Set
■ #55 Miniature Drill Bit
■ Pin Vise or Electric Drill
Athearn Genesis GP38-2
Tsunami Digital Sound Decoder Installation Notes
■ Aquarium Sealant / Silicone
■ Liquid Plastic Cement (Tenax 7R or equivalent)
■ Masking Tape
■ Small Pliers
■ 6" 28 Gauge Wire
■ Miniature Saw for Plastics
■ File for Plastics
■ Metal Straight Edge
■ Dial Calipers
Advertisement
Table of Contents

Related Manuals for SoundTraxx Tsunami TSU-GN1000


Summary of Contents for SoundTraxx Tsunami TSU-GN1000
- Page 1 Athearn Genesis GP38-2 Tsunami Digital Sound Decoder Installation Notes Overview This application note describes how to install a TSU-GN1000 digital sound decoder into an Athearn Genesis HO GP38-2. Skill Level 2: The entire installation can be completed in one to two hours with no modification required to the model.
- Page 2 Installation Remove the circuit board by using a small fl athead screwdriver to press on the tabs that hold the board in place. Then, lift the board out Start by removing the Phillips screws holding the coupler boxes in place at each end of the of the model.
- Page 3 Install the TSU-GN1000 using the mounting 10. To install the speaker, start by soldering a tabs for the factory circuit board. Place the 3” piece of 28 gauge wire to each speaker decoder over the mounting tabs and gently terminal. (Photo 8) press down.
- Page 4 16. Cement the speaker, facing up, to the top of the 18. Attach one wire from one ditch light to FX5 (14) styrene “frame” above the rear driveline using and one wire from the other to FX6 (16). Attach plastic cement. (Photo 11) the remaining wires to the corresponding common tabs (13 and 15).
- Page 5 Speaker - Motor TSU_GN1000_INSTALL_1.EPS ® New Dimensions in Digital Sound Technology 141 Burnett Drive • Durango, CO 81301 ©2013 Throttle Up! Corp. Phone: (970) 259-0690 • Toll Free: 888-789-7637 • Fax: (970) 259-0691 All Rights Reserved Email: support@soundtraxx.com • Website: www.soundtraxx.com...
Need help?
Do you have a question about the Tsunami TSU-GN1000 and is the answer not in the manual?
Questions and answers
no prim mover sound
The SoundTraxx TSU-GN1000 does include EMD 645 Non-Turbocharged Prime Mover sounds, as stated in the product description. Therefore, it does have prime mover sound.
This answer is automatically generated