Advertisement
Installation Instruction
V1.0
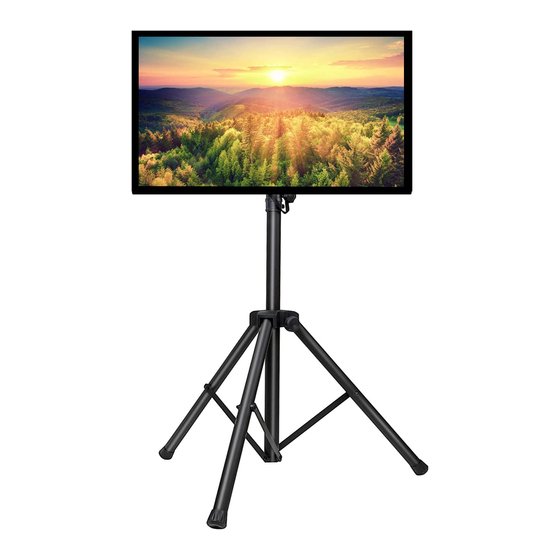
PSTM1
Thank you for choosing our product! We strive to provide the
best quality and services for our customers. Would you kindly
share your experience on Amazon if you are satisfied? Should
you have any issues, please don't hesitate to contact us.
Telephone:800-5566-806 Mon-Fri 10am - 6pm (PST) (USA) (CAN)
Email:supportus@perlesmith.com (US/CA/DE/UK/FR/IT/ES/JP/AU)
Advertisement
Table of Contents

Related Manuals for Perlesmith PSTM1


Summary of Contents for Perlesmith PSTM1
- Page 1 Installation Instruction V1.0 PSTM1 Thank you for choosing our product! We strive to provide the best quality and services for our customers. Would you kindly share your experience on Amazon if you are satisfied? Should you have any issues, please don't hesitate to contact us.
-
Page 2: Important Safety Instructions
•Check to assure that all components were received undamaged. Do not use damaged or defective parts.lf you require replacement parts, contact customer service at supportus@perlesmith.com. •Carefully read all instructions before attempting installation. •Install and operate this product with care. Please read this instruction before beginning the installation, and carefully follow all instructions contained herein. -
Page 3: Parts List
Parts list J (x1) K (x2) I (x1) Hardware List L(x3) M(x1) N(x1) M4x30 (x4) M6x15 (x4) M6x30 (x4) M8x15 (x4) M8x45 (x4) (x4) 08.5x18x5 (x8) 08.5x18x10 (x8) - Page 4 STEP 1 CAUTION:MAKE SURE DISTANCE BETWEEN EACH FOOT MUST BE 600MM/23.6" Please: Tighten the knob, lnsert the bolt. CAUTION:TO AVOID ANY INJURIES,PLEASE TAKE OFF TV SET BEFORE MAKING HEIGHT ADJUSTMENT STEP 2 Please: Tighten the knob.
- Page 5 STEP 3 FLAT BACK TV (UNIVERSAL MONITOR PLATE) screwdriver(Not included) ROUND BACK TV (UNIVERSAL MONITOR PLATE) A C E First, make sure the diameter of the bolt(A-E) fits your TV. Then, please see the diag- ram above. You will need to thread the bolt into the TV using the correct washer (F) hole and spacer (G or H) if necessary with a screwdriver(Not included).
- Page 6 STEP 4 Attach the TV onto the Plate...
- Page 7 STEP 5 CAUTION:TO AVOID ANY INJURIES,PLEASE TAKE OFF TV SET BEFORE MAKING HEIGHT ADJUSTMENT Please tight the screw Magic paste [L] used for cable management...
-
Page 8: Product Specifications
PRODUCT SPECIFICATIONS 1900mm 1200mm...
Need help?
Do you have a question about the PSTM1 and is the answer not in the manual?
Questions and answers