Advertisement
Advertisement
Table of Contents

Related Manuals for BH FITNESS G2330


Summary of Contents for BH FITNESS G2330
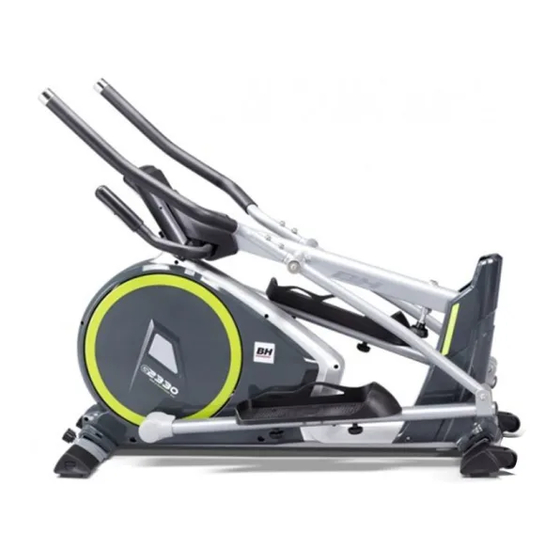
- Page 1 G2330 ELLIPTICAL...
- Page 2 Dear Customers, We want to thank you for having chosen an Elliptical trainer and wish you a lot of fun and success during training. Please note and follow the enclosed safety and assembly instructions carefully. If you have questions please do not hesitate to contact us. Table of Content as below: 1.) Safety Instruction 2.) Exploded Drawing...
-
Page 3: Safety Instruction
SAFETY INSTRUCTION Before you start training on your home Elliptical trainer, please read the instructions carefully. Be sure to keep the instructions for information, in case of repair and for spare part delivery. This elliptical trainer is made for home use only and tested up to a maximum body weight of 120 kg. - Page 4 Ensure that those present are aware of possible hazards, e.g. movable parts during training. Consult your physician before staring with any exercise program. He or she can advise on the kind of training and which impact is suitable. WARNING!INCORRECT/EXCESSIVE TRAINING CAN CAUSE HEALTH INJURIES.
-
Page 5: Exploded Drawing
EXPLODED DRAWING... -
Page 6: Parts List
PARTS LIST Part# Description Quantity Computer M3 Screw M5*10 Upper Computer cable End cap Hand grip Hand pulse cable Screw Handle bar Washer 8*16*1.5T Spring ¢ 8 Allen bolt M8*20 Screw M5*15 Computer Rack 1sets Power tube 38*17*15T Handle bar post Knob Hex screw M10*20 Tube Φ16*68... - Page 7 Bushing Φ14*Φ32 Tube Φ14*10*59mml Washer 10*19*2T Nylon nut M10 Padel L Padel R Carriage bolt M6*55 Padel Plug Washer 8*24*2 tube Φ17.5*22*12 C-sharp clip Φ40 Bearing 2203-2RS M Piece Screw M5*7.5 Washer 6*14*2T Spring washer ¢ 6 Knob M6 Gill pin Φ4*36 Plastic screw Drill screw M5*20 Chain cover L...
- Page 8 Rear stiblizer slip tube L Rear stiblizer slip tube R Bearing 6004-2RS Washer 20*25*1 Wave Washer ¢ 20*25*0 Nylon Cap Belt wheel Metal plate welding Spring ¢ 6 Allen bolt M6*16 Self-tapping screw DC cable Conduction wire C-sharp clip Φ6 Wave washer 10*15*0.5 Washer 10*15*1 Idler wheel...
-
Page 9: Assembly Instruction
ASSEMBLY INSTRUCTION 1.Step 1. Keep the item horizontally .And make both Rear stablizer slip out as arrow shows .and tight the knob tightly 2.Step 2 Put the handle bar post (15)up (as arrows )and make it Straight. - Page 10 3.Step3 Keep the handlebar post Straight ,And then use Knob(16) to tight the tightly Then Fit the upper swing Pole Left and Right (23) by slotting them into the top of the lower swing bar Left and Right (27) and secure in place using 4 Allen bolts (93) and 4 spring washers (10) and 4 Wahser (24) tighten fully.
-
Page 11: Computer Instruction
COMPUTER INSTRUCTION M3+ Manual I. Display: 1. The field is an individual LCD displaying : TIME, RPM\SPEED, DISTANCE, WATT\CALORIES, PULSE, USER . 2. Dot matrix display: ● The LCD screen will have a single dot matrix display with 12 rows and 16 columns. ●... - Page 12 IV. Program operation instructions: Press ENTER button into Choose PROGRAM: By pressing the ▲ or ▼ button to adjust the profiles and it can be set the circle(select programs): MANUAL→PROGRAM→FITNESS→WATT→PERSONAL→H.R.C.→RANDOM If Press ENTER button to accept MANUAL By pressing the ▲ or ▼ button to adjust the LEVEL(1-24). Press ENTER button to accept LEVEL.
- Page 13 By pressing the ▲ or ▼ button to choose the 55%, 75%, 90% and Tag If choose the 55%, 75% and 90% , Press ENTER button to accept the mode and into set the target TIME. If choose the Tag, Press ENTER button to accept the mode and into set the target Heart. By pressing the ▲...
- Page 14 Program Profile for the P1~P12 Program ● P1 ● P2 ● P3 ● P4 ● P5 ● P6 ● P7 ● P8 ● P9 ● P10 ● P11 ● P12 Program Profile for the H.R.C.(55%, 75%, 90%, Tag) Program ●HRC(55%) ●HRC(75%) ●HRC(90%) ●HRC(Tag)
-
Page 15: Recovery Test
VI. Recovery Test: During the START or PAUSE stage, leave the hands holding on grips or leave the chest transmitter PULSE RECOV. button , all function displays will stop except “TIME”. attached and then press The testing will measure the heartbeat rate, Time starts counting from 00:10 - 00:09 - - to 00:00 if the measurement does not show within 10 seconds, the measuring system will shut down and return to the sport mode. -
Page 16: Key Functions
VIII. Key Functions: START/STOP button : Press this button to start workout in sport mode, and during exercising, press this key to pause the workout, then press this key to go on to exercise. ENTER button : To confirm set value and enter into the next set value 3.
Need help?
Do you have a question about the G2330 and is the answer not in the manual?
Questions and answers