
Related Manuals for ELECTROCOMPANIET ECM 1 MKII


Summary of Contents for ELECTROCOMPANIET ECM 1 MKII
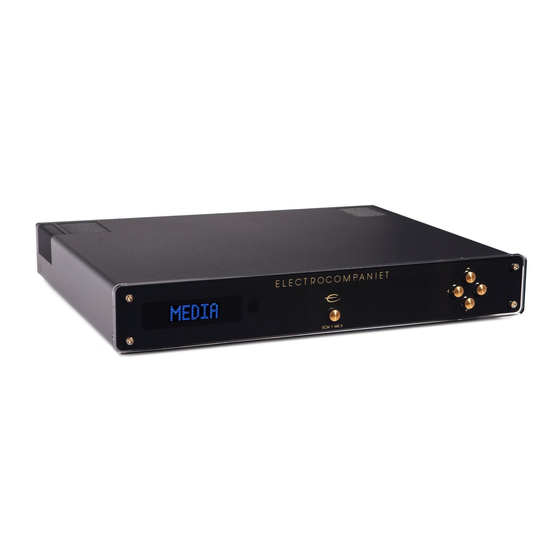
- Page 1 ECM 1 MKII ECM 1 MKII Balanced Network Music Player with built-in DAC Owner's Manual ENGLISH...
- Page 2 Welcome to the world of Electrocompaniet! We thank you for choosing an Electrocompaniet high-end product. At Electrocompaniet we are relentlessly focused on developing audio equipment that is capable of bringing the fabulous experi- ence of the concert hall into the very heart of your home.
-
Page 3: Setup Procedure
• 1 pc. IR Remote control. Set up procedure Before connecting the ECM 1 MKII to the AC Power outlet, check that the main volt- age selector on the rear panel corresponds to the line voltage in the country were you intend to use the unit. -
Page 4: Front Panel Overview
Front panel overview ECM 1 MKII Button Function Description Volume Up Increases the volume level. DOWN Volume Down Decreases the volume level. LEFT Select source left Selects the next source to the left. RIGHT Select source right Selects the next source to the right. -
Page 5: Rear Panel Overview
For streaming services, the status mode does not show the sampling rate. The volume ranges from 0 to 100. Rear panel overview DESIGNED AND MANUFACTURED B ECM 1 MKII Balanced Music Streame r TOSLINK1 TOSLINK2 BREIVIKVEIEN 7, 4120 TAU, NORWA S/N : 123456789... -
Page 6: Replacing Batteries
When using the remote control, the front end of the remote control should be pointed to the front panel of your ECM 1 MKII. A free line of sight is required between the remote and the infrared sensor on the front panel. -
Page 7: How To Connect Your System
The ECM 1 MKII will only react to a change in the trigger signal. When the detected trigger signal goes from low to high, ECM 1 MKII will wake from standby. When the detected trigger signal goes from high to low, ECM1 will go into standby. -
Page 8: Local Disc Installation
LOCAL DISC INSTALLATION Your ECM 1 MKII supports adding an internal hard drive or SSD for storing audio files. A drive with a SATA interface is required for this connection. Both 3,5” and 2,5” drives can be mounted. WARNING! The disk will be automatically formatted for use. All data on the drive will be lost. If a hard drive is installed it will be turned off when not in use. -
Page 9: First Time Setup
FIRST TIME SETUP Your ECM 1 MKII is equipped with a setup guide that quickly configures the most common settings. In order to access this guide, the ECM 1 MKII should be connected to your network by ethernet cable. (not included) - Page 10 INITIAL SETUP PROCEDURE WITH A CABLE CONNECTION The first time you set up your ECM 1 MKII R E C O M M E N D E D Download the “EC PLAY” App The free App is available at Apple store or Google Play.
-
Page 11: Follow The On-Screen Instructions
Use a web browser Start your “EC PLAY” App As long as you have downloaded the Enter the address of your ECM 1 MKII in the web browser. App following the previous instructions, you will find the App where you If you are using a Mac or Linux machine, normally find other Apps on your device. -
Page 12: Enabling Wireless Connection
6. Enter your password, tap “Join” or “OK” 7. Remove the LAN cable and wait until the Rooms button appear. Tap Room and reselect your ECM 1 MKII. If you loose connection with the system, reconnect the network cable and check your network password carefully. -
Page 13: Android Devices
PERFORMING THE INITIAL SETUP WIRELESSLY The first time you set up your ECM 1 MKII Network Music Player. If you haven’t been able to perform the setup via ethernet cable (recommended). Then please follow the steps below. Otherwise, please skip this page. -
Page 14: Status Led Indicators
ECM 1 MKII STATUS INDICATORS There are three status LEDs indicating the status of your system. Status LED indicators DESI GNED A ND MA NUFACTUR ED BY ECM 1 MKII Balanced Music Streamer TOSLINK1 TOSLINK2 BREIVIKVEIEN 7, 4120 TAU, NORWAY... -
Page 15: Tips And Troubleshooting
Connecting to WiFi We recommend that the ECM 1 MKII has a link quality of minimum 70%, and better than 40 Mb/s link speed. This can be verified in our App, in the More -> Network menu. -
Page 16: Ir Remote Control Codes
IR REMOTE CONTROL CODES RC5 codes are denoted as xx.yy where xx is 5 bit adress and yy is 6 bit command/ data. All numbers are in decimal. RC6 codes are denoted as xxx.yyy. xxx is 8 bit adress. yyy is 8 bit command code. All numbers in decimal. All RC6 codes are mode 0. Key label Code Type Code Hex... - Page 17 TECHNICAL SPECIFICATIONS ECM 1 MKII The following technical data were measured on randomized test objects and are typical data. All measurements are made at 120V / 240V // 50Hz / 60Hz. Clipping point of the amplifier is set to a level where total harmonic distortion (THD) is 0.2 % Preamplifier section Noise floor (1Vrms, 20 - 20 kHz, balanced).
-
Page 18: If Service Is Needed
When shipping a product to the factory for service, always include the following: 1. A sales slip or other proof of purchase if repair is claimed under warranty. 2. A proforma invoice with value of goods, stating that the ECM 1 MKII is returned to Norway for repair. - Page 20 Verify line voltage before use. Do not remove cover. No user serviceable parts inside. Refer servicing to qualified service personal. The warranty is void if the product is tampered by non-authorised personnel.Use only authorized Electrocompaniet service center. REV 1.1 2019 Designed and manufactured in Norway www.electrocompaniet.com...
Need help?
Do you have a question about the ECM 1 MKII and is the answer not in the manual?
Questions and answers