Advertisement
Thank you for choosing Merlyn.Please familiarise yoursel
with the fitting instructions before commencing fitting.
1. Check that you have the tools required.
. Check
2
that the installation site is compatible
with size of door supplied
3. Check all the enclosure components.
. Check
4
that the installation kit is complete
Any parts missing or damaged must be reported to your supplier within 5 days of purchase.
Inspect shower enclosure before fitting. No claims will be acceptable after product has been installed.
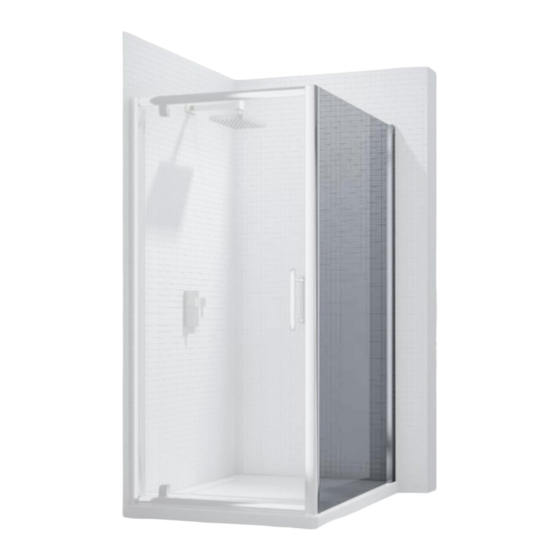
INSTALLATION GUIDE
PIVOT DOOR
SLIDING DOOR
IMPORTANT
f
DO NOT
attempt to install the product unless you can
tick ALL
4 boxes as satisfactory.
The wall plugs supplied with the installation kit are for
use in solid walls. Hollow or ' s tud-partition' walls will
require
alternative fixings. Please consult a hardware
supplier for the correct type.
It may also be necessary to consult your tiling supplier
about the correct method for drilling your tiles.
USE SAFETY EYEWEAR WHEN DRILLING
VIVID
10
M040-01
Advertisement
Table of Contents

Subscribe to Our Youtube Channel
Related Manuals for MERLYN 6 Series PIVOT DOOR

Summary of Contents for MERLYN 6 Series PIVOT DOOR
- Page 1 INSTALLATION GUIDE VIVID PIVOT DOOR SLIDING DOOR IMPORTANT Thank you for choosing Merlyn.Please familiarise yoursel DO NOT attempt to install the product unless you can with the fitting instructions before commencing fitting. tick ALL 4 boxes as satisfactory. 1. Check that you have the tools required.
- Page 2 COMPONENTS AND BOX CONTENTS Inner pivot cap top S6PV019 S6PV021L/R Pivot door Wall profile cover cap S6PV020 Inner pivot cap bottom S6PV017 Outer pivot cap S6PV006 S6PV011 Ball catch S6PV018...
- Page 3 FIXING KIT COMPONENTS, TOOLS REQUIRED, SITE S6PV021R S6PV021L V2104 S6PV020 S6PV019 × × × × × × S6HDLEP1 V2114 V6113 V2115 ×6 × × × S6HDLEP2 V6115 V4111 V4110 × × S6HDLEP3 × ×6 × S6HDLEP4 3mmALKEY × S6HDLEP5 × S6HDLEP6 S6HDLE ×...
- Page 4 FITTING WALL PROFILE PROCEDURE TRAY MUST BE 100% LEVEL IN ALL DIRECTIONS Ensure the shower tray is level in all directions and is properly sealed to the wall. The wall must be tiled down to the top edge of the tray. Do not angle out bottom tile. level 100 %...
- Page 5 FITTING DOOR PANELS S6S01 Inside S6HDLEP4 V2114 S6HDLEP3 V4111 S6HDLEP5 S6HDLEP2 Step 3. S6HDLEP1 Insert the wall profiles into both sides of door S6HDLEP6 frame. S6HDLEP7 Outside Step 4. Position the door onto tray. Step 5 Fix the wall profiles to the wall using V4111. NOTE: If you are not close to the minimum adjustment, fix the wall profile to the wall on the...
- Page 6 FITTING DOOR PANELS AND SEALS Step 7. Fit the upright seal to back of the moving panel. Note: Ensure the seal is fitted as shown and the top end of seal is parallel with top end of moving gaps are the same panel.
- Page 7 FINISHING V6INPVTC S6PV019 S6PV020 Step 11. V021R/L The ball catch can be adjusted in and out to ensure the door closes smoothly. V2104 Note: Do not adjust the ball catch out too much !
- Page 8 SEALING AND TROUBLE SHOOTING Step 15. Use a quality silicone sealant and applicator gun to seal the finished door. SEALING INSIDE Seal top to bottom on the INSIDE between the wall profile and the wall. Note: Do not apply sealant on the inside of the tray.
Need help?
Do you have a question about the 6 Series PIVOT DOOR and is the answer not in the manual?
Questions and answers