Table of Contents
Advertisement
Advertisement
Table of Contents

Subscribe to Our Youtube Channel
Related Manuals for sky rider FALCON 2 PRO


Summary of Contents for sky rider FALCON 2 PRO
- Page 1 User’s Guide for Model DRC377 v1742-01...
- Page 2 Warnings & Precautions Important Safety Instructions • Reorient or relocate the receiving antenna. • Increase the separation between the equipment and • Read and follow all instructions. receiver. • Keep these instructions for future reference. • Connect the equipment into an outlet on a circuit •...
-
Page 3: Table Of Contents
Table of Contents Falcon 2 Pro – 4 Camera & Memory Card – 18 Features Video Includes Photos SD Card Install & Removal Overview – 5 View Photos/Video on a Computer Craft Layout & Features Camera Angle Adjustment Assembly Instructions – 6 Troubleshooting –... -
Page 4: Falcon 2 Pro
Falcon 2 Pro Features Includes • 360° flips & tricks • 2.4 GHz remote control: requires 6 AA batteries (not included) • 2 speed settings • Built-in rechargeable lithium • 6-axis gyroscope polymer battery • .3 MP Camera (photo & video) with •... -
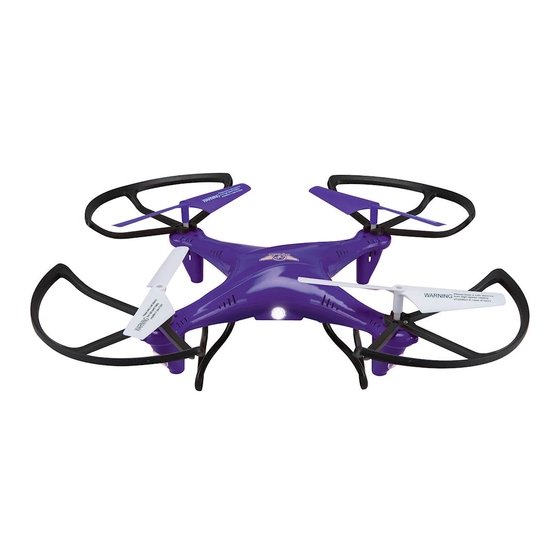
Page 5: Overview
Overview Craft Layout & Features FRONT Rotors White rotors indicate front of craft. Power Switch Rotor Guards FRONT LED Lights White LEDs indicate Landing Skids the front of the craft. Battery Compartment/Camera... -
Page 6: Assembly Instructions
Assembly Instructions Landing Skids x4 Wide-head Screws Small Phillips-head Screwdriver Tighten down using the included screwdriver and wide head screws. Insert pegs into the holes on the underside of the body as shown. -
Page 7: Rotor Guards
Rotor Guards x4 Standard Screws Small Phillips-head Screwdriver Tighten down using the included screwdriver and the standard screws. Insert the two pegs on the underside of the rotor guard into the upper body as shown. -
Page 8: Remote Control
Remote Control Button Layout & Functions Reset/Speed Photo Press to change craft Press to take a photo. speed setting. Flip Press and hold to reset Press and move the craft to factory settings. Right Thumbstick to perform a flip. Video Press to take video. -
Page 9: Remote Battery Installation
Remote Battery Installation Use screwdriver (included) and remove battery cover. Insert 6 x AA Batteries (not included). -
Page 10: Charging The Battery
Charging the Battery Before charging, be sure the craft and remote control are powered OFF. Failure to do so may result in injury. Step 1 Make sure the craft is powered OFF, then remove the battery cover. Step 2 Disconnect the power plug connecting the battery to the craft. - Page 11 Step 4 Plug the charging cable into the USB port of a powered ON computer or USB power adapter (not included). The battery will now charge. CHARGE STATUS INDICATOR LIGHT Unit is charging Red Light ON Charging complete Step 5 When charging is complete, reinstall the battery in its bay, reconnect the power plug from the battery to the craft, and...
-
Page 12: Flying
Flying Craft/Remote Link Before flying, the craft and the remote must be linked together and the gyroscopes on the craft must be allowed to calibrate. Begin with the craft and remote powered OFF. Step 1 Place the craft on a flat, level surface. This is necessary for the craft’s gyroscopes to properly align. - Page 13 Step 4 Push the Left Control Stick directly forward, then backward. A chime will sound when the craft is calibrated and ready to fly. Step 5 Push the Left Control Stick (throttle) forward to take off. Use both thumbsticks to control the craft. If you notice a tendency to drift, you may need to adjust the trim controls to fine tune the handling (see next section).
-
Page 14: Trim Adjustment
Trim Adjustment Setting Trim & Countering Drift Even after the craft is calibrated, it may show a tendency to drift while airborne. Adjusting the trim will help counter this effect and allow for better control the craft. • To avoid potential damage, adjust the trim while attempting a stable hover. •... - Page 15 Craft banks/rolls left or right. Adjust Roll Trim. Craft pitches/angles Adjust Pitch Trim. forward or backward.
-
Page 16: Flying Tips & Features
Flying Tips & Features Tips for Safe Operation • It is recommended to only fly in large, open spaces that are free of obstacles like power lines, trees, ceiling fans, etc. • When flying indoors, avoid walls and ceilings, as the craft will be drawn towards them if closer than 2 to 3 feet. -
Page 17: Flips & Tricks
Flips & Tricks Before attempting any stunts, be sure that there is ample clear space around the craft, ideally 9 to 10 ft. in every direction. It is not recommended to attempt to stunt around or through any obstacles, as this may result in unintended damage. Press the Flip button, then move the Craft will perform flip in the Right Control Stick in any direction. -
Page 18: Camera & Memory Card
Camera & Memory Card Make sure the remote and the craft have been successfully paired (indicated by a red light on the remote) and the Micro-SD card is installed in the camera before attempting to use. Video To record video, press the Video button on the remote. The indicator light will turn green for as long as the camera is recording. -
Page 19: Sd Card Install & Removal
SD Card Install & Removal Camera Angle Adjustment Gently push against the Micro-SD card until it clicks into or out of the card slot. Be sure to insert correctly or damage may occur. View Photos/Video on a Computer Remove Micro-SD card from camera and connect to included USB adapter. -
Page 20: Troubleshooting
Troubleshooting Gyroscope Recalibration If the craft is experiencing difficulty flying or is behaving erratically, the craft’s gyroscopes may be misaligned and will need to be recalibrated. Do not attempt to do this while flying. Safely land the craft and place it on a flat, level surface before attempting this procedure. - Page 21 If you are experiencing problems using or flying the craft, consult this table. PROBLEM POSSIBLE CAUSES SOLUTION Craft does not • No power to remote • Check remote batteries, or craft. replace if needed. respond to controls. • Poor contact between •...
-
Page 22: Repair
Repair REMINDER: Pilots are responsible for any damage caused by improper use. Parts Replacement Standard parts such as extra batteries and remotes are available online for purchase when in stock. However, any non-standard parts such as cameras, screws, bodies, SD cards etc. can be ordered by placing an inquiry with our parts department at: partsinfo@dpiinc.com. -
Page 23: Customer Support
Customer Support Contact Information Warranty Website: www.gpx.com See included 30 Day Warranty for warranty information. Warranty and Email Support: prodinfo@dpiinc.com the most up-to-date version of this User’s Guide can also be found at: Email Parts: partsinfo@dpiinc.com http://gpx.com/drc377.html Phone Support: 1-888-999-4215 International Support To download this User’s Guide in English, Spanish, and French, or to get answers to frequently asked questions, visit the support section at: www.gpx.com...
Need help?
Do you have a question about the FALCON 2 PRO and is the answer not in the manual?
Questions and answers