Sign In
Upload
Download
Table of Contents
Contents
Add to my manuals
Delete from my manuals
Share
URL of this page:
HTML Link:
Bookmark this page
Add
Manual will be automatically added to "My Manuals"
Print this page
×
Bookmark added
×
Added to my manuals
Manuals
Brands
sky rider Manuals
Quadcopters
DRW876
User manual
sky rider DRW876 User Manual
Hide thumbs
1
2
Table Of Contents
3
4
5
6
7
8
9
10
11
12
13
14
15
16
17
18
19
20
21
22
23
24
25
26
27
28
29
30
page
of
30
Go
/
30
Contents
Table of Contents
Troubleshooting
Bookmarks
Table of Contents
Table of Contents
FAA Registration-
Which UAS Must be Registered
Who Can Register
What Do You Need to Register
Additional Info
Rotors & Auto-Hover-
Safety Notice
Emergency Stop
Orientation-
Included
Remote Control
Trim
Assembly-
Attach Landing Skids (X4) Repair-28
Attach Camera
Attach Smartphone Cradle Troubleshooting-2
Batteries & Charging-
Battery Information
Remote Control Battery Installation
Battery Charging Procedure
Pre-Flight Calibration -
Craft/Remote Link
Trim Adjustment-
Setting Trim & Countering Drift
Sky Rider Drones
Gyroscope Recalibration
Factory Default Settings
Flying Tips & Features-
Tips for Safe Operation
Speed Setting
Auto-Reverse
Headless Mode
Altitude Hold/Hover
Flips & Tricks
Sky Rider Drones App-
Sky Rider Drones App
Wi-Fi Flight Instructions
Start Screen
Auto-Land/Start up
Flight Screen
Intuitive Mode
Virtual Reality (VR) Mode for VR Headsets
Camera-
Using the App to Fly and Capture Images/Video
Using the Remote and App to Capture Images/Video
Repair-
Parts Replacement
Company Information-
Contact Information
International Support
Warranty
Advertisement
Quick Links
1
Remote Control
2
Batteries & Charging-10
3
Battery Information
4
Craft/Remote Link
5
Pre-Flight Calibration -13
6
Sky Rider Drones App
Download this manual
DRW876B
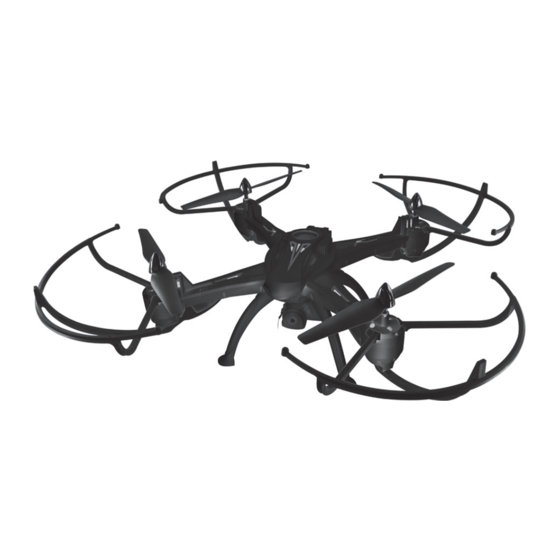
QUADCOPTER DRONE WITH WIFI CAMERA
User's Guide for Model DRW876 v1562-02
Table of
Contents
Previous
Page
Next
Page
1
2
3
4
5
Advertisement
Table of Contents
Need help?
Do you have a question about the DRW876 and is the answer not in the manual?
Ask a question
Questions and answers
Related Manuals for sky rider DRW876
Quadcopters sky rider DRC376 User Manual
Falcon pro drone with video camera drc376 v1648-01 (24 pages)
Quadcopters sky rider Micro User Manual
(20 pages)
Quadcopters sky rider HAWK DR176 User Manual
Quadcopter drone (18 pages)
Quadcopters sky rider Metal Alloy Drone User Manual
Quadcopter with wifi camera (26 pages)
Quadcopters sky rider Pegasus User Manual
Quadcopter drone with wi-fi camera (24 pages)
Quadcopters sky rider Drone-asaur DR397 v1903-01 User Manual
Quadcopters drone (15 pages)
Quadcopters sky rider X-02 Astro User Manual
Quadcopter drone (32 pages)
Quadcopters sky rider X-11 Stratosphere User Manual
Quadcopter drone with wi-fi camera (13 pages)
Quadcopters sky rider Eagle 3 Pro User Manual
Quadcopter drone with wi-fi camera (24 pages)
Quadcopters sky rider DRW331 User Manual
Quadcopter drone with wi-fi camera (13 pages)
Quadcopters sky rider Condor Pro User Manual
(30 pages)
Quadcopters sky rider eagle pro series User Manual
(26 pages)
Quadcopters sky rider Griffon Pro DRW618 User Manual
(24 pages)
Quadcopters sky rider FALCON 2 PRO User Manual
Quadcopter drone with video camera (23 pages)
Quadcopters sky rider X-31 Shockwave User Manual
Quadcopter drone with wi-fi camera (13 pages)
This manual is also suitable for:
Condor pro
Table of Contents
Print
Rename the bookmark
Delete bookmark?
Delete from my manuals?
Login
Sign In
OR
Sign in with Facebook
Sign in with Google
Upload manual
Upload from disk
Upload from URL


Need help?
Do you have a question about the DRW876 and is the answer not in the manual?
Questions and answers